As an Amazon Associate, we earn from qualifying purchases. Some links on this site are affiliate links at no extra cost to you. Our recommendations are based on thorough research and editorial judgment.
How Cellular Trail Cameras Send Photos: A Plain-English Workflow
Cellular trail cameras capture wildlife photos using built-in sensors. Here’s how it works:
- The camera detects movement or heat.
- It takes high-resolution images.
- These images are compressed and sent via 4G LTE to your phone.
You may be interested


You’ll get real-time updates and alerts without checking the camera physically. A SIM card and data plan are required, which helps keep everything running smoothly. If you want to discover more about how they store and organize images, keep following along!
Key Takeaways
- Cellular trail cameras use built-in SIM cards to transmit images via 4G LTE networks for real-time updates.
- They detect movement or heat, capturing high-resolution photos that are compressed for quick transmission.
- Images are sent directly to users’ devices through a companion app or multimedia messages (MMS).
- A monthly data plan is required, costing between $5 to $15, to support the camera’s image transmission.
- Users can access images immediately through email notifications, allowing for efficient wildlife tracking and observation.
Introduction to Cellular Trail Cameras
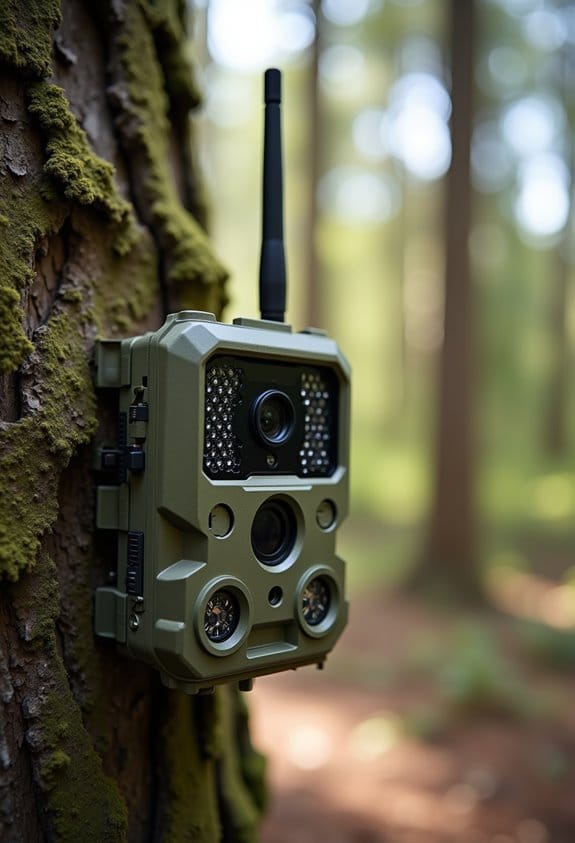
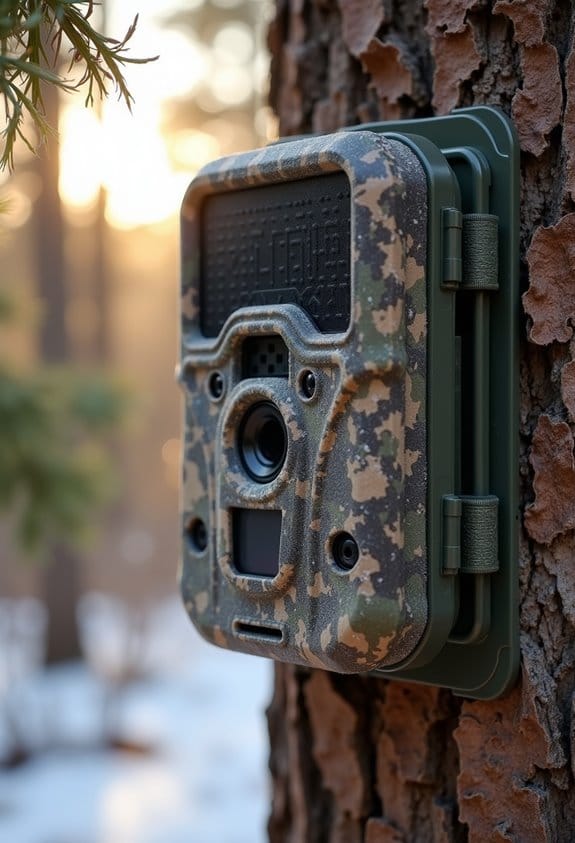
Hey there! If you’re planning to explore the great outdoors, you’ve got to check out cellular trail cameras. These handy gadgets are fantastic for capturing all sorts of wildlife activity right from your backyard or a remote spot in the woods.
So, how do they work? Well, most of them come with built-in SIM cards that let you send pictures straight to your phone. Imagine getting real-time updates from a camera in the forest whenever it picks up movement. If a deer strolls by or a bear takes a peek, you’ll know about it instantly! Plus, the images and videos they capture are super clear, so you won’t miss a thing.
And let’s talk durability—these cameras are designed to brave the elements. Rain, snow, or even scorching sun won’t stop them. This means you can set one up at your favorite wildlife watching spot without worrying if the weather will damage it. All of this convenience comes at a price, usually around $5 to $15 a month for data plans, which is pretty reasonable when you think about all the wildlife action you’ll be able to monitor.
With such great features, it’s no wonder that more outdoor enthusiasts are turning to cellular trail cameras for their adventures. It opens up a whole new way to connect with nature while keeping your distance. Speaking of which, let’s dive into some tips on choosing the right trail camera for your needs! Many models also include 4G LTE connectivity to ensure fast and reliable image transmission even from remote locations.
Recommended Products

What's in the bundle: 4*Reolink TrackMix LTE; 4*Reolink Solar Panel 2; 4*SIM Card; 4*128GB microSD Card

WHY IPAD MINI — The full iPad experience designed to fit in one hand. With an 8.3-inch Liquid Retina display, powerful A15 Bionic chip, 12MP Ultra Wide front camera with Center Stage, and superfast Wi-Fi and 5G. Take notes, mark up documents, and edit photos and videos.

What's in the bundle: 4*Reolink Go PT Plus; 4*Reolink Solar Panel; 4*SIM Card; 4*128GB microSD Card
How Do Images Capture and Reach Your Phone?
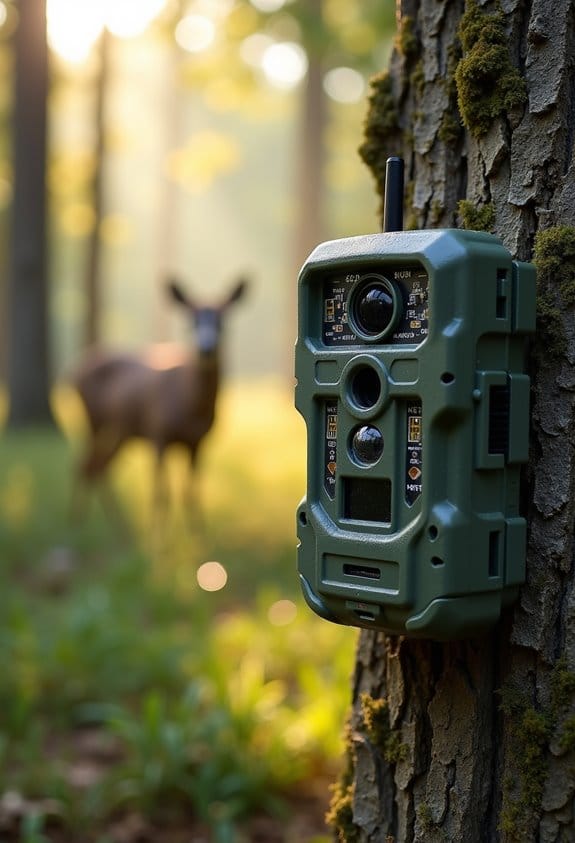
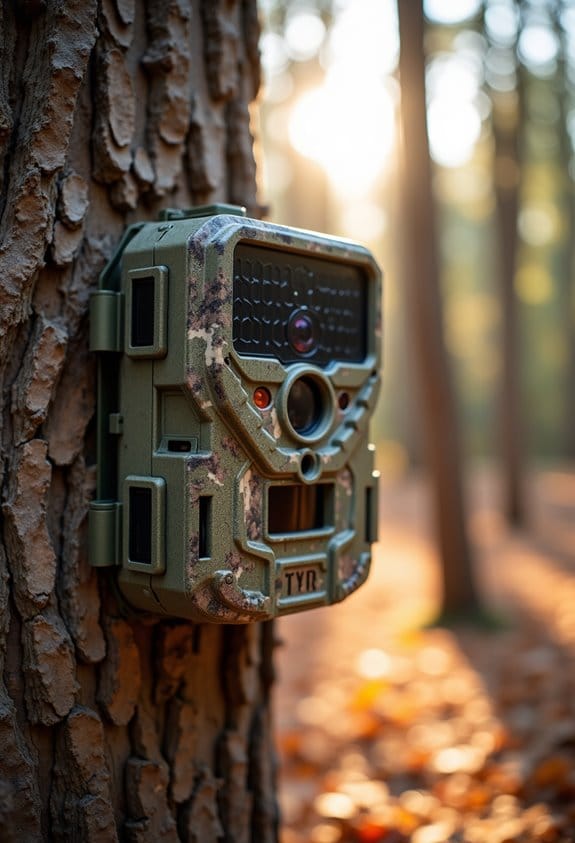
Hey there! Have you ever wondered how images from cellular trail cameras make their way to your phone? It’s pretty neat! These cameras are equipped with SIM cards that connect to mobile networks, which allows them to send pictures directly to you.
Here’s how it goes down: when they detect movement or heat, or even at a scheduled time, the camera kicks into action. It snaps high-resolution photos, then compresses them to send them quickly—kind of like taking a big item and wrapping it up neatly for easier shipping. Plus, they use 4G LTE networks to do this, so you can get reliable signals even if you’re out in the wild.
Once the images are captured, they can be sent straight to your phone via a companion app or multimedia messages (MMS). So, imagine you’re hiking and—boom—you get a message with a photo of a deer that wandered by. Just keep in mind, you’ll need a monthly data plan that typically runs from $5 to $15 per camera, but it’s so worth it for the instant updates!
Many cameras also offer real-time alerts through their apps, so you can receive immediate notifications the moment wildlife activity is detected.
Now that you know how those amazing photos get to you, let’s talk about some tips for choosing the right trail camera!
Recommended Products

INCLUDES Sixteen Tactacam Reveal Ultra Cellular Trail Cameras, and Sixteen 32GB Lexar SD Cards by Trail Cams Galore, a Trademarked Brand. The Tactacam Reveal Ultra is highly adaptable. It can be paired with optional accessories such as solar panels for extended battery life, and it is designed to work on multiple cellular networks, giving you flexibility in choosing your cellular provider.

Bundle Includes: Stealth Cam 40MP Deceptor Max Cellular Trail Camera with 0.4-Second Trigger Speed (2-Pack) x 10, 32GB Memory Card (20-Pack), and 4-in-1 Card Reader

Cellular Connectivity: SPYPOINT FLEX-DARK sends full-HD photos and videos with sound directly to your phone through the free SPYPOINT app, keeping you informed remotely
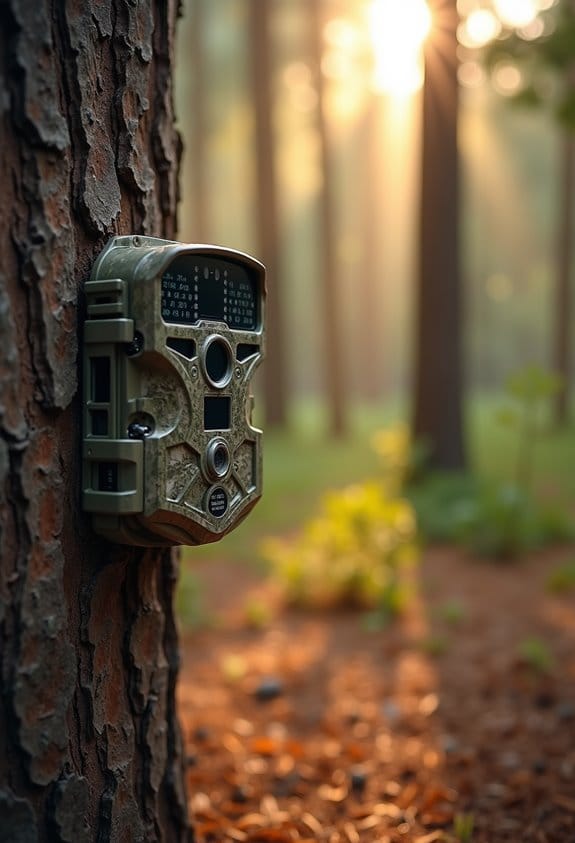
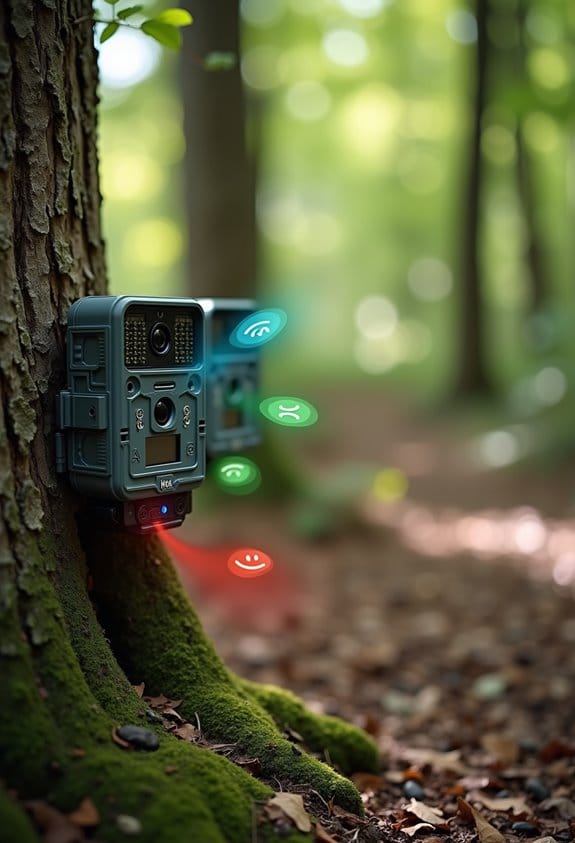
Comparing Cellular, WiFi, and Bluetooth Transmission for Trail Cameras
Choosing the right transmission method for your trail cameras can feel a bit overwhelming at first, but it’s actually pretty straightforward once you know what each option brings to the table. Let’s break it down together!
First up, we have cellular trail cameras. These little wonders use a SIM card and a data plan, allowing you to receive images in real-time via a cellular signal. Imagine being out in the field and getting instant alerts of wildlife activity or even keeping an eye on your property from miles away. This makes them a fantastic choice for anyone who needs reliable, remote monitoring.
On the flip side, we have WiFi trail cameras. These work by creating a short-range hotspot that allows you to transfer images, but here’s the catch—you need to be fairly close to use them. If you’re hanging out in your backyard or nearby, these can work well for quick uploads, but they might not be the best option if you’re tracking wildlife in a remote area.
Lastly, there are Bluetooth trail cameras. These are pretty neat for short distances and consume less battery power, which can be a plus if you’re using them for extended periods. However, they aren’t suited for long-range access, so think twice if you need to cover a large area.
Additionally, cellular cameras often come with auto connect technology to ensure seamless nationwide coverage without needing WiFi.
Ultimately, what’s important is to figure out which method aligns with your specific needs. Do you want real-time notifications, or is local image transfer enough? Each type has its own strengths, and the right choice will depend on how and where you plan to use your camera. Now that we’ve covered the options, let’s explore some tips for setting up each type effectively!
Recommended Products

Cellular Connectivity: SPYPOINT FLEX-DARK sends full-HD photos and videos with sound directly to your phone through the free SPYPOINT app, keeping you informed remotely

1 L Home Model LC-H and can be powered by Verizon or AT&T. This unit connects all cameras in the system. The unit sends the pictures to the user via e-mail or the Cuddeback App.

36MP Photos and 1080p Videos with Sound: Capture clear images and videos day or night with a 100' flash and detection range.
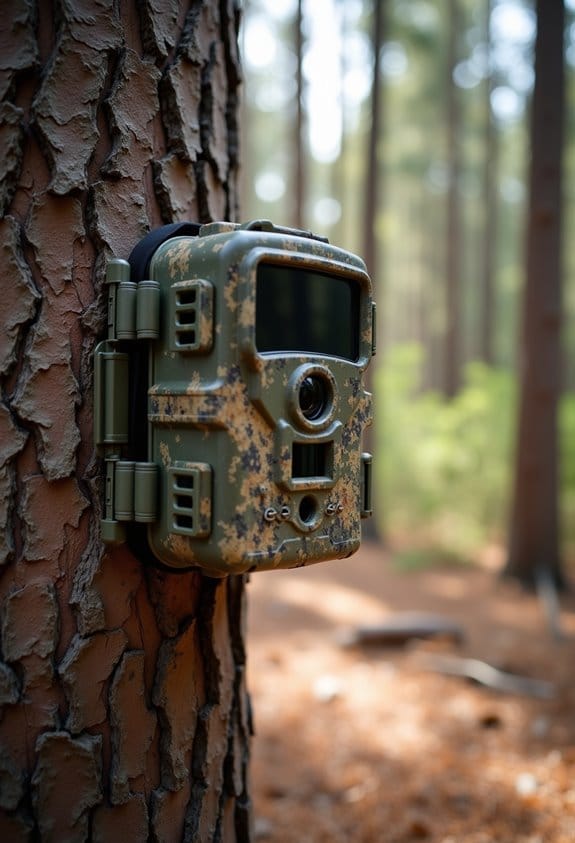
How to Store and Organize Your Trail Camera Images
Storing and organizing your trail camera images doesn’t have to be a headache if you follow some straightforward tips. With cellular trail cameras at your disposal, you can choose to save images directly on the SD card or opt for cloud storage. Let’s break it down into a few easy steps that will make your life simpler.
First off, consider setting up email notifications. This way, you can receive pictures directly in your inbox as soon as they’re captured. It’s super convenient, especially when you’re trying to monitor specific wildlife activity. Imagine getting an alert and then instantly seeing that big buck you’ve been tracking.
Next, organization is key. Create folders on your computer or cloud storage based on dates or locations. This makes it a breeze to find that one photo you’re looking for later. For example, you might have a folder for “August 2023 – North Woods” and another for “October 2023 – Southern Field.”
Don’t forget to tag and categorize your images if your camera has a companion app that allows it. This can help you keep track of behaviors, like when certain animals are most active. Lastly, make it a habit to back up your files regularly. Transferring images from your SD card to another device or a cloud service is a smart move to ensure you never lose those precious shots.
Many cellular trail cameras also offer 4G LTE connectivity, enabling real-time transmission of images to your phone or cloud account for instant access.
Now that you’ve got your images sorted out, let’s talk about the best ways to interpret those pictures and learn more about the wildlife patterns you’re observing.
Recommended Products

1 Cuddelink Home LLC-H Cellular Camera Powered by Verizon or AT&T. This camera connects all cameras in the system. The Camera sends the pictures to the user via e-mail or text.

[Ultra HD] Read/Write up to 150/120 MB/s. 4K Ultra HD video displaying/recording

Bundle Includes: Muddy Trifecta 180 Cellular Camera with 36MP Photo Resolution and 1080p Video Recording (10-Pack, Brown), 10 x SanDisk 32GB Ultra SDHC UHS-I Memory Card (100MB/s) and Focus All-In-One High Speed Card Reader
Which Image Transmission Method Is Best for You?
If you’re trying to figure out which image transmission method works best for you, it’s essential to think about your specific needs and environment. Let’s break down some options for cellular trail cameras that you might find helpful.
First up is MMS. This is a solid choice if you’re looking for something straightforward and budget-friendly—especially useful in areas where the internet isn’t the best. For example, if you’re monitoring wildlife in a remote area, MMS can send you quick snapshots without needing a strong signal.
Then there’s SMTP. If you’re juggling multiple cameras, this method sends images directly to your email. It makes it easier to keep everything organized in one place. Imagine getting all your camera feeds in a single inbox—super handy when monitoring a large property!
FTP is another option to consider, especially for those who need to upload lots of photos to remote servers. It’s ideal for businesses in agriculture or security where managing large amounts of data is crucial. For instance, a farming operation might use FTP to get real-time footage of crop conditions without manual checks.
Lastly, think about satellite communication. This is reliable if you find yourself in truly remote locations without cellular service but be aware—it can be pricier. It’s like having a lifeline when you’re far off the grid.
Many modern cameras also offer smartphone app control, allowing you to manage and monitor images remotely with ease.
Recommended Products

8 Long Range IR Cameras L Series. This camera has a low glow IR flash, 100 ft. detection range and uses 4D batteries.

Bundle Includes: Stealth Cam 40MP Deceptor Max Cellular Trail Camera with 0.4-Second Trigger Speed (2-Pack) x 6, 32GB Memory Card (12-Pack) and 4-in-1 Card Reader
Bundle Includes: Browning Trail Camera Defender Pro Scout Max HD Cellular Trail Camera with Smart IR Video (6-Pack), 32GB Ultra SDHC UHS-I Memory Card (6-Pack), and High Speed USB 2.0 Card Reader
Frequently Asked Questions
How Does a Trail Camera Send Pictures to Your Phone?
Did you know over 90% of trail cameras now use cellular connectivity? Our trail camera sends high-resolution photos directly to our phones via cloud storage, optimizing image quality and app functionality for seamless remote access and field management.
How Do Trail Cameras Transmit?
Trail cameras utilize cellular technology for photo transmission techniques, employing data transfer protocols for swift connectivity. Their features enhance wildlife observation and user experience, offering smartphone integration benefits while considering environmental impacts in hunting technology evolution.
What Are the Downsides of Cellular Cameras?
As the saying goes, “There’s no such thing as a free lunch.” We face subscription costs and maintenance needs, while managing battery life, signal reliability, and privacy concerns that affect image quality and setup complexity.
How Does the Cellular Trail Camera Work?
Our cellular trail camera uses cellular technology and motion sensors to capture high-quality photos. With easy installation, a user-friendly interface, and remote access, it operates efficiently on a data plan while considering battery life and activation periods.