As an Amazon Associate, we earn from qualifying purchases. Some links on this site are affiliate links at no extra cost to you. Our recommendations are based on thorough research and editorial judgment.
SIM Cards in Trail Cams: APN Settings and Common Setup Issues
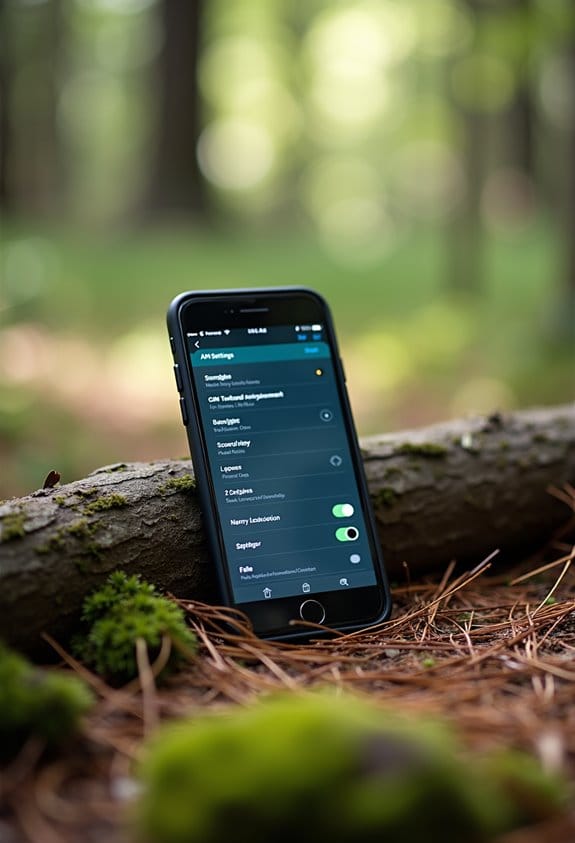
When using SIM cards in trail cameras, it’s key to understand APN (Access Point Name) settings. These settings connect your camera to the cellular network. Here are some important points to contemplate:
- Make sure you enter the correct carrier-specific APN settings.
- Restart the camera after configuration for the changes to take effect.
- Double-check your input to avoid errors.
- Test your camera to guarantee connectivity.
You may be interested
If you’re facing issues, there are some common troubleshooting steps we can take together.
Key Takeaways
- SIM cards enable trail cameras to connect to cellular networks for real-time photo transmission and remote monitoring.
- Proper APN settings are crucial; consult your carrier for the correct parameters to ensure connectivity.
- Incorrectly configured APN settings can prevent image uploads and timely alerts; double-check entries for accuracy.
- Ensure your SIM card is activated and compatible with the camera model and specific cellular network used.
- Test the camera’s connectivity after setup and check for software updates to maintain optimal performance.
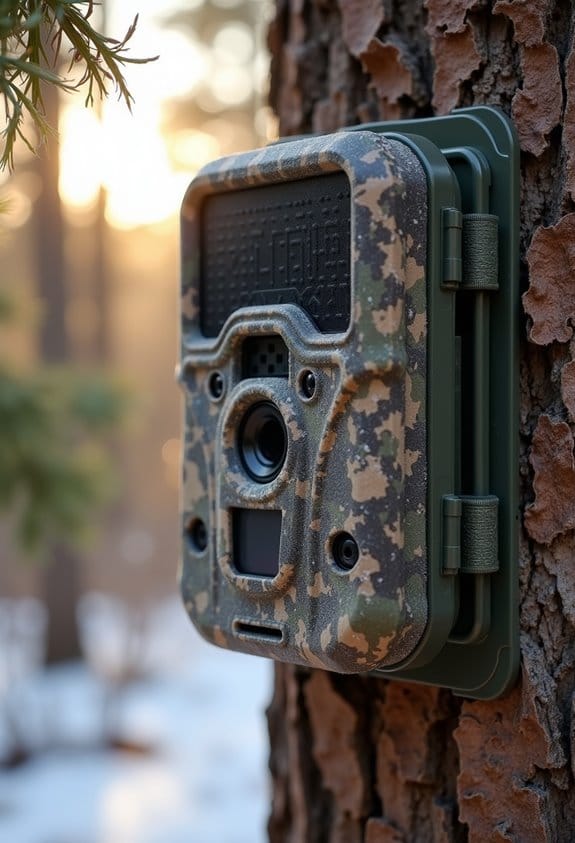
Understanding the Role of SIM Cards in Trail Cameras
Hey there! So, let’s chat about trail cameras and something really crucial to their operation: SIM cards. These little guys are what allow your camera to connect to a cellular network, so you can get photos sent straight to your phone or even to cloud storage without having to check the camera physically.
Now, why are SIM cards such a big deal? Well, first off, they help in transmitting those photos in real-time. For instance, if a deer strolls by your camera, you can get that image instantly, instead of waiting until you check it later. It’s all about convenience! You also need to pick a SIM card that’s compatible with IoT (that stands for the Internet of Things, by the way). Certain cards are specifically designed for devices like trail cameras, which helps ensure a smooth connection.
Let’s not forget about APN settings, either. These are like your SIM card’s personal address that your carrier provides to ensure your camera connects properly to the network. If these settings are off, you might find yourself staring at empty space instead of beautiful wildlife photos! Activation issues and weak signal strength can trip you up too, so it’s super important to choose a reliable SIM card.
Ultimately, while trail cameras can save images locally, having a SIM card opens up a whole new world of accessibility. You get to check your shots on-the-go, which is pretty neat. Many trail cameras also offer flexible data plans pricing to suit different budgets and usage needs, so you can manage costs effectively.
Next up, we can explore some tips on choosing the best SIM card for your specific trail camera needs!
Recommended Products

Cellular Connectivity: SPYPOINT FLEX-DARK sends full-HD photos and videos with sound directly to your phone through the free SPYPOINT app, keeping you informed remotely

What's in the bundle: 4*Reolink TrackMix LTE; 4*Reolink Solar Panel 2; 4*SIM Card; 4*128GB microSD Card

Bundle Includes: 10 x Browning Defender Pro Scout Max Extreme HD Cellular Trail Camera with GPS Images and Smart IR Video, 10 x 32GB Ultra SDHC UHS-I Memory Card (100MB/s), and All-In-One High Speed Card Reader
Step-by-Step Guide to Configuring APN Settings for Your Device
Configuring your APN settings can seem a bit daunting at first, but I promise, it’s simpler than it sounds! Think of the APN (Access Point Name) as the bridge that connects your device to the internet through your mobile network. Let’s walk through it step-by-step.
First things first, open up your settings. If you’re using an Android device, just head over to Settings, then tap on Network & Internet, and finally, go to Mobile Network. For iPhone users, it’s under Settings, then Cellular, and you’ll find Cellular Data Network waiting for you.
Once you’re in the right spot, it’s time to enter the APN parameters. These details are specific to your mobile carrier, so it’s a good idea to check their website or any documentation they provide. For instance, if you’re with AT&T, you might need to enter “phone” for the APN. Each carrier has its own settings, so just make sure you get the right ones!
After you’ve filled everything in, don’t forget to restart your device. This little step is crucial because it allows your phone to apply the changes and reconnect to the network. It can significantly enhance your internet connection, especially if you’re trying to access downtime content remotely.
If you run into any hiccups along the way, double-check those APN settings you entered. Sometimes a small typo can cause issues. If problems persist, consider restoring your default settings; this can clear up any misconfigurations that might’ve crept in.
Keep in mind that many cellular trail cameras come with Auto Connect technology that simplifies setup by automatically handling APN configurations for you.
And there you go! With a little patience, you’ll have your device all set up for seamless internet access. Feel ready to dive deeper into internet troubleshooting, or do you have another tech topic on your mind?
Recommended Products

In an hour, add dependable wireless access control, one door at a time-easily retrofit standard knobsets

【For GMC Sierra Chevrolet Silverado 2019 2020 2021 2022 2023】for gmc sierra car radio upgrade 15.6 inch high-definition touch screen with a resolution of 1920*1440 big screen, Android 14 with 8 core qualcomm snapdragon CPU fast processor and 128GB large memory. Retain original car system and support all original car function, replace original car screen 7 inch and 8 inch, support manual and auto AC. it come with two different power cables , you need to choose the correct one to plug

Performance with Snapdragon 8 Gen 3: Experience the cutting-edge power of the Snapdragon 8 Gen 3 chipset, offering blazing-fast speeds, enhanced gaming performance, and seamless multitasking for an ultra-smooth mobile experience.
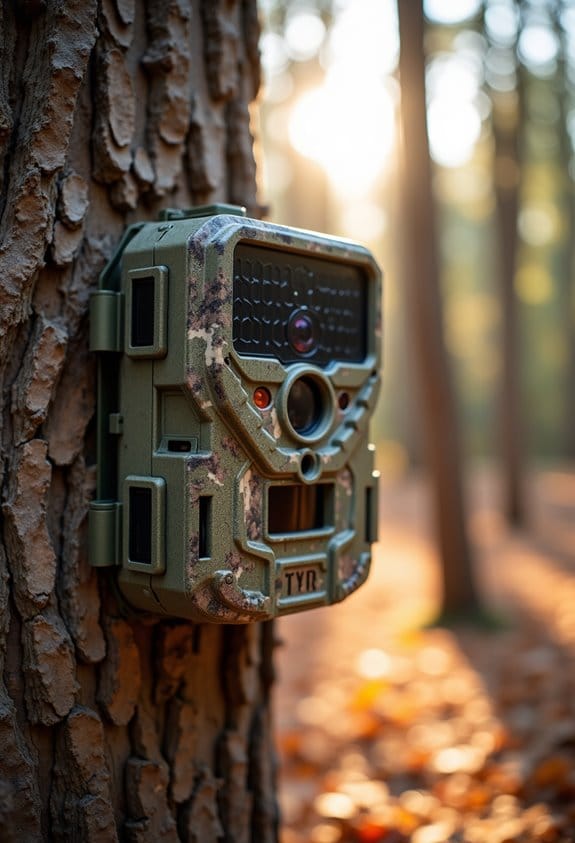
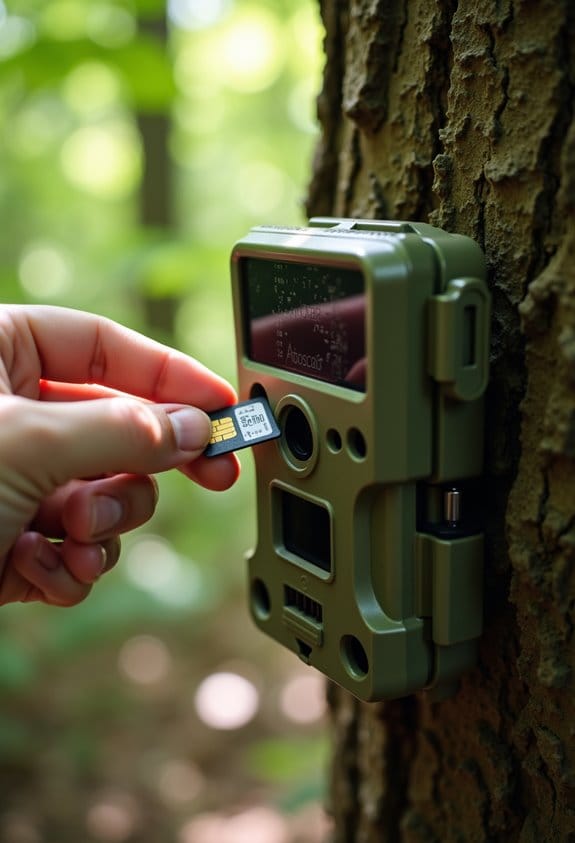
Top SIM Card Setup Issues and Fixes
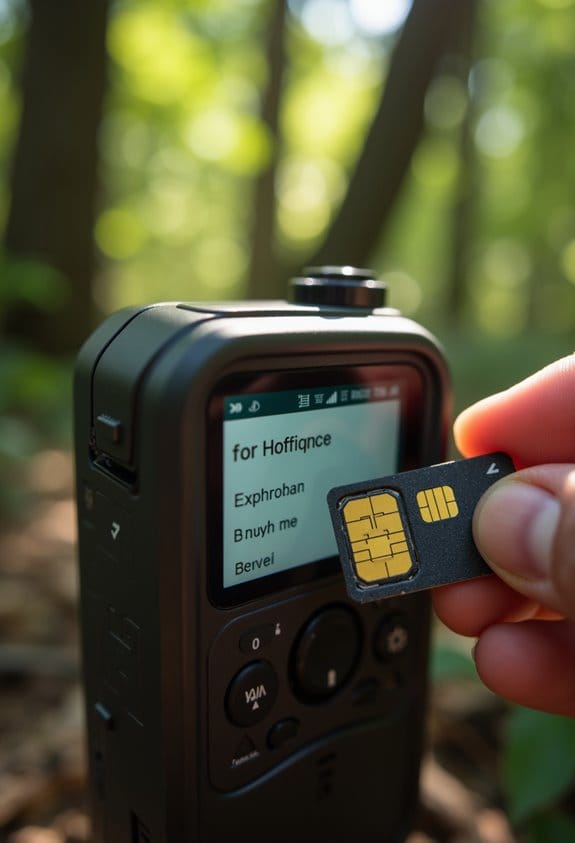
Setting up a SIM card for your trail camera can be a bit tricky, but don’t worry! Let’s tackle some of the common hiccups you might encounter. First off, make sure your data plan is activated specifically for your trail camera. If you accidentally signed up for a phone plan, you might find your camera unable to connect. Always double-check that your plan lines up with the device’s needs.
Next up, APN settings are crucial. These are like your camera’s address book for the internet, and if they don’t match what your carrier requires, your data transmission could lag or fail altogether. For example, you might need to enter specific APN details from your carrier’s website to get everything working smoothly.
Don’t forget about how your SIM card fits in the slot! If it’s not seated properly, you might think there’s a problem when it’s just a poor connection. Give it a gentle push and ensure it clicks into place. After checking all of this, test the connectivity. If you’re still facing issues, try reinserting the SIM card and restarting the camera. Sometimes, a little reset is all you need to get things back on track.
Additionally, verifying your camera’s compatibility with 4G LTE connectivity can help ensure seamless remote monitoring and data transmission.
Recommended Products

INCLUDES Sixteen Tactacam Reveal Ultra Cellular Trail Cameras, and Sixteen 32GB Lexar SD Cards by Trail Cams Galore, a Trademarked Brand. The Tactacam Reveal Ultra is highly adaptable. It can be paired with optional accessories such as solar panels for extended battery life, and it is designed to work on multiple cellular networks, giving you flexibility in choosing your cellular provider.

What's in the bundle: 4*Reolink Go PT Plus; 4*Reolink Solar Panel; 4*SIM Card; 4*128GB microSD Card

【Perfect Fit for Toyota 4Runner 2010-2023 – Plug & Play】Designed exclusively for Toyota 4Runner 2010-2023, this car stereo seamlessly integrates with your factory system—retains steering wheel controls, OEM backup camera, 360° camera, parking sensors, USB/AUX ports, and displays door/AC/fuel info. No complex wiring—just plug & play!
How APN Settings Impact Your Trail Camera’s Performance
Hey there! So, you might think that just popping a SIM card into your trail camera is all you need to do, right? Well, let me tell you, getting the APN settings right is just as important. APN, or Access Point Name, is essentially the bridge between your camera and the cellular network. If those settings aren’t configured properly, your camera may struggle to send images or videos to your phone or computer.
For instance, if you’re using a camera that sends pictures to an app on your phone, having the wrong APN could make it slow to upload or even block the uploads altogether. No one wants to miss that perfect shot because of a connectivity issue! Plus, every mobile carrier has its own specific APN settings. You can usually find these on their websites or by giving their customer service a quick call.
Also, remember that networks are always changing, so keeping your APN settings updated is a smart move. That way, you’ll ensure your camera stays connected and you never miss a moment in the wild. Cellular trail cameras typically rely on 4G LTE networks to deliver real-time alerts and footage without needing Wi-Fi access, making proper APN configuration even more crucial. So, now that we’ve got the APN covered, let’s talk about how to troubleshoot any issues you might run into!
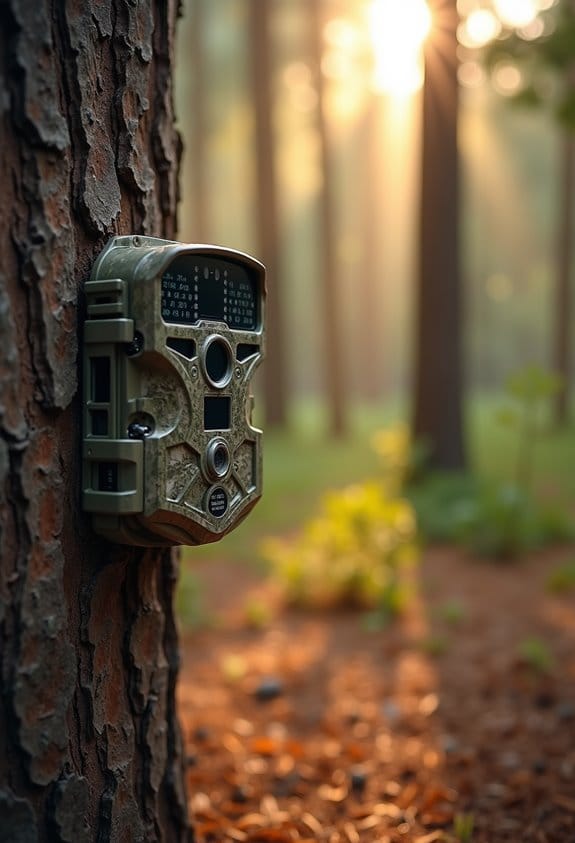
Troubleshoot Your Trail Camera Connectivity Problems
Hey there! If your trail camera isn’t sending pictures like it should, let’s figure this out together. The first thing you should check are the APN settings. Make sure they match what your cell carrier requires. If they’re off, that could definitely cause your connectivity issues.
Next up, think about the location of your camera. If it’s too far from a cell tower or blocked by trees or buildings, it might lose its signal. For example, if you’ve placed your camera in a low-lying area, try moving it up higher or to a more open spot.
Also, don’t forget about your firewall settings. Sometimes these settings can inadvertently block the connections your camera needs to send photos. Check your camera’s manual or the app settings to see if there’s anything you need to adjust there.
If you’ve tried all of this and it still isn’t working, consider doing a factory reset. This can clear out any software glitches that might be messing with its connectivity. Additionally, ensure your camera supports cross-carrier connectivity to improve network reliability in various terrains.
By checking these simple things, you can help ensure your trail camera captures all those wildlife moments you’re waiting for. Now, do you want to know more about optimizing your camera’s performance for better picture quality?
Recommended Products

Bundle Includes: Stealth Cam 40MP Deceptor Max Cellular Trail Camera with 0.4-Second Trigger Speed (2-Pack) x 10, 32GB Memory Card (20-Pack), and 4-in-1 Card Reader

Cellular Connectivity: SPYPOINT FLEX-DARK sends full-HD photos and videos with sound directly to your phone through the free SPYPOINT app, keeping you informed remotely

1 L Home Model LC-H and can be powered by Verizon or AT&T. This unit connects all cameras in the system. The unit sends the pictures to the user via e-mail or the Cuddeback App.
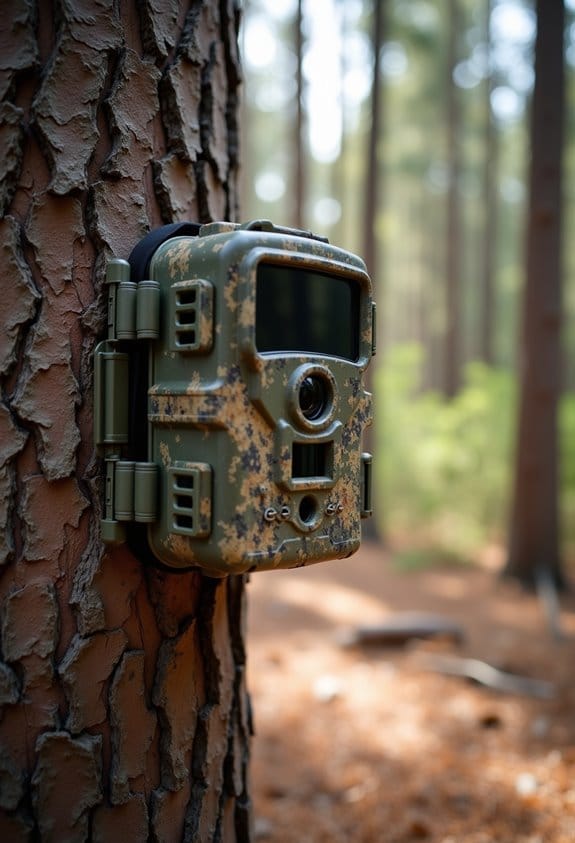
How Weather Affects Your Camera’s Signal Quality
Hey there! You know, weather can really affect your trail camera’s signal quality—more than you might think. When it rains heavy or snows, those water droplets can absorb or scatter the radio waves, making it trickier for your camera to maintain a strong connection. Imagine trying to send a text while someone’s pouring water over your phone; it’s a bit like that!
High humidity and fog can also get in the way. They mess with how signals travel through the air, which can lead to weaker connections. You might want to avoid placing your camera in spots that are notoriously foggy, especially early in the morning. And let’s not forget about the extreme temperatures! If it gets really hot or cold, that could cause the electronics in your camera to act up and become less reliable.
Strong winds can be sneaky, too. They might misalign your camera just enough that it struggles to capture a good signal. And remember those thunderstorm days? The electrical activity can really distort signal transmission. So, before you set up your camera, think about how the weather might affect it. Finding a protected spot where the camera can remain aligned might give you a better chance of catching that perfect shot! Additionally, choosing an antenna with a suitable waterproof rating like IP67 can help maintain reliable performance despite harsh weather conditions.
The Benefits of Cloud Storage in Modern Trail Cameras
Hey there! Let’s chat about the amazing benefits of using cloud storage in modern trail cameras. You know how challenging it can be to manage photos and videos when you’re out in the field? Well, cloud storage makes everything way easier and more efficient for monitoring wildlife.
First off, think about how having unlimited storage means you’ll never run out of space for those epic shots. All your images and videos are securely stored online. So, when you capture that once-in-a-lifetime moment of a majestic buck, you won’t have to worry about deleting old footage to make room for it.
And here’s something really cool: with remote access, you can check your photos from anywhere. Whether you’re at home or on the other side of the country, you can keep tabs on your camera. It’s perfect for not disturbing your favorite hunting spots while still being in the loop. Just imagine sitting on your couch and seeing what wildlife showed up while you were away!
Sharing your findings is a breeze too. If you’ve got a buddy who’s into hunting, you can easily share images without giving away your secret spots. It keeps that sense of camaraderie alive while still keeping those prized locations private.
Plus, managing your media becomes so convenient! You can access everything from any device, making it a snap to stay updated on wildlife activities. You could even create a shared album to keep track of all the interesting critters you’ve spotted over the season.
All these features mean that cloud storage really enhances the entire trail camera experience. Many models also offer instant motion alerts, so you get notified right away when wildlife passes by your camera.
So, as we look into how to select the right trail camera for your needs, keep these cloud benefits in mind!
Recommended Products

4 CAMERAS. 4 SOLAR PANELS. TOTAL PROPERTY COVERAGE. — Get four complete Tactacam Defend cellular security cameras, each with its own Defend solar panel to keep it running unattended. Watch every angle of your property from one app — driveway, gates, barns, equipment yards. Includes four Lexar 32GB SD cards and a Field Boys cleaning cloth. Over $305 in essentials, ready to mount out of the box.

2 CAMERAS. 2 SOLAR PANELS. SET IT AND WALK AWAY. — Cover twice the property with two complete Tactacam Defend cellular security cameras, each with its own Defend solar panel to keep it running unattended. Includes two Lexar 32GB SD cards and a Field Boys cleaning cloth. Over $155 in essentials, ready to mount out of the box.

2 CAMERAS. RECHARGEABLE POWER. READY TO MOUNT. — Cover twice the property with two complete Tactacam Defend cellular security cameras, each with its own rechargeable lithium battery pack. No more digging through your truck for AA batteries — swap a pack in seconds and keep a spare on the charger. Includes 2 Lexar 32GB SD cards and a Field Boys cleaning cloth. Over $135 in essentials, ready out of the box.
Frequently Asked Questions
Why Is My SD Card Not Working in My Trail Camera?
If our SD card isn’t working in our trail camera, let’s check its compatibility, guarantee it’s properly formatted, and verify the camera settings. Correct alignment also matters, so let’s double-check that too.
Why Is My SIM Card in but Not Working?
If our SIM card’s not working, it might be due to compatibility issues or a faulty card. Let’s check for network coverage problems too; these factors often get overlooked but are essential for proper functioning.
What Does a SIM Card Do in a Trail Camera?
A SIM card enables our trail cameras’ functionality by connecting to cellular networks. This allows for data transmission, offering benefits like instant image sharing and remote monitoring, enhancing our outdoor experiences and wildlife observation.
Why Does My SIM Card Not Allow a Connection to This Network?
Why can’t our SIM card connect to this network? It could be due to SIM compatibility issues, APN configuration errors, or network signal troubleshooting. Let’s check those settings to verify everything’s correctly configured for peak performance.