As an Amazon Associate, we earn from qualifying purchases. Some links on this site are affiliate links at no extra cost to you. Our recommendations are based on thorough research and editorial judgment.

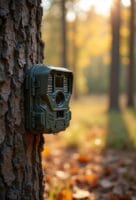
Where to Mount a Trail Camera: Edges, Funnels, and Travel Corridors
To mount your trail camera effectively, focus on key locations. Position it at edges where fields meet, near water sources, or in natural funnels like saddles and creek crossings. These spots guide deer movement. Watch for travel corridors, which are paths deer use between feeding and bedding areas. Don’t forget to adjust your camera through the seasons based on deer activity. If you want more tips on maximizing your camera’s performance, keep going!
Key Takeaways
- Mount cameras along travel corridors connecting bedding areas and feeding grounds to capture deer movement effectively.
- Utilize natural funnels like saddles and creek crossings to increase the chances of dense deer traffic.
- Position cameras near the edges of fields where different crop types meet for optimal feeding activity observation.
- Establish mock scrapes in known buck frequenting areas to attract and monitor their movement.
- Angle cameras slightly downward at chest height to reduce false triggers and improve photo quality.
How to Choose the Best Places for Your Trail Cameras?

You may be interested
Hey there! If you’re gearing up to set your trail cameras, picking the best places can make all the difference in catching that wildlife action. First off, try to set your cameras along travel corridors. These are pathways that connect where deer sleep to where they munch on food. Imagine spotting a camera near a clear trail that leads from a thick brush to a lush field — perfect!
Another good spot is in funnels, like those little gaps or saddles in the landscape where deer are naturally funneled through. It’s like nature’s highway for them! And don’t forget about the edges of fields. Those spots where two types of crops meet can be a magnet for deer looking for snacks, plus they give you a great view of any passing critters.
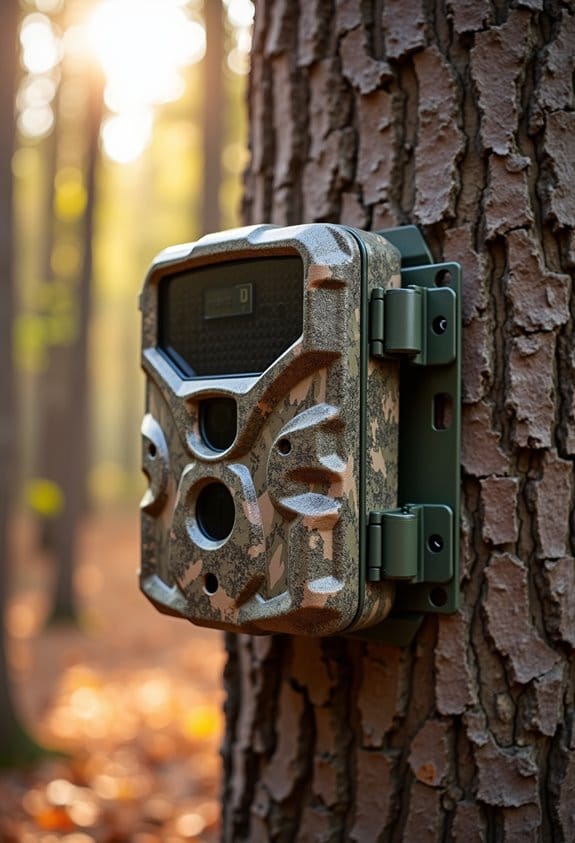
You might also want to set up mock scrapes in areas where you know bucks hang out. They’ll often visit these spots to leave their scent and assert their territory. For the best shots, angle your camera slightly downward and attach it at chest height. This can help reduce those pesky false triggers while ensuring you capture clear images.
Once you’ve found those perfect spots, it’s time to think about what you want to do with the footage you get. Using trail cameras with cloud storage can help you access and manage your footage easily without draining your mobile data.
Identifying Effective Funnels for Deer Movement

Hey there! If you’re looking to enhance your trail camera setup, understanding effective funnels for deer movement is a game-changer. Think of funnels as those natural highways that guide deer from point A to point B. They help us figure out the best spots to place our cameras.
One of the best examples of a funnel is a saddle. It’s that low area nestled between hills, and it acts like a channel, directing deer movement. Another great spot is creek crossings. Water is essential for deer, so if you set up your camera near a crossing, you’re likely to catch some action. Narrow ridges work similarly—they help funnel deer into tighter areas, making for easy spotting.
When you’re out scouting, keep an eye out for transition zones, too. These are the spots where dense cover meets open fields. They serve as the perfect pathways between deer’s bedding areas and feeding grounds. By mapping out these travel corridors, you’ll start noticing consistent patterns, especially when deer are on the move during the rut. Using a 4G LTE cellular trail camera can also help you monitor these key locations remotely and in real time.
How to Utilize Travel Corridors for Optimal Camera Placement

Setting up your trail cameras in travel corridors can really elevate your game when it comes to capturing deer on film. These corridors are like highways for deer, connecting places where they sleep and eat. If you want to make the most of this strategy, I’ve got a few tips that might help.
First off, look for natural funnels in the landscape. Things like ridges or saddles naturally guide deer along certain paths. For instance, if you spot a narrow valley between two hills, that could be a prime spot to set your camera. Also, try to place your camera at a 45-degree angle to where the deer are coming from. This way, your camera has a better chance of detecting their movement efficiently.
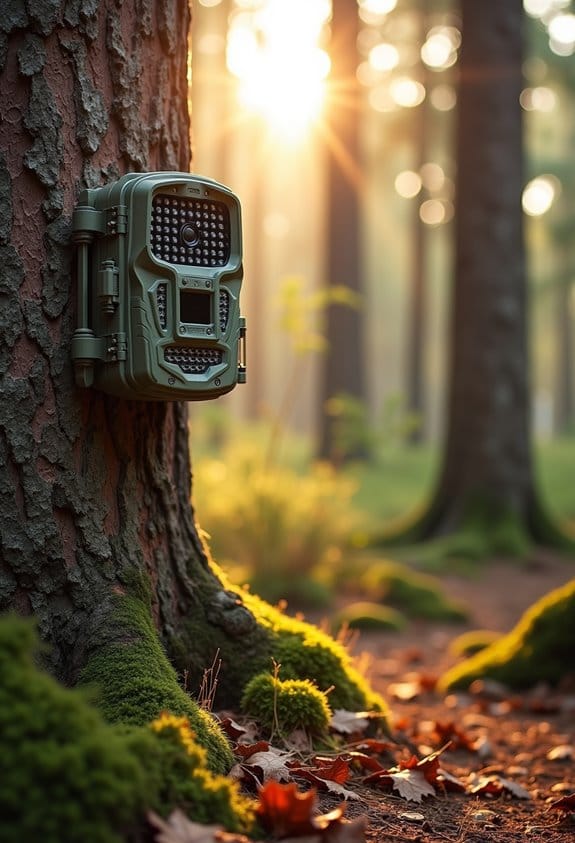
Next, it’s essential to set your camera up close to well-defined trails. We all know deer are creatures of habit, often sticking to the same routes. Plus, consider the timing! Deer tend to be most active at dusk and dawn, so those are the times you’ll want to capture their activities on film. And don’t forget to camouflage your camera; blending it into the surroundings will help keep from spooking the deer. For extended monitoring, consider using trail cameras equipped with solar power capabilities to reduce maintenance and battery changes.
Adjusting Camera Placement Through the Seasons
As the seasons shift, deer behavior changes, so it’s crucial to adjust our camera placements to stay in the loop. For example, during the summer months of June to August, I recommend setting up trail cameras along feeding routes near crops like soybean and clover. This way, you can keep tabs on buck activity well before the fall hunting season rolls around.
When early fall hits, specifically in September and October, it’s time to relocate those cameras. Focus on natural food sources—think about acorns—and look for active scrapes. These spots are fantastic for capturing images of bucks as they start to make their movements more predictable.
Once November arrives, shift your attention to rut funnels and travel corridors. These areas are where bucks typically wander as they navigate between doe bedding spots. It’s an exciting time, and having your cameras set right can really pay off.
In December, I recommend going back to food sources like corn and bean fields. This setup allows you to see which deer are around post-hunting season and how their behavior has changed.
During the off-season months of January through March, keeping your cameras in key areas is vital to tracking buck survival rates. These months can reveal shifting patterns that can help you plan for the future.
Adjusting camera placements based on the season keeps your game plan sharp and ready. It’s all about being one step ahead of these elusive creatures! Consider cameras with night vision technology for effective 24/7 monitoring regardless of lighting conditions.
Avoiding Common Mistakes in Camera Placement
Setting up trail cameras can be exciting, but there are some common mistakes you definitely want to avoid to get the best results. Trust me, the placement of your camera can make or break your chances of capturing that perfect shot. For starters, it’s usually not a good idea to set up your cameras near creek crossings or fence lines. These areas might seem like a good bet, but they often don’t have much deer traffic. Instead, think about places where deer transition between their hiding spots and feeding areas—these are your sweet spots!
Next up is camera settings. I can’t tell you how many times I’ve rushed out only to realize my settings were all off. Make sure to take a minute to double-check those settings before you head out. For instance, if you’re in a heavily wooded area, you might want to adjust the sensitivity to avoid those pesky false triggers from moving branches.
Another biggie is human scent. It’s super easy to accidentally leave your smell behind when you’re checking your cameras, which can scare deer away. Try to limit how often you visit your cameras, and maybe wear gloves or keep your gear in a sealed bag to reduce that scent.
Lastly, pay attention to the angle and sunlight. Position your camera at about a 45-degree angle, so it lines up with the direction deer like to move. And remember to think about sunlight; you don’t want the glare ruining your shots.
Also, regularly monitoring your camera’s signal strength can help ensure clear image capture and optimal performance in remote spots.
Integrating Mineral Blocks and Mock Scrapes for Better Results
If you want to capture amazing footage of deer, it’s not just about where you place your camera—it’s also about making the area appealing to them. By using mineral blocks and mock scrapes together, you can really boost your chances of seeing more deer. For instance, mineral blocks are great for attracting whitetails in the spring and summer months when they’re looking for extra nutrients.
When setting up your trail cameras, try facing them towards these mineral blocks. This way, you’ll avoid any glare from sunlight and ensure your images are nice and clear. Now, let’s talk about mock scrapes—these are essentially spots where you mimic a deer’s natural behavior by scraping the ground and adding some scent. Placing these scrapes near food plots or along travel routes can really encourage deer to stop by frequently.
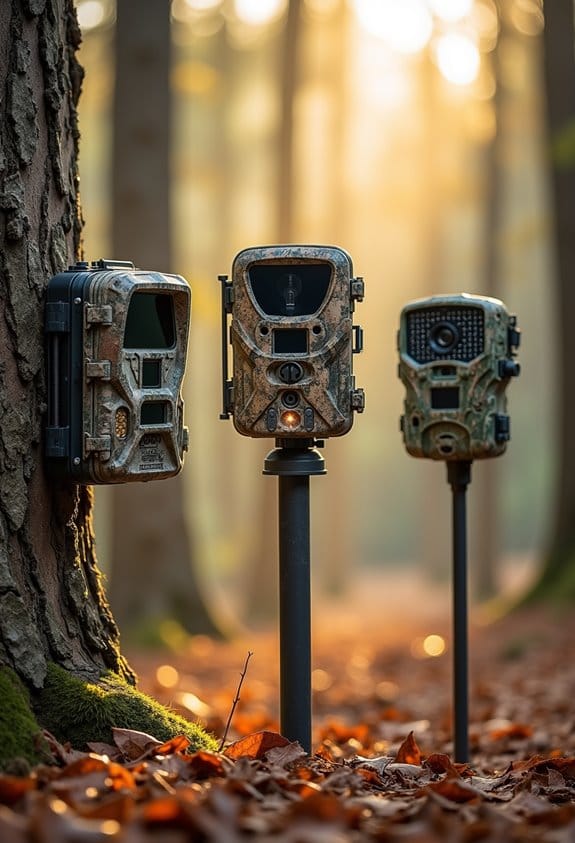
Setting up your cameras at these mock scrapes means you can snap pictures of bucks visiting on a regular basis, giving you a peek into their habits and interactions. Using both strategies not only helps you see more of your local deer but also enriches your hunting experience, helping you to understand their dynamics better. It’s all about creating that inviting atmosphere which draws them in and keeps them around. So, once you’ve got your cameras set up, you can start focusing on other elements, like the timing of your visits to these spots. Choosing a mount with a 360-degree rotation feature helps ensure you capture the best angles regardless of deer movement.
How to Monitor Patterns From Your Trail Cameras?
Hey there! So, if you want to effectively monitor deer patterns with your trail cameras, it all starts with understanding when they like to roam. I usually pay close attention to the times of day, especially at dawn and dusk, because that’s when you’ll catch them on the move the most. For example, I’ve noticed that in my area, around 6 PM is prime time as they head out to feed.
Next, think about the paths deer take. They often have specific trails they use to travel between their feeding and bedding spots. By setting your cameras along these routes, you can get a better idea of their regular patterns. Plus, keep an eye on what they’re munching on. Food preferences can change, particularly as the hunting season gets closer—paying attention to this can really help you forecast their movements.
One more thing to consider is the behavior of bucks. They shift from hanging out in groups during the fall to roaming solo during the rut, which can really change where you should position your cameras. Adjusting your camera spots as hunting pressure increases can also give you a tactical edge. This way, you’re more likely to see those big bucks sneak through!
Now, let’s take a look at how to use this information to pick the best spots for your cameras. Also, choosing cameras with advanced night vision can greatly improve your chances of capturing deer activity during low-light hours.
Final Tips for a Successful Trail Camera Strategy
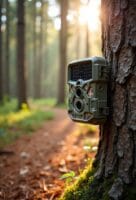
If you want to maximize your trail camera setup, there are a few things to think about that can seriously boost your results. First off, when you place your camera, aim for chest height and angle it slightly downward. This helps capture clear images of deer as they pass by because it’s more in line with their natural line of sight.
Next, consider the lighting. It’s best to point your camera north or south so that you can reduce glare from the sun, ensuring that your photos aren’t just bright washes of light. Additionally, think about situating your camera near terrain features like saddles or ridge tops. These are popular routes for deer as they travel between their bedding areas and feeding spots. You might find a great spot right where the woods meet a clearing—deer love those transitions.
Also, don’t forget to regularly move your camera. Deer behavior can change, especially with the seasons, so check in every few weeks and adjust accordingly. Observing how they navigate different areas can give you valuable insights. By paying attention to these details, you’ll set yourself up for success with more effective trail camera use. As you set out to capture those elusive deer, the next step is to consider what kind of bait or attractants might enhance your chances even further.
To protect your investment, always use weather-resistant trail camera locks to secure your equipment against theft and harsh outdoor conditions.
Frequently Asked Questions
Where Is the Best Place to Hang a Trail Camera?
Choosing the right spot is like finding the treasure map’s X. For the best mounting locations, we should analyze terrain features, focus cameras near water sources, and utilize height adjustments to capture wildlife movement patterns effectively.
In What States Are Trail Cameras Illegal?
Trail camera legality varies by state, often affected by hunting ethics and private property rules. We should always check local regulations on public land and stay updated on enforcement challenges and technological advancements before setting up cameras.
What Attracts Bears to Trail Cameras?
Bears are drawn to trail cameras by scent trails and food sources. Our camera placement near bait or carcasses enhances wildlife interactions, while seasonal patterns highlight bear behavior, making the right attractant types essential for engaging them.
Do Trail Cameras Make Deer Look Bigger or Smaller?
Trail cameras can indeed make deer look bigger or smaller. Factors like camera angles, image resolution, lighting conditions, and deer posture influence our perception, while zoom distortion and reflection effects also play roles in perceived size.