As an Amazon Associate, we earn from qualifying purchases. Some links on this site are affiliate links at no extra cost to you. Our recommendations are based on thorough research and editorial judgment.

Mounting in Open Fields: How to Create a Stable “No Trees” Setup
To create a stable game camera setup in open fields without trees, we recommend a few reliable mounting options. T-Post mounts offer great stability and allow 360-degree rotation. Heavy-duty tripods are versatile and help reduce vibrations. Ground stakes can work well too, but may struggle on rocky ground. Position cameras at the ideal height—usually about 3 to 4 feet for deer. Clear any obstructions for better visibility. Stick around for more tips on enhancing your setup.
Key Takeaways
- Use sturdy T-Post mounts to provide stability and support while allowing 360-degree camera rotation for versatile angles.
- Opt for heavy-duty tripods that reduce vibrations and wobbling, ensuring clearer images in flat areas.
- Secure cameras with ground stakes or augers for stability in windy conditions and unstable ground.
- Adjust camera height appropriately based on target wildlife to optimize visibility and clarity.
- Regularly perform maintenance checks to ensure unobstructed views and replace batteries as needed for peak activity monitoring.
How to Effectively Mount Game Cameras in Open Fields
You may be interested

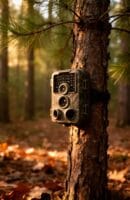
When you’re thinking about mounting game cameras in open fields, it’s really important to take your time and plan it out. A great option is to use a T-Post mount, which gives you a sturdy base and lets you adjust the height easily. This is super helpful since you don’t always have trees around to hang your camera from.
First off, try to find a spot where the camera can blend in naturally. Positioning it near some tall grass or bushes can help it stay hidden from animals and people alike. For example, if you’re targeting deer, aim to set the camera around 3 to 4 feet off the ground. On the other hand, if you’re after turkeys, you’ll want to bring it down to about 2 feet.
Also, while there are options like ground stakes or augers, be cautious if the area is rocky. Sometimes, they can be a bit tricky to work with. Think about starting with a T-Post mount and see how it does; you can always modify if needed. Speaking of modifications, let’s also consider how to choose the best locations for your cameras! Be sure to avoid placing the camera directly facing the sun to reduce glare and improve image quality when outdoors in open fields, a key factor as noted in sunlight angles.
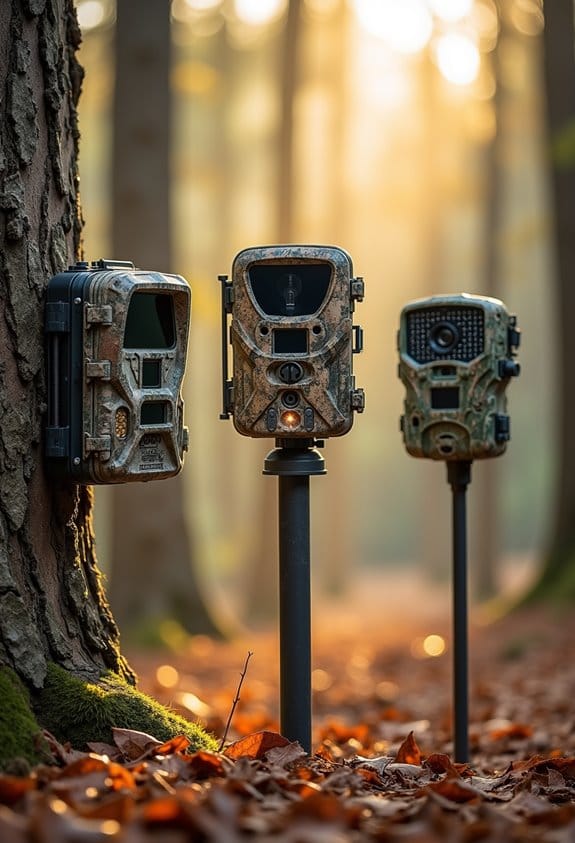
Best Camera Stands for Open Fields
When you’re out in open fields, choosing the right camera stand can seriously boost your wildlife monitoring efforts. So, let’s chat about a few great options that can make your job easier.
First up, T-Post mounts are fantastic. They give you that extra stability and height you need, and you can easily set them up where there aren’t any trees around. Just stick them in the ground and you’re good to go!
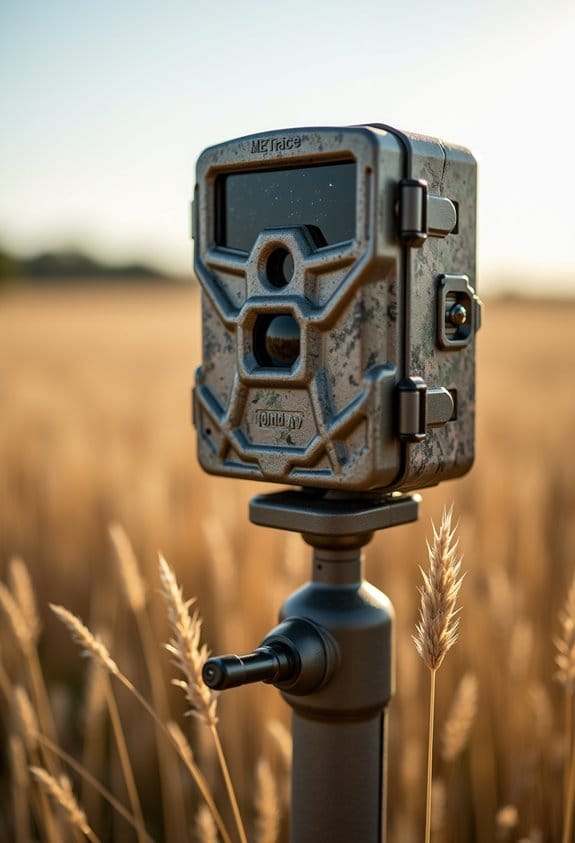
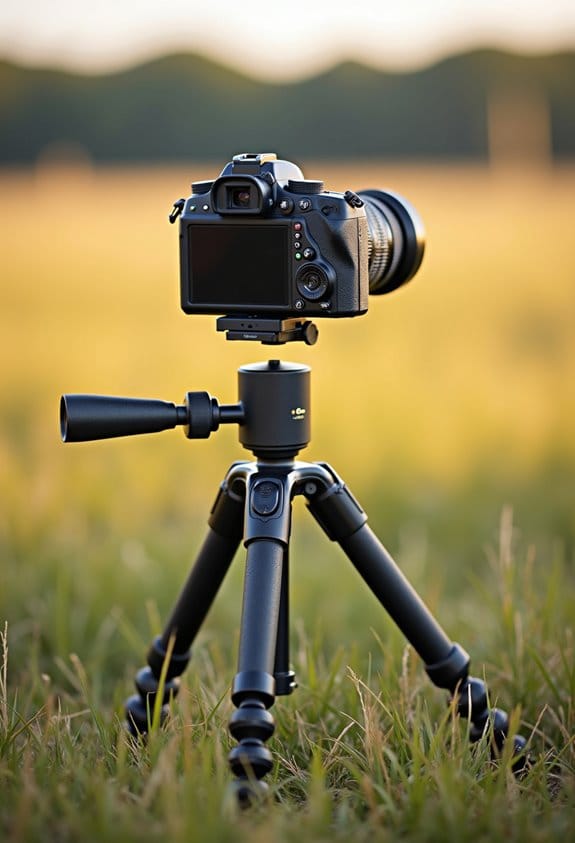
Next, consider tripod stands. These are super versatile and adjustable, which is perfect for flat, open areas. While they might take up a little more space in your vehicle, they allow you to tweak the height according to your needs.
Another option to think about is ground stakes. They’re especially useful for low-profile camera placements, which can be great when you want to capture close-up shots without disturbing the wildlife too much. Just be cautious of rocky or frozen ground—it can make the installation a bit tricky!
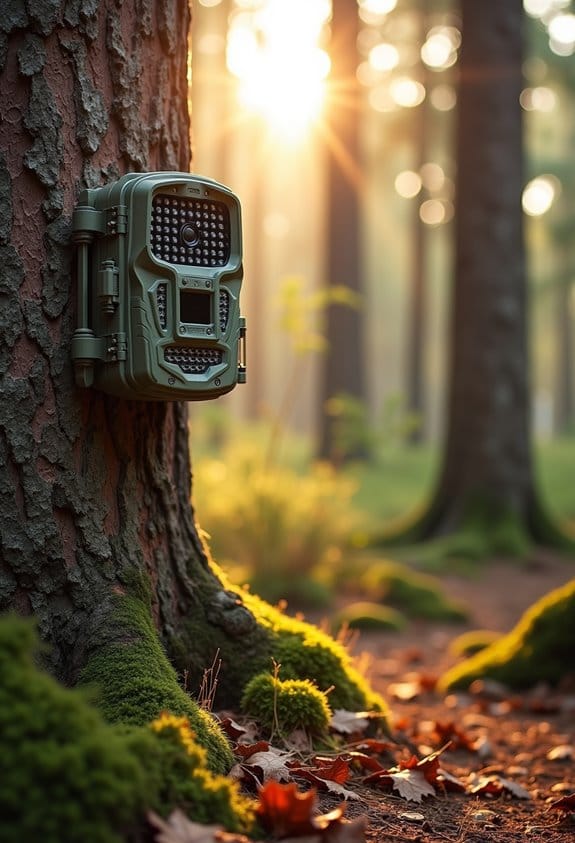
When you’re setting up your camera, aim for about 3 to 4 feet off the ground. This height is ideal for tracking deer movement and minimizes any disturbances to their natural activities. With the right setup, you’ll be well on your way to getting some excellent shots in no time!
Be sure to choose mounts with high load capacity to ensure your camera remains stable during operation. Ready to learn about the best camera options next?
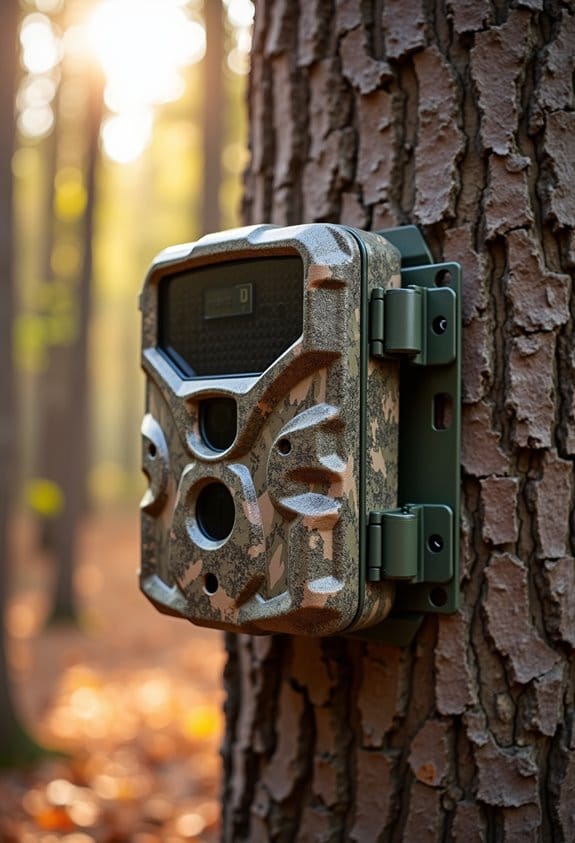
How T-Post Mounts Provide Stability Without Trees
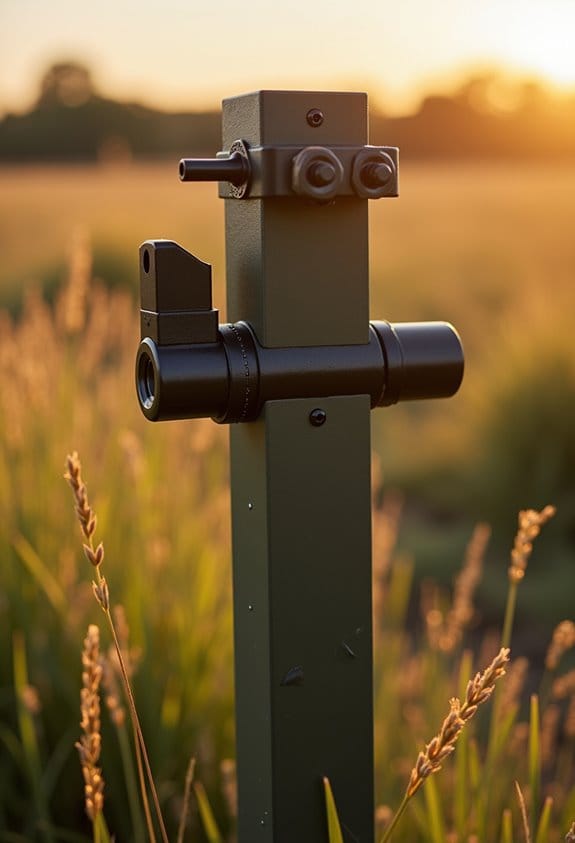
Hey! Have you heard about T-Post mounts? They’re fantastic for keeping your cameras stable in open areas, especially when there aren’t any trees around to support your gear. Imagine you’re out in a field trying to capture photos of wildlife — the last thing you want is shaky footage or to lose your camera during a gusty wind!
One of the great things about T-Post mounts is that you can easily adjust their height. This means you can position your camera exactly at the right level to get those perfect shots. If you’re in a spot where the ground is bumpy or uneven, it’s no problem; you just drive the T-Post right into the ground. Plus, they’re super portable! You can set them up quickly and move them around whenever you need. Many mounts also feature adjustable 360-degree rotation to help you capture wildlife from multiple angles with ease.
Using Tripods and Ground Stakes for Versatility
If you want to keep your camera steady when you’re out in open fields, using tripods and ground stakes is a fantastic option. Let me tell you why they’re so effective! First off, tripods allow you to adjust their height, so you can get the perfect angle for capturing wildlife. Think about it: if you’re trying to photograph deer grazing that might be a bit higher up on a hillside, you can easily extend the legs to match the terrain.
On the flip side, ground stakes are all about stability. They’re low-profile and super easy to set up, making them perfect for any kind of ground whether it’s soft grass or rocky soil. If you’re worried about vibrations from the wind messing with your shot, going for a heavy-duty tripod can really help reduce that shake, giving you crisp images without those frustrating false triggers.
What’s also great is how adaptable these setups can be. If the light changes or the wildlife shifts, you can reposition your equipment without missing a beat. Just make sure your camera has a 1/4-20 threaded mount, which is pretty standard. This way, you can easily switch between the tripod and the stakes without any hassle. Choosing mounts made with impact-resistant materials enhances durability and ensures your setup can withstand tough outdoor conditions.
Tips for Mounting Game Cameras at the Right Height and Angle
When you’re out setting up game cameras, getting the height and angle just right can really make a difference in what you capture. For example, if you’re aiming to catch some deer, try mounting your camera about 3 to 4 feet off the ground. If turkeys are more your focus, go a bit lower at around 2 feet. And for larger animals like elk, a height of 4 to 5 feet typically works best.
Now, let’s talk about angle. Tilting your camera slightly downward can help you get those clearer shots since wildlife, like deer, tend to be about chest level. It’s like trying to capture the perfect selfie—you want to find that sweet spot! Positioning your camera to face north or south is also smart, as it minimizes glare from the sun that could ruin your photos. Just make sure to clear away any nearby bushes or branches that could block the view.
Stability is key, too. You don’t want your camera wobbling around while it’s trying to capture all that wildlife activity. Using ground stakes or sturdy T-posts can help secure your camera in place. Think of it as setting up a mini fortress for your tech! Choosing mounts made from durable aluminum material also ensures your setup withstands various weather conditions.
Adapting Your Setup to Varying Terrain Conditions
If you’re setting up a game camera in open fields, adjusting for the terrain is super important. You want your camera to work well, right? Here are a few solid mounting solutions that do the trick.
First off, T-Post mounts are your friend. They’re sturdy and can be easily stuck into various soil types, making installation a breeze. If the ground is a bit more challenging, like soft or windy areas, consider using heavy-duty ground stakes or augers to keep it really stable. These low-profile setups blend in well and don’t wobble around even when the wind kicks up.
For those uneven patches of ground, portable tripods are a game-saver. They let you adjust the height and angle on the fly to make sure your camera captures the best view. If you’re dealing with really tough spots like rocky or frozen ground, try the rebar and PVC method. Pounding a piece of rebar into the ground and attaching your camera to it with PVC can really secure things in place.
And as you think about where to position your cameras, aiming for that sweet spot of 3 to 4 feet off the ground works wonders for monitoring deer. But don’t forget to keep adjusting based on the terrain you’re dealing with to ensure you get those prime shots! Speaking of positioning, let’s talk about determining the best locations in your area for maximum visibility.
To enhance your setup’s durability, consider trail camera mounts made from weatherproof materials that resist rust and withstand extreme conditions.
How to Secure Your Game Camera Gear
Hey there! If you’re looking to secure your game camera gear, you’re definitely on the right track. Keeping your camera safe and working well during the monitoring season is super important. Let’s chat about some straightforward ways to do just that.
First up, T-post mounts are a fantastic option. They keep your camera stable and elevated, giving you an excellent vantage point. Imagine snapping great shots of wildlife without the camera wobbling in the wind. On rugged ground, using ground stakes or even augers can help anchor your setup firmly, so you don’t end up with a toppled camera after a storm.
Now, if theft is a concern (and let’s be honest, it often is), heavy-duty security lockboxes are a solid investment. These boxes protect your camera, and when you pair them with cut-resistant Python cables, you’ve got a strong barrier against thieves. You might want to place your camera up high—above eye level—but angle it down slightly. This tactic decreases the chances of animals spotting it and disrupting your monitoring.
And don’t forget about regular maintenance! It’s super important to inspect your camera, wipe down the lenses, and check the batteries at the beginning of the season. For instance, taking five minutes to clean your gear can make a huge difference in picture quality. Choosing mounts with 360-degree rotation allows you to adjust angles easily to capture the best shots from various positions.
Seasonal Maintenance for Your Camera Setup
Hey there! If you’re using a game camera, keeping it in good shape year-round is super important. It’s not just about making sure it stays secure from the wind or pesky thieves; seasonal maintenance plays a big role in getting those crystal-clear images you want. Trust me, spending a little time on these tips can really help your camera work its best, no matter the season.
First off, before the season kicks into gear, take a moment to clean the camera lens. This simple step can prevent those frustrating blurry pictures we all hate. And if you’re like me and find yourself checking in on your camera during late summer, don’t forget to test the batteries! Swapping them out ahead of peak wildlife activity ensures your camera won’t let you down when you’re most eager to capture that elusive deer or the family of raccoons you’ve been monitoring.
Then, don’t forget about mid-season checks. It’s a good idea to look for any insect nests or debris that might be marring your camera’s view. Even a small blockage can mess up your shots, so a quick check can save you later. And when the season wraps up, make sure to store your camera in a dry place to keep both the camera and the mounting gear in tip-top shape until next time.
Oh, and keep notes on any repairs or adjustments you make along the way. This can really help inform your strategies for next season, ensuring you’re always a step ahead. So, with a bit of thought and care, your game camera can be ready to capture those incredible moments, no matter the time of year! Remember, using a mounting system with weather-resistant materials can significantly extend the life of your outdoor camera setup.
DIY Solutions for Custom Camera Mounting Needs
When it comes to mounting your game camera, finding the right setup can make all the difference in capturing those wildlife moments. DIY camera mounts are not only cost-effective but can also be tailored perfectly to your needs, especially in open fields. Let’s look at a few straightforward options you might want to consider.
One solid choice is using rebar and PVC pipe. This combo makes for a low-profile mount that works well in soft soil. Simply drive the rebar into the ground for stability, and then attach a piece of PVC at the height you want. It’s lightweight and easy to adjust.
Another option is to go with a wooden post mount. Using a 4×4 pressure-treated post set securely in concrete gives you a strong and sturdy setup. This is perfect for longer-term installations, as it’ll withstand the elements while keeping your camera steady.
If you live in an area with rocky or frozen ground, ground stakes might be your best bet. They help anchor your camera firmly, so you don’t have to worry about it tipping over.
And then there are tripod stands, which offer a lot of flexibility. You can easily adjust their height and angle to capture various wildlife activities. For instance, if you’re trying to photograph deer or birds at different elevations, a tripod makes it simple to switch between angles.
Each of these DIY camera mounts has its own strengths, so think about your specific setup and what will work best for you. Additionally, considering the weatherproof rating of your camera mount materials can ensure durability and consistent performance in outdoor conditions. Moving on, let’s explore how to angle your camera for optimal shots.
Frequently Asked Questions
What Type of Camera Is Best for Open Field Conditions?
For open field conditions, we recommend wildlife cameras and durable digital SLR or mirrorless models. Look for high resolution options, superior lens quality, excellent battery life, and infrared sensors to capture stunning shots without fail.
How Do Weather Conditions Affect Camera Performance?
We’ve noticed that weather can dramatically impact our camera’s performance. Factors like lens temperature, humidity effects, and wind speed influence image clarity, battery life, and sensor sensitivity, making stability essential during unpredictable conditions.
Can I Use Multiple Cameras in One Area?
Yes, we can use multiple cameras in one area. By employing smart camera strategies, we’ll guarantee simultaneous recording, cover all zones, sync playback, and manage power and data storage for seamless multi-angle setups.
What Is the Ideal Distance Between Cameras?
For ideal camera placement, we suggest keeping a distance of 30 to 50 feet. This guarantees optimal recording angles, overlaps coverage areas, minimizes blind spots, and accommodates wildlife behavior patterns while considering terrain analysis for effective photographic composition.
How Do I Minimize False Triggers From Wind or Debris?
Did you know that wind causes up to 30% of false triggers? To minimize them, we can adjust motion sensitivity settings, employ wind resistant mounts, and install debris shields, ensuring ideal trigger zones and effective false alarm adjustments.