As an Amazon Associate, we earn from qualifying purchases. Some links on this site are affiliate links at no extra cost to you. Our recommendations are based on thorough research and editorial judgment.
Reducing Motion Blur at Night Without Changing Hardware
To reduce motion blur at night without new hardware, we can adjust our camera settings and use available light. Here’s how:
- Increase the shutter speed to at least 1/200th of a second to freeze movement.
- Utilize external lights, like LED security lights, to brighten subjects.
- Set our camera to manual mode for better control.
- Turn off Wide Dynamic Range (WDR) to minimize blur.
You may be interested
By following these tips, we can capture sharper night images. There’s more to learn about optimizing your photos.
Key Takeaways
- Use a fast shutter speed of at least 1/1000 of a second to freeze motion and minimize blur.
- Improve ambient lighting by using available 30w LED security lights to enhance clarity and shorten exposure times.
- Disable high Wide Dynamic Range settings to prevent frame merging, which can increase motion blur.
- Switch to manual mode for precise control over settings, allowing you to optimize brightness and sharpness efficiently.
- Experiment with noise reduction settings to ensure clarity is maintained without introducing excessive noise during low-light shoots.
What Causes Motion Blur at Night?
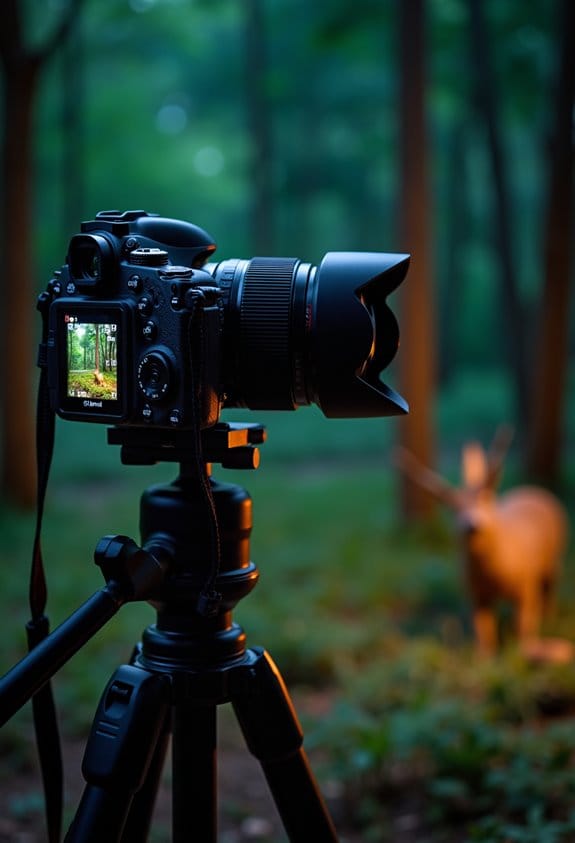
Have you ever noticed how motion blur can sneak into your nighttime photos? It’s a common problem that happens because of a couple of specific reasons. First off, if your camera is set to a slow shutter speed, it struggles to freeze those pesky moving subjects in low light. Ideally, you want your shutter speed to be at least 1/200th of a second if you’re trying to capture sharp images.
Another factor is the ambient lighting around you. When the light is dim, your camera needs to extend the exposure time to gather more light, and that can lead to blurriness. For instance, if you’re shooting traffic at night, the longer your camera takes to snap that picture, the more the cars will appear blurry as they zoom by.
Also, keep in mind that raising your ISO can help you get a brighter photo, but it can also introduce noise, which might muddy the details you’re trying to capture. So, a good rule of thumb is to balance your shutter speed, lighting, and ISO to get the best shot. This understanding can really help you improve your nighttime photography experience! Using cameras equipped with No-Glow IR technology can help capture clearer images at night without disturbing your subjects.
How Lighting Conditions Can Reduce Motion Blur
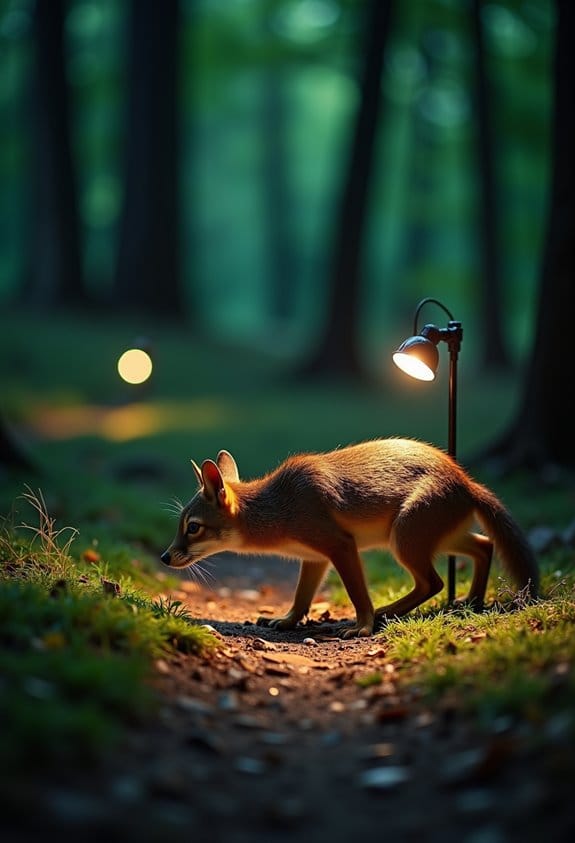
If you love snapping photos at night, you probably know that good lighting is key to reducing motion blur. Let’s chat about how light can make or break your nighttime photography.
First up, think about ambient lighting. When there’s enough light around, your images come out clearer and less blurry. But when it’s too dark, you’ll likely see more motion blur. Imagine trying to photograph a busy street scene; if there’s a streetlight or two, you’ll get better results than if you’re just relying on the glow of a distant moon.
Now, if you want to brighten your subject even more, consider using something like a 30w LED security light. This can really enhance the visibility of moving objects, making it easier to capture sharp images. It’s like giving your camera a little helping hand!
Another tip is to adjust your camera’s exposure settings. Opt for shorter exposure times to improve clarity in your shots. For example, if you’re taking photos of kids playing at dusk, a quicker exposure will help freeze the action better. And don’t forget about your camera’s settings. Enabling Smart IR and setting the gain between 10-40 can help clear things up too.
One last thing to keep in mind is WDR settings. If you have high WDR turned on, it might merge frames and actually make the blur worse. So, turning that off might just be the simple fix you need.
For optimal positioning and steady shots in outdoor environments, consider using a 360-degree rotation mount, which allows for flexible camera adjustments and stability.
With a little attention to lighting and a few tweaks to your settings, you’ll find your nighttime photos can go from blurry to breathtaking. Ready to explore more tips to enhance your photography?
Recommended Products

UL/cUL LISTED - VOLT products are UL Listed for safety; most competitors' landscape lighting products on Amazon are not.

Solid Brass Construction - The Gardenreet landscape path light with heavy duty solid die-cast brass construction is more durable and reliable than aluminum and plastic fixtures; bronze landscape lights will not rust, age, or peel over time and last a lifetime with a single installation.High-end brass finish, Classical glossy colors that shine in the light and make you win the praise and envy of neighbors

UL/cUL LISTED - VOLT products are UL Listed for safety; most competitors' products are not.
Step-by-Step Guide to Optimizing Your Camera Settings
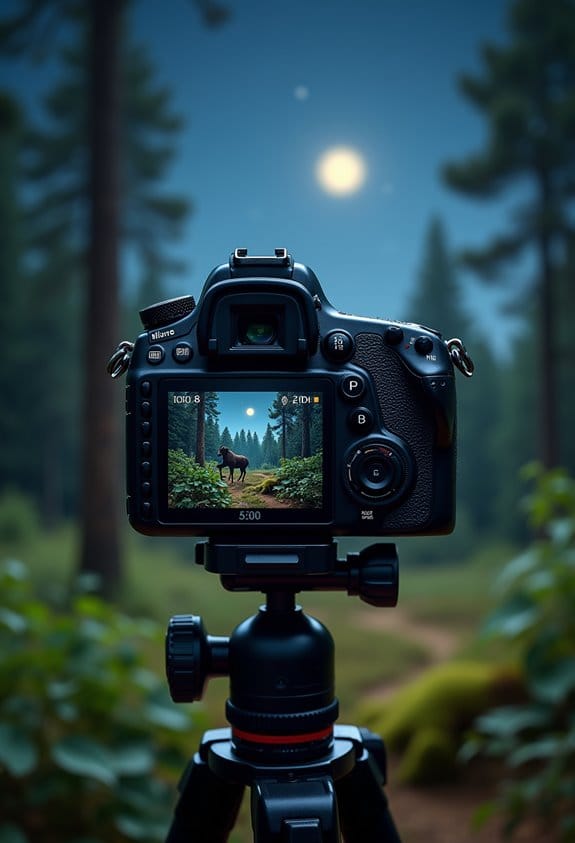
Capturing stunning nighttime photos isn’t just about finding the right light; it’s also about optimizing your camera settings to get the best results. So, let’s talk through some key adjustments you can make to truly elevate your nighttime photography game.
First up, shutter speed. You’ll want to set it to at least 1/1000 of a second or even faster. This is super important, especially if you’re trying to capture quick movements—think about people walking or cars passing by—without a blur. If you’re shooting something stationary, you might not need it that fast, but it helps to keep it in mind!
Next, let’s look at exposure time. Keeping it short gives you more control over how bright your images look, plus it helps maintain that sharpness we all desire. Instead of letting the camera decide how much light to let in, try to find that sweet spot yourself. It might take a bit of experimentation, but that’s part of the fun, right?
You should also switch to manual mode if you haven’t already. It allows you to tweak the brightness and contrast directly. This way, you prevent any unwanted adjustments that could lead to blurry images—especially in tricky lighting conditions.
Here’s another handy tip: enable Smart IR if your camera has it. This technology can help keep your images clear in low light while minimizing those pesky digital noise spots that sometimes pop up in your photos.
Lastly, consider adding some extra light sources if you can. It could be something as simple as a flashlight or even ambient streetlights. A little bit of extra illumination can dramatically improve the quality of your photos and help reduce any motion blur, especially on those bustling city streets at night!
For optimal clarity, pairing your camera with a compatible IR illuminator can enhance night vision by providing sufficient infrared light without affecting the visible image quality.
Recommended Products

Outstanding image quality, 800mm Super-telephoto fixed focal length lens expands the EOS R system.
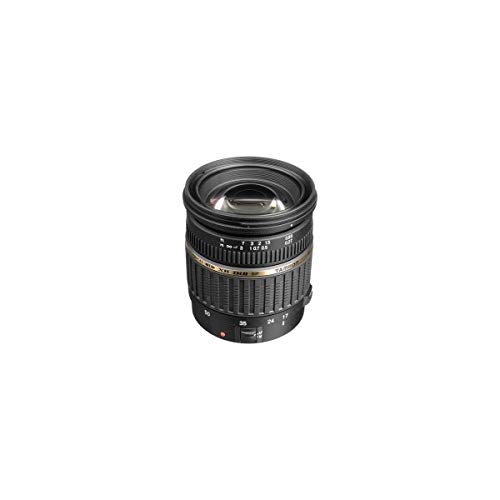
Construction: 13 Groups/ 16 Elements Diaphragm: 7 blades

Telephoto zoom lens that builds on the legacy of the popular EF300mm f/2.8 lens.
Techniques for Sharp Night Images
If you want to capture sharp night images, it’s all about mastering a few techniques that really make a difference. Think of your camera like a sponge—it needs enough light to soak up those details. So, let’s delve into some effective strategies together!
First off, consider your shutter speed. A quick shutter speed, like 1/1000 of a second, can really help freeze moving subjects, minimizing any blur. Imagine trying to photograph a dog running in the park at dusk; a faster shutter will capture that joyful leap without the fuzziness.
Next, lighting is your best friend. When ambient light is low, adding an external light source, like an LED security light, can brighten things up significantly. Picture setting up a small lamp aimed at your subject; it can bring out those intricate details in a way that’s tough without it.
And don’t forget to play around with your exposure settings. Lowering the exposure time can lead to sharper images, especially when you’re snapping those fast moments. For instance, if you’re photographing your friends laughing under the stars, adjusting your settings carefully can help capture that lively energy without blurriness.
Using cameras with a rapid 0.2 seconds trigger speed can also minimize motion blur by capturing images almost instantly.
With these techniques in your toolkit, you’ll be well on your way to snapping those stunning night images! Ready to talk more about the importance of choosing the right lens?
Recommended Products

👍【Mirror Photo Booth Built-in PC】Equipped with an Intel i5 processor,8GB RAM + 256GB SSD, ensuring smooth operation of the machine. Simply double-click the pre-installed photo software on the Magic Mirror Photo Booth to take photos and print them, or share them via SMS, email, QR code, or directly to Twitter, Facebook, and Instagram. The package includes a flight case, fun props, masks and a red carpet, creating a premium photo experience.

Groundbreaking proprietary LED chipset: Blue, Lime, Amber, Indigo, Red (BLAIR)This groundbreaking chipset enables exceptional spectral quality, unlocking more efficient utilization of each diode’s output and unparalleled accuracy in white light reproduction

Blazing-fast PCIe 5.0 speeds of up to 12000MB/s read, 11000MB/s write are nearly 2x faster than PCIe 4.0
How to Troubleshoot Common Issues in Night Photography?
Getting sharp images at night can feel tricky, especially when motion blur sneaks into your shots. But don’t worry! Let’s troubleshoot some common issues together.
First off, adjusting your exposure time can make a big difference. If your camera’s shutter speed is too slow, any slight movement can blur your photo. Try decreasing the exposure time a bit. For instance, if you usually shoot at 1/30 of a second, see what happens if you shift to 1/60. It’s a simple tweak that can help catch those crisp details!
Next up, make sure your lighting situation is on point. Check if any external lights you’re using are switched on and set to automatic. Even the tiniest bit of extra light can enhance the quality of your night photos. You might be surprised at how much brighter and sharper things look when you adjust your light sources.
Another thing to consider is the Wide Dynamic Range (WDR) settings on your camera. It might be helpful to turn that off for nighttime photography. WDR tries to balance bright and dark areas, which can sometimes lead to those unwanted blending issues that contribute to motion blur. If you’re taking a picture of the city skyline at night, for example, keeping WDR off can help maintain clarity where there are bright lights against a dark sky.
Switching to manual mode is also a smart move. By taking control of your settings yourself, you reduce the chance of blur caused by automatic adjustments. It’s a bit like driving; once you get the hang of it, you can steer your shots exactly where you want them to go. Play around with the ISO and aperture to find what works best for your environment.
Lastly, check your noise reduction settings. If they’re too high, the processing can interfere with the sharpness of your images and end up making your photos look even blurrier. Striking the right balance is key, so feel free to adjust those settings during your next shoot.
For enhanced night photography, consider using cameras with infrared technology, which improves visibility in low-light situations without disturbing the scene.
Recommended Products

Compact, portable rangefinder style design delivers classic camera handling
High Image Quality for Professional Needs: Video camera with an excellent weight balance, easy to use for news, interviews, and event photography; effective 15-megapixel 1.0-type MOS Sensor, 4K 60p/24p / FHD 60p Multi Format, HEVC codec

World’s Fastest AF acquisition speed of 0.03 sec. Optical image stabilization technology developed by Sony is valuable for handheld still and movie shooting, especially in low light or at the ultra-telephoto end of the zoom range up to 600 mm
Frequently Asked Questions
How to Lessen Motion Blur?
To lessen motion blur, we should increase shutter speed, apply stabilization techniques, and make lighting adjustments. These steps help us capture sharper images by minimizing blur, especially in low-light situations. Let’s experiment together!
Which Technique Would Be Best to Reduce Motion Blurring?
To tackle motion blurring, we should prioritize faster shutter speeds while adjusting our ISO settings. Effective image stabilization can further enhance clarity, making our nighttime shots as crisp and vibrant as an old-timey photograph!
How to Photograph Moving Objects at Night?
To photograph moving objects at night, we should use night photography tips like adjusting shutter speed to at least 1/500 seconds, while utilizing ambient light sources to enhance our images and reduce motion blur.
How to Make Action Shots Not Blurry?
Did you know that action shots can be up to 50% clearer with faster shutter speeds? Let’s use image stabilization and burst mode to capture stunning moments without the blur. It’s all about the technique!