As an Amazon Associate, we earn from qualifying purchases. Some links on this site are affiliate links at no extra cost to you. Our recommendations are based on thorough research and editorial judgment.
The Fastest Way to Review 10,000 Photos Without Missing Key Events
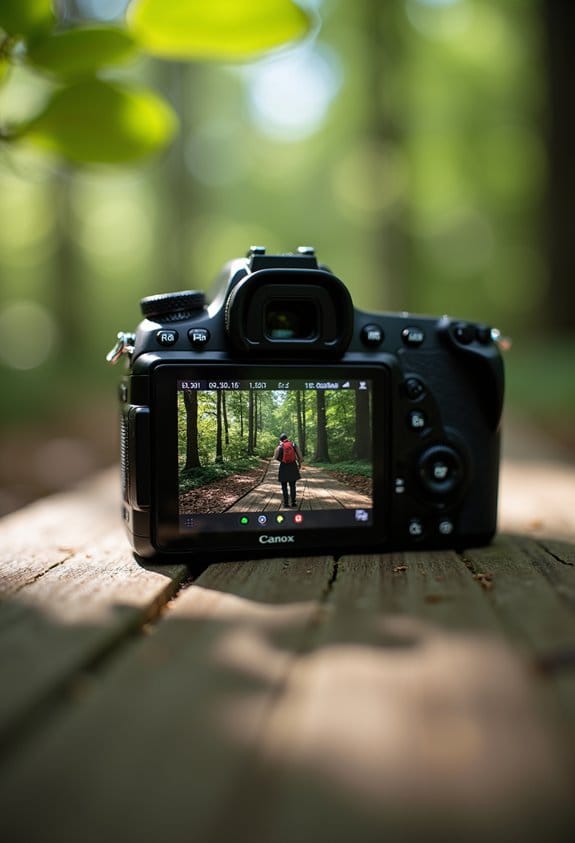
To review 10,000 photos quickly, start with a 5-minute sweep to eliminate blurry shots. Use a star rating system to mark your favorites and filter out unwanted images. Organize photos in date-based folders for easy access. Color-code images to indicate their importance. Leverage software like Adobe Lightroom for a smooth workflow, using tools for sorting and editing. By focusing on key moments and employing efficient techniques, you’ll streamline your process and enhance your photo review experience. There’s more to explore, so let’s keep going!
Key Takeaways
- Start with a quick 5-minute sweep to eliminate blurry and poorly lit images, ensuring efficient initial review.
- Utilize a star rating system to categorize photos and easily identify favorites among 10,000 images.
- Organize photos in date-based folders, facilitating fast access to specific events and dates for thorough reviews.
- Employ filtering in Adobe Lightroom to review only top-rated images, streamlining the editing and sharing process.
- Use color-coding techniques to designate the importance of images, quickly identifying key events among large collections.
Rapid Tactics for Efficient Photo Review

You may be interested


You know, when you have a mountain of photos to review, it can feel overwhelming. But if you break it down into smaller steps, it becomes much more manageable. Start by quickly skimming through the collection. Set aside about five minutes to zap away any real duds—those blurry or poorly lit shots. Trust me, this first sweep will lighten the load significantly!
Next, consider using a star rating system to organize your remaining images. For example, give one star to the photos you definitely don’t want, and use higher stars for the ones you like. This way, when you come back to them later, you’ll easily spot your favorites and avoid sifting through everything again.
If you have photo management software, like Adobe Lightroom, take advantage of it! It can really help you sort and organize your photos based on the ratings you’ve assigned. Also, using metadata filters can be a huge time-saver. For instance, if you shot a bunch of landscape photos, you can categorize them all together, making your review process smoother.
Once you’ve got your top-rated images sorted, you can focus on some initial edits, like cropping, just for those standout shots. This approach keeps your workflow focused and prevents you from getting bogged down with photos that aren’t as important. With everything organized, you can jump into the fun part of editing without getting lost in the chaos!
It’s amazing how a little structure can make a big difference. To further improve your review process, consider cameras with rapid trigger speeds for capturing only the most relevant shots, reducing the number of photos you need to sort through. Now, let’s talk about what you should look for in those top images to maximize your editing efficiency.
Organizing Your Photos for Fast Access

Alright, so you’ve gone through your favorite photos and now it’s time to organize them for quick access. Trust me, having a solid organization plan can save you tons of time when you’re searching for that perfect shot. With thousands of pictures, it’s key to have a system in place. Here’s how you can tackle it:
First off, try organizing your photos into date-based folders. This makes it super easy to find images from specific events, like your friend’s wedding last summer or that day at the beach. For example, you could have a folder for each year and within that, separate folders by month.
You can also use software like Adobe Lightroom, which is fantastic for automatically sorting your images by date as you import them. This means you don’t have to waste time fiddling with individual files; everything gets categorized right off the bat. Plus, if you develop a consistent file naming convention—like “YYYY MM DD – summary title”—you’ll make it even easier to identify photos at a glance.
Another tip is to set up a temporary folder for any new images you take. When you finish sorting, you can easily organize these into quarterly folders based on the date you took them. And if you’re on Windows, remember that Windows Explorer lets you sort images by the date taken, which can be a huge help in managing what you’ve captured over time.
Additionally, using cloud storage solutions with reliable cloud storage fees and fast retrieval speeds can help keep your organized photos easily accessible from anywhere.
Color-Coding for More Efficient Reviews
Hey there! You know, color-coding your images can really make a difference when it comes to reviewing and sorting through your photos. It’s such a simple tip, but it can save you tons of time! For instance, you might use red for the photos you absolutely want to keep, yellow for those that might need some light editing, and blue for the ones that need a bit more work. This way, you can zip through your collection without getting overwhelmed.
Imagine scanning through hundreds of photos and knowing instantly which ones are your top picks or need your attention. With color labels, you can see everything at a glance, which helps speed up your decision-making. Plus, it’s easier to remember where those important shots are later on.
In a group setting, this method is a lifesaver too! Everyone can instantly see which images require work without having to chat about each one in detail. Many photo editing programs like Adobe Lightroom have this color-label feature, making it super easy to filter your images according to your system. It’s a neat little trick that keeps your photo reviewing organized and everyone on the same page.
Now, while color-coding is useful, let’s talk about how you can take it to the next level with tagging and organizing your albums! Also, integrating real-time alert systems in your workflow can enhance monitoring efficiency when sorting through large batches of photos.
Leverage Software Tools for a Seamless Workflow
Hey there! I totally get that sifting through a huge collection of photos can feel like a daunting task. But trust me, with the right software tools, the process can be a lot more manageable. For instance, Adobe Lightroom Classic is a fantastic option. It has this handy rating system that lets you quickly sort through your images, so you can focus on the ones you really love without getting lost in the sea of files.
Another tip? When you import photos, create a simple folder structure—something like “YYYY MM DD – summary title” works wonders for quick access later on. This way, you can easily find your photos when you need them. Plus, using your arrow keys to view images will help you cull effectively, ensuring you keep only the best shots.
Also, don’t overlook the power of tagging and sorting your images with metadata. This little trick can make organizing shots from different devices a breeze, so you won’t waste time hunting for that perfect picture later. Just make sure your computer’s hardware can handle the software—check that you’ve got enough RAM and a good SSD to keep things running smoothly.
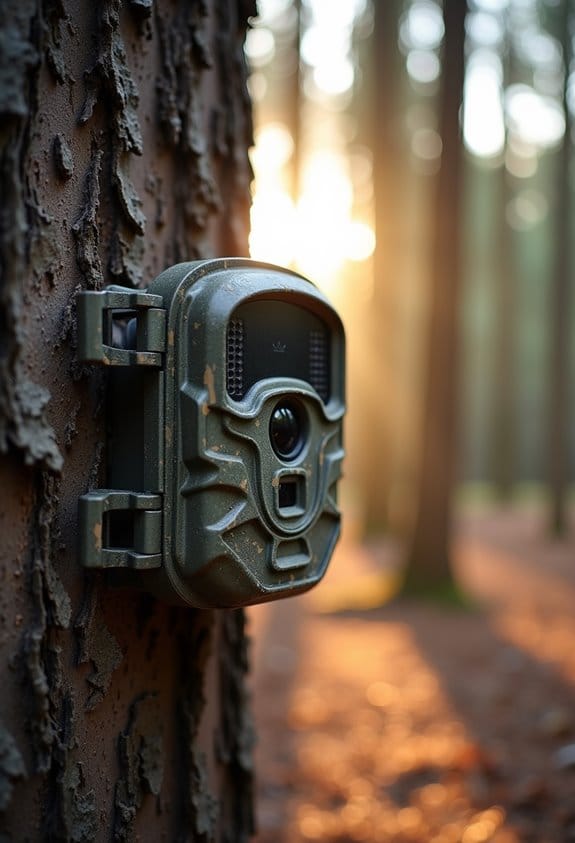
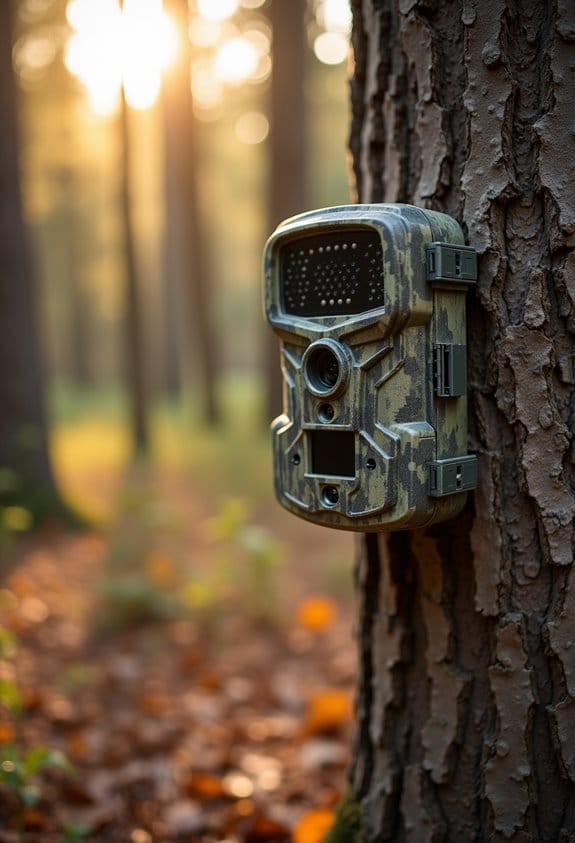
Additionally, using a cellular trail camera with remote access and management capabilities can streamline the process of obtaining and reviewing images from the field directly on your computer.
How Star Ratings Improve Your Photo Review Process?
You know, using star ratings in your photo review process can really make a difference, especially when you’re sifting through a ton of photos—like 10,000 of them! It’s a straightforward way to manage that mountain of images and makes the whole workflow smoother.
Let’s talk about how it works. You can assign star ratings from 1 to 5, where a 1-star means it’s probably time to hit delete, and a 5-star highlights the gems you definitely want to keep. For instance, when you’re sorting through vacation pictures, you might give your favorite beach sunset a 5-star while your blurry tourist shots get a 1-star. This strategy helps you zero in on the best images faster.
Also, it’s super handy for editing and sharing. With software like Lightroom, you can easily filter for just the 4 and 5-star photos, which speeds up the whole process. You’ll find that you spend less time scrolling and more time working with your standout shots.
Incorporating star ratings simplifies finding those key moments you want to save, making the entire photo review experience more enjoyable. Once you get the hang of it, you’ll wonder how you ever did without this system! Plus, managing your photos with cloud storage access can provide an efficient backup and retrieval solution for large image libraries.
Techniques for Stacking Similar Images for Clarity
Hey there! If you’re looking to tidy up your photo collection, stacking similar images is a fantastic trick. This method really helps clean up your workspace, making it so much easier to find your best shots when you need them.
So, how do you go about it? First off, try using image grouping strategies. For instance, if you snap a bunch of photos at a family gathering or during a concert, group those images together. You’ll find it’s a lot less overwhelming to scroll through a stack of similar photos than to wade through your entire collection.
Another useful tip is to manage burst photos effectively. Most editing software, like Adobe Lightroom, allows you to stack those burst images. This means when you take several shots in quick succession, you can view them as one single group. It’s a real time-saver!
Lastly, don’t forget about culling techniques. You can speed things up by giving the entire stack a single star rating or color label to help you quickly pick out your favorites later. For example, if you just got back from a vacation, sort the beach photos with a blue label and the city photos with a yellow one!
Once you’ve got these stacking techniques down, choosing your top images becomes a breeze. Remember, just like durable weather-resistant materials protect outdoor equipment, good organization safeguards your photo collection from getting lost or overwhelming. Feeling ready to tackle your collection?
Common Photo Review Mistakes and How to Avoid Them
When it comes to reviewing photos, many people stumble over common mistakes that can really slow down the process. Let’s chat about how to avoid these pitfalls and make your photo review sessions more efficient.
First off, one major trap is spending way too much time on each image. Instead, try to set a timer for about five minutes. In that time, quickly scan through your photos to spot any that clearly don’t make the cut. For example, if you’re sifting through vacation snaps, you can immediately identify blurry ones or images with harsh lighting.
Another mistake is skipping a rating system. This can really help you organize your favorites for a second look without digging through endless files. You might consider using a simple star rating or color coding to mark your top picks. This way, when you come back for a detailed review, you’ll know exactly where to look.
Don’t forget about metadata! Make sure you’re geotagging your photos and tweaking the timestamps before importing them. It makes sorting and finding specific shots a breeze later on. A good practice is to always check metadata settings on your camera or phone before you start snapping away.
You should also consider stacking similar photos. This way, you can declutter your workspace by grouping them together and focus on picking the best one from each set. For instance, if you took five shots of the sunset, you can stack those to compare and choose your favorite without the distraction of other images.
Finally, don’t shy away from the insights of the photography community. Engaging on forums or social media platforms can lead to great tips on workflow enhancements and image evaluation. Other photographers often have nuggets of wisdom that can save you time.
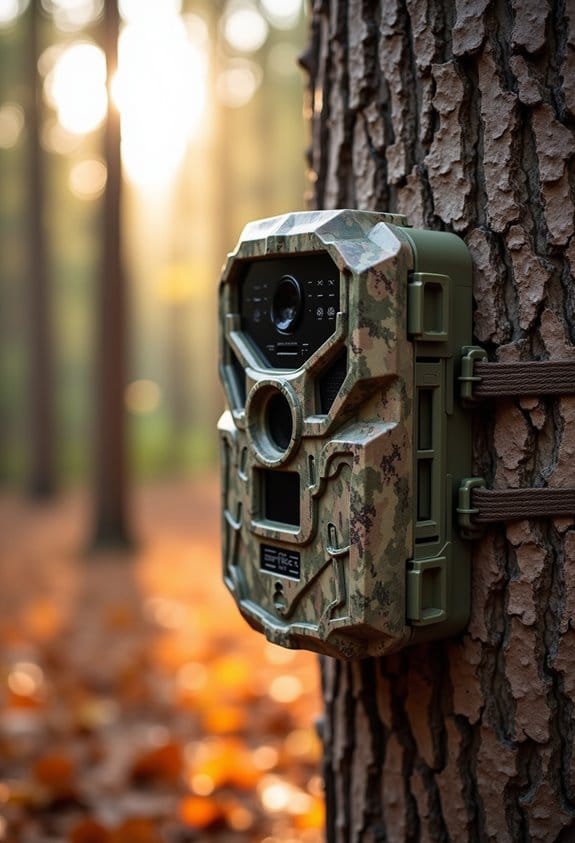
For those using trail cameras or low-light photography equipment, understanding IR LED arrangements can significantly improve your ability to identify key events captured at night or in challenging lighting conditions.
Finalize Your Selections and Get Ready for Export
Finalizing our selections and getting ready for export is such a crucial step in the photo review process! Picture it like this: you’re going through your camera roll and deciding which photos really stand out—it’s all about making those final selections. A great tip here is to use a simple rating system, like giving star ratings or color labels. For instance, you could give a five-star rating to your absolute favorites and a three-star for those that are decent but don’t quite make the cut.
And if you’ve taken a burst of photos in quick succession, try out the stacking method. This helps keep your workspace tidy by grouping those similar shots together. After we’ve nailed down our favorites, it’s time to make some batch adjustments. This means editing similar images all at once, which can save you tons of time in the long run.
When you’re ready to export, there are a few organization tips worth keeping in mind. First, create a clear folder structure—you’ll thank yourself later when you can find everything easily! Also, use a logical file naming system. Instead of random numbers or vague titles, opt for something meaningful like “Vacation_Spain_2023_Sunset.” This way, you can quickly recall and reference your photos in the future.
With these steps, you’ll be super organized and all set to share your best work with friends and family! Speaking of sharing, let’s talk about how to best present your photos to really capture everyone’s attention. Remember, choosing equipment with a reliable IP66 rating ensures your camera’s functionality in tough outdoor conditions, helping you capture consistent quality shots over time.
Frequently Asked Questions
What Is the Fastest Way to Scan Thousands of Photos?
Like a lightning bolt through a cloud, we can scan thousands of photos quickly by using smart photo sorting techniques, swift digital photo organization, and efficient quick photo scanning methods to eliminate distractions and highlight treasures.
What Is the 20 60 20 Rule in Photography?
The 20 60 20 rule in photography helps us allocate time effectively—20% for standout images showcasing strong photo composition, 60% for good shots aiding visual storytelling, and 20% for eliminating weaker photos during editing techniques.
How Much Would It Cost to Digitize 1,000 Photos?
Did you know bulk digitization can reduce costs considerably? To digitize 1,000 photos, we’re looking at $100 to $500, depending on scanning equipment options and photo digitization services, with some cost-effective solutions available for DIY.
How to Organize Thousands of Photos on iPhone?
To organize thousands of photos on our iPhone, we should use album creation for events, utilize photo tagging for easy searching, and back them up in cloud storage for seamless access and management.