As an Amazon Associate, we earn from qualifying purchases. Some links on this site are affiliate links at no extra cost to you. Our recommendations are based on thorough research and editorial judgment.
Building a Simple Camera Deployment Log (Location, Settings, Dates)
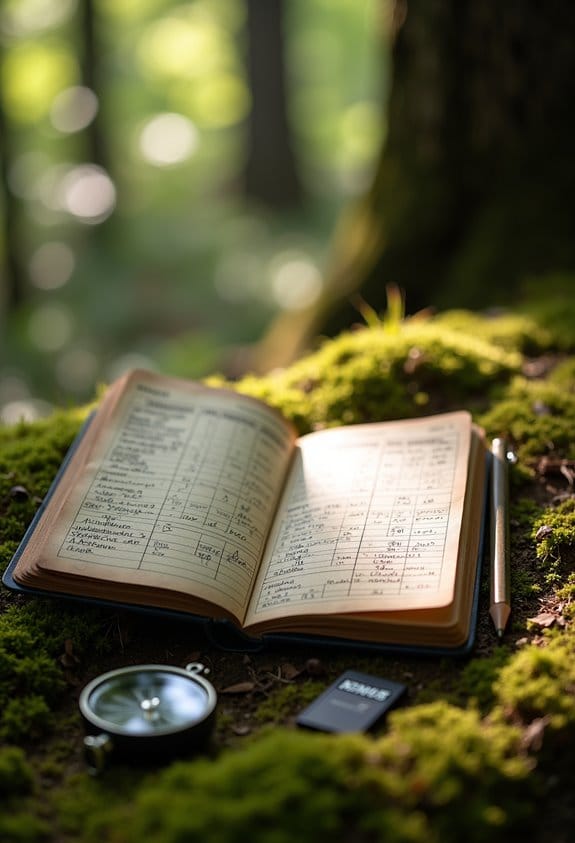
Building a simple camera deployment log is key for wildlife monitoring. First, document your camera’s location with precise coordinates using latitude and longitude. Next, include your camera settings like angle, height, and bait type. Don’t forget to note the start and end dates for each deployment. This log helps prevent errors and keeps your team informed. Keeping everything organized makes it easier to track patterns in your data. Learn more about effective camera log management as we explore further.
Key Takeaways
- Record geographical coordinates in decimal degrees to ensure precise camera placements.
- Document camera settings including angle, height, aperture, and bait type for consistent replication.
- Track deployment periods by noting clear start and end dates for each camera setup.
- Use unique identifiers to connect media files to specific log entries for easy access.
- Organize logs in a standardized template for clarity, facilitating efficient data comparison and analysis.
Why Maintaining a Camera Deployment Log Is Essential for Success
You may be interested

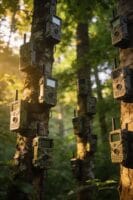
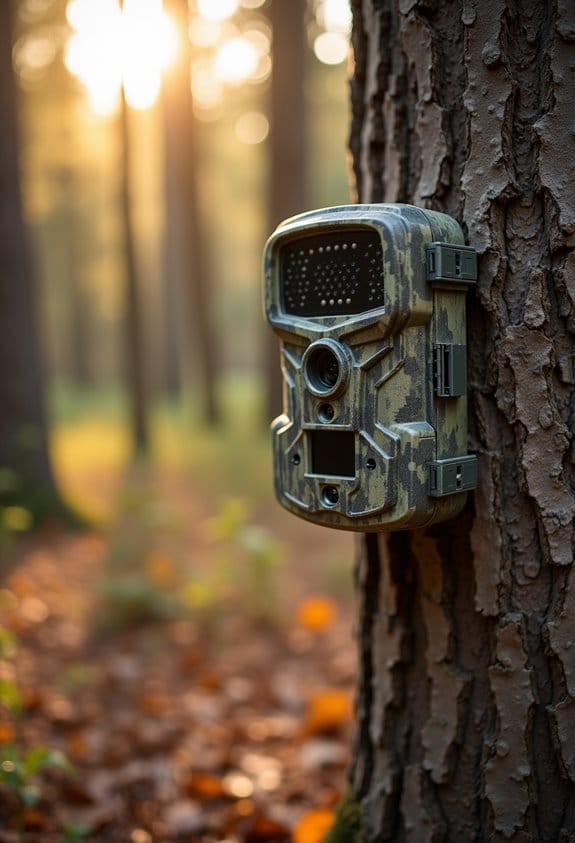
When it comes to wildlife research, keeping a camera deployment log is absolutely essential. Think of it as your personal notebook for tracking everything about your camera setups! This log helps you remember where each camera is placed, what settings you used, and when you set it all up, so you can easily find that information later when you need it.
Having a camera deployment log isn’t just about organization; it also helps minimize errors. Imagine accidentally misplacing footage from an amazing wildlife encounter because you forgot where you placed the camera! A solid log reduces those kinds of oops moments and saves you from digging through tons of media files to find what you’re looking for.
Another big perk? It makes teamwork so much smoother. When you and your collaborators can see start and end dates clearly documented, everyone stays on the same page about what’s going on. For instance, if one person checks a camera a week after it’s been set up, they’ll know exactly when the data collection began and ended.
Lastly, keeping track of specific settings and environmental details in your log can lead to a better understanding of your findings. If you note that a camera was set to high sensitivity during a rainy week, you can interpret the data differently than if the weather was clear. Each detail, no matter how small, can provide insights into animal behavior or habitat use.
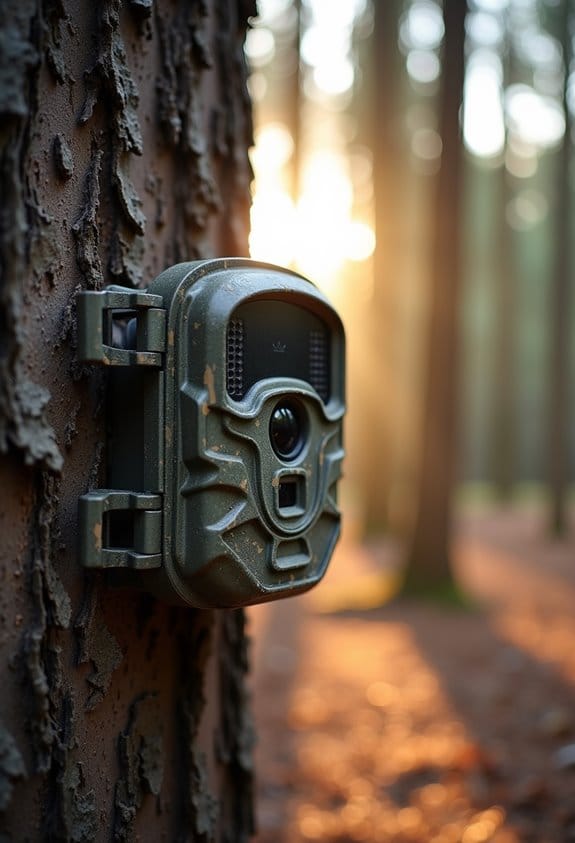
It’s also helpful to record the camera positioning and height to optimize wildlife capture and ensure consistent monitoring quality.
Key Components of an Effective Log
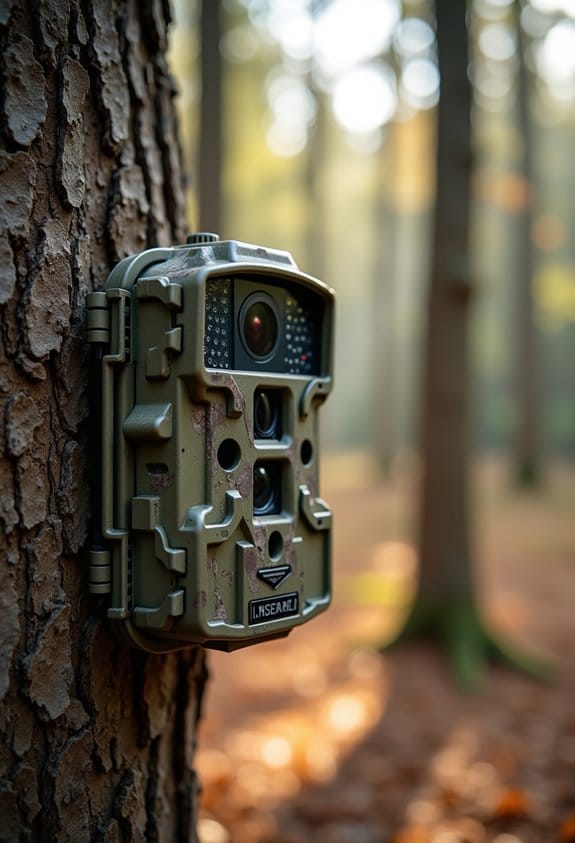
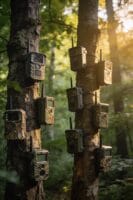
If you want to make your camera deployment log really effective, there are a few key components you’ll want to include. First off, it’s important to jot down the location details like latitude and longitude. This ensures you know exactly where you placed the camera. For example, if you set up a camera in a dense forest, those coordinates will help you find it later!
Next, don’t forget about the camera settings. Documenting the angle and height at which you set it up, as well as what kind of bait you used, can provide insights into wildlife behavior. Imagine using different bait types to see what attracts different species—what a great way to learn about your local wildlife!
Also, be sure to track the deployment period by specifying clear start and end dates. This way, you can notice seasonal patterns in animal movement. For instance, if you observe more deer activity around a certain date, you’ll know when to expect them.
Each entry should also have unique identifiers. This makes it easy to link specific media files to your logs. Finally, include additional information such as any observations about the camera’s condition or surrounding environmental factors that might influence your results. Overall, these simple steps will help you gather valuable data about the wildlife around you.
Including notes on features like trigger speeds and night vision can also help you understand how well your camera performs under different conditions.
Now that you have a solid foundation for your camera deployment log, let’s look at how to analyze the data you collect!
Recommended Products

【Card Reader】WOSPORTS mini trail camera comes with a card reader, making it easy and fast to view and share captured images and videos. Simply insert the Micro SD card into a computer or laptop to check and store data. This feature is especially useful for users who need quick data and analysis, such as researchers and photographers. Perfect for outdoor adventures, scientific monitoring, and wildlife observation.(𝟑𝟐𝐆𝐁 𝐦𝐞𝐦𝐨𝐫𝐲 𝐜𝐚𝐫𝐝 𝐢𝐬 𝐚𝐥𝐫𝐞𝐚𝐝𝐲 𝐢𝐧𝐬𝐞𝐫𝐭𝐞𝐝 𝐢𝐧 𝐭𝐡𝐞 𝐭𝐫𝐚𝐢𝐥 𝐜𝐚𝐦𝐞𝐫𝐚)


30MP photo & 1080P video: This mini trail camera captures 30MP clear images and full HD 1080P video during day (color) and night (black and white), ensure every details will be captured. (Included 4pcs 16GB SD cards and 16pcs AA batteries) Since the camera cannot connect to a phone, accessing photos or videos requires removing the SD card.
Pick the Best Format for Your Camera Log
Sure! Let’s talk about creating a camera log that’s both effective and user-friendly. Picking the right format is super important, and I’ve found that a spreadsheet or table format really does the trick. It keeps everything organized and makes it so much easier to fill out as you go.
So, what should you include in your log? Start with the production title and the company name, so you always know which project you’re working on. Next, jot down the shooting date along with crew contact information—it’s essential to have these details handy. Then, for each scene, format your numbers like this: scene #, shot #, and take #. This way, you’ll always know where you are in the filming process.
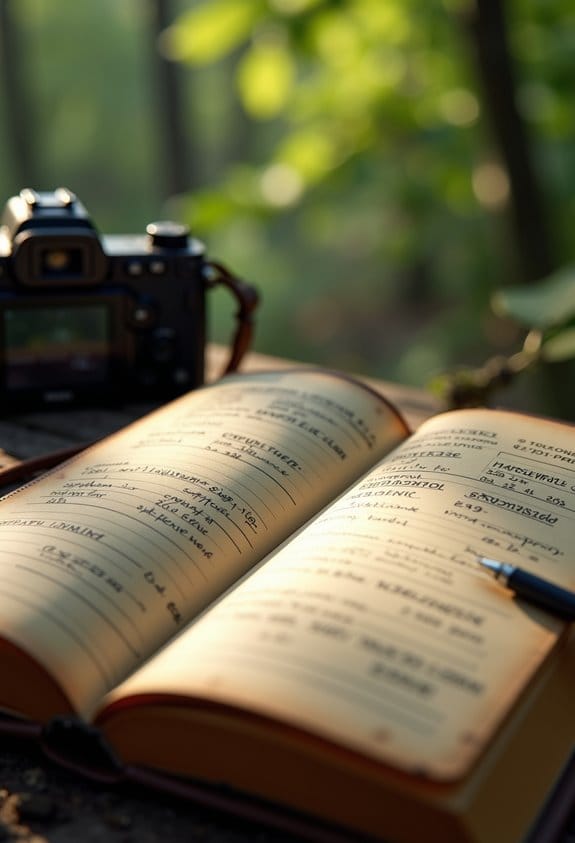
Don’t forget to record your camera settings like clip number, lens size, f-stop, frame rate, and any filters used. For example, if you shot a scene with a 50mm lens at f/2.8, make sure to note that! Also, have a space for comments to indicate preferred takes or any unusable footage. And one more tip: record the camera height for consistency in your shots. Structuring your log this way will streamline your workflow and make reviewing your footage a breeze later on.
Additionally, noting the camera compatibility can help in selecting the right equipment and mounts for each location to ensure stability and optimal shot angles.
Recommended Products

Professional Pilot Logbook Binder (3 slant D-rings) Lie-Flat design

JEPPESEN PROFESSIONAL LOGBOOK - BROWN

Quality construction
How to Accurately Document Geographical Coordinates for Your Deployments
Hey there! So, when it comes to documenting geographical coordinates for our camera deployments, getting it right is super important. We want to stick with decimal degrees using the WGS84 datum because that’s the standard that keeps everything clear and consistent. For instance, when you’re taking notes, always jot down the latitude first, like this: 34.0522, -118.2437. Easy peasy, right?
It’s also a good idea to gather extra information, such as the elevation of the site or what kind of land cover is around. That context can really help us understand the camera placement better. Plus, make sure you’re double-checking those coordinates with a reliable GPS or some mapping tool. That way, we can catch any potential mistakes before they become a problem.
And here’s a little tip: every now and then, compare what you’ve written down with actual field data. This simple practice can really help guarantee the precision of your deployment logs. It’s all about keeping our camera setups effective and ready to go. With that in mind, let’s talk about how those coordinates play a role in planning our deployments!
Also, remember that cellular network compatibility is crucial for ensuring your cameras remain connected and transmit data effectively from remote locations.
Recommended Products

【Dual Visual Measurement & AR Stakeout】The SMA60AR Photogrammetry GNSS RTK industry-leading image positioning system with dual cameras enables both visual measurement (click photo to get precise coordinates) and AR stakeout (real-time visual guidance). Maximum efficiency, minimum guesswork

A whole new level of camera intelligence from new AI processing unit.Aspect Ratio : 3:2

【2cm Accuracy Laser Measurement (Up to 30m)】The SMA28H laser RTK is equipped with a visible green laser, allowing for non-contact point measurements within a 30m range. But the laser accuracy is 3-4cm within a range of 15m. Simply aim and mark – ideal for measuring points that are difficult to reach but visible to the naked eye
Capture Consistent Camera Settings
When you’re getting ready to set up a camera for a shoot, capturing high-quality footage really hinges on having those consistent camera settings in place. You know, things like aperture, shutter speed, ISO, and white balance can drastically change the feel of your shots. For example, if you’re shooting in a low-light environment, you might want to increase your ISO to let in more light while keeping your shutter speed quick to avoid blurriness.
Another thing to consider is documenting extra details like the lens size or any filters you’re using. This info can be a lifesaver later on during editing. Plus, don’t forget to sync the date and time on all your cameras. Imagine trying to piece together footage only to find out the timestamps don’t line up. It’s a headache, to say the least!
Oh, and pay attention to how you set up your camera—its position and angle can make a huge difference, especially if you want to replicate a successful setup in the future. Just remember, it’s wise to review those settings every now and then to adjust for changes in the environment. Keeping everything consistent will really help maintain the quality throughout your shoots, leading to some fantastic results!
Recommended Products

TV Stand with Electric Fireplace: Our fireplace TV stand is equipped with a 60" electric fireplace, which comes with 12 colors of light strip, featuring a blend of retro and modern design. Its unique and elegant appearance seamlessly complements any living room decor,creating a cozy, warm ambiance

TV Stand with 60" Electric Fireplace: This 90"L entertainment center comes with a 12-color electric fireplace. Fits TV up to 100in. Decorated with faux logs and crystal stones, the fireplace creates a cozy, elegant ambiance, making it a perfect, stylish addition to your living room

Elegant TV Stand with Fireplace: This stylish 90" TV stand includes a 50" wifi electric fireplace, designed for TVs up to 100". Experience stable viewing with customizable flame colors and dimmer settings. The sleek front door and wood-grain finish add a touch of luxury, making this entertainment center a timeless and elegant addition to your living room.
Schedule Dates Wisely for Optimal Performance
When it comes to getting the most out of our camera deployments, scheduling the right dates is key. Think of it like planning a trip—timing can make all the difference! For instance, if we’re trying to capture images of deer, we want to set up our cameras during their peak breeding season when they’re most active. This usually lines up with when food is abundant, so it’s a win-win situation.
Weather is another important piece of the puzzle. Nobody wants to find their cameras damaged by a sudden storm or to end up with blurry images because of heavy rain! It’s best to choose a time frame where we can expect mild weather. And of course, aligning our camera schedules with our research goals is crucial—if we’re studying bird migrations, we want to deploy them right before the busy migration period begins.
Consistency is also something to keep in mind. By deploying our cameras around the same time each year, we can collect comparable data that helps us spot trends. But be ready for flexibility, too—sometimes we might need to shift our dates if an unexpected opportunity comes up or if we face logistical hiccups. Additionally, ensuring our cameras have compatible network coverage in the deployment area is essential for reliable remote monitoring.
Streamline Your Camera Log Maintenance With These Tips
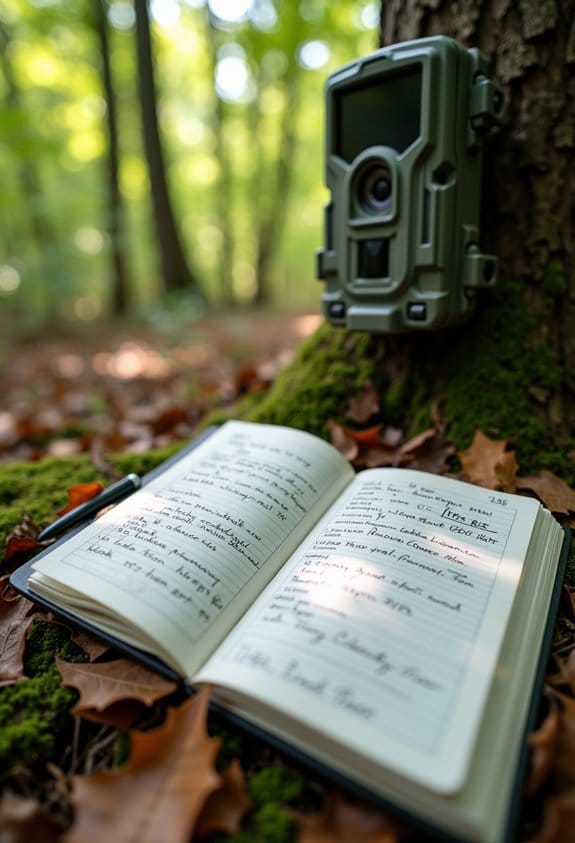
Keeping your camera log organized is super important for successful deployments, and I’ve got some great tips to help you with that! First off, using a standardized template makes a big difference. Make sure your template includes the location, specific camera settings, and start and end dates. This way, you avoid confusion later on.
Next, it’s helpful to arrange your logs in chronological order and by project or theme. Think of it like organizing your photo albums so you can easily find those great shots from your last trip. Regular updates are key too! Adding clear notes about the camera’s status can really improve the quality of your data.
Another useful tip is to have a review process in place. This helps double-check things like GPS coordinates and camera settings, so you can be sure everything’s accurate. And don’t forget about digital tools! They can automate data entry, saving you time and reducing mistakes. Additionally, incorporating app-controlled remote access into your workflow allows for quicker adjustments and monitoring without physical visits.
Recommended Products
Make daily reflections easy with the IPPINKA Daily Journal Log Notebook, featuring a main log and an extra carrying notebook for portable observations and discoveries.

Made in USA - Proudly produced in Ohio by a Veteran-owned business

Frequently Asked Questions
How to Make a Camera Log?
To make a camera log, we’ll list each shot like a puzzle piece—camera equipment, settings, and notes. Organized details form a vivid picture, guiding editors through our creative masterpiece, ensuring nothing gets lost in translation.
How Do I Add Location Details in My Camera?
To add location details in our camera, we’ll use location tagging features like latitude and longitude. We should also include elevation and land cover type to guarantee thorough and precise documentation of each deployment.
How to Set GPS Location on Camera?
To set GPS location on our camera, we’ll access the GPS settings, input coordinates for our camera model, ensuring location accuracy. This adds valuable data to our photo metadata, enhancing our imagery.
What Is Log-In Camera Settings?
Think of log-in camera settings as our recipe for perfect imagery. They include exposure settings that shape image quality, ensuring we capture the intended aesthetic and technical brilliance every single time we deploy our cameras.