As an Amazon Associate, we earn from qualifying purchases. Some links on this site are affiliate links at no extra cost to you. Our recommendations are based on thorough research and editorial judgment.
LTE Bands Explained for Trail Cameras (Without the Telecom Jargon)
Understanding LTE bands is key for using trail cameras effectively. Here’s what you need to know:
- LTE bands are channels that connect your camera to cellular networks.
- Different regions use different bands, like the US and Europe.
- Cameras that support more bands are generally more versatile.
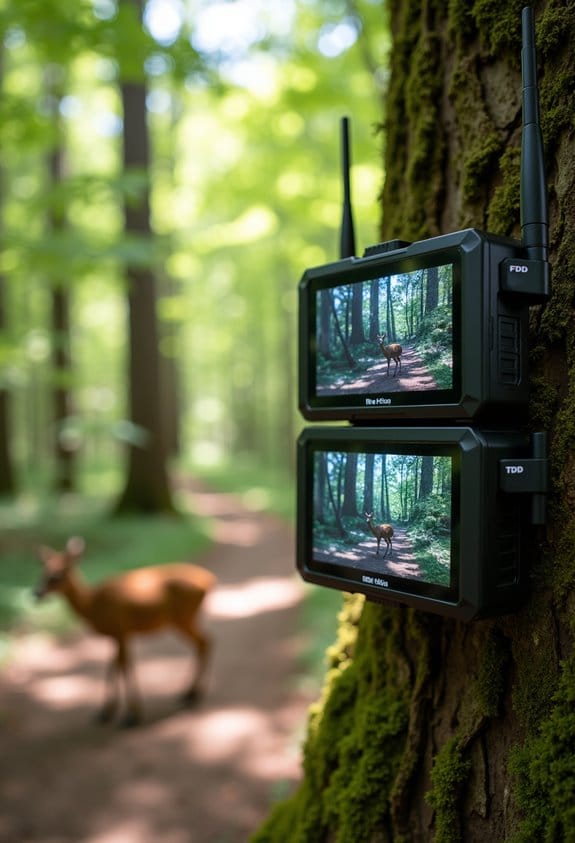
- Two types exist: FDD allows for simultaneous talking and listening, while TDD alternates.
You may be interested
Knowing these basics helps you choose a better trail camera. Let’s explore more details ahead.
Key Takeaways
- LTE bands are channels used for communication; different regions have varying bands, impacting trail camera compatibility and performance.
- Ensure the trail camera supports local LTE bands to maintain clear communication and avoid connectivity issues.
- FDD bands allow simultaneous data transmission, while TDD alternates sending and receiving, affecting speed and efficiency.
- Using a global trail camera can provide wider band support compared to more region-specific models.
- Regularly check SIM card compatibility and APN settings to optimize data transmission and avoid upload disruptions.
Understanding LTE Bands for Trail Cameras
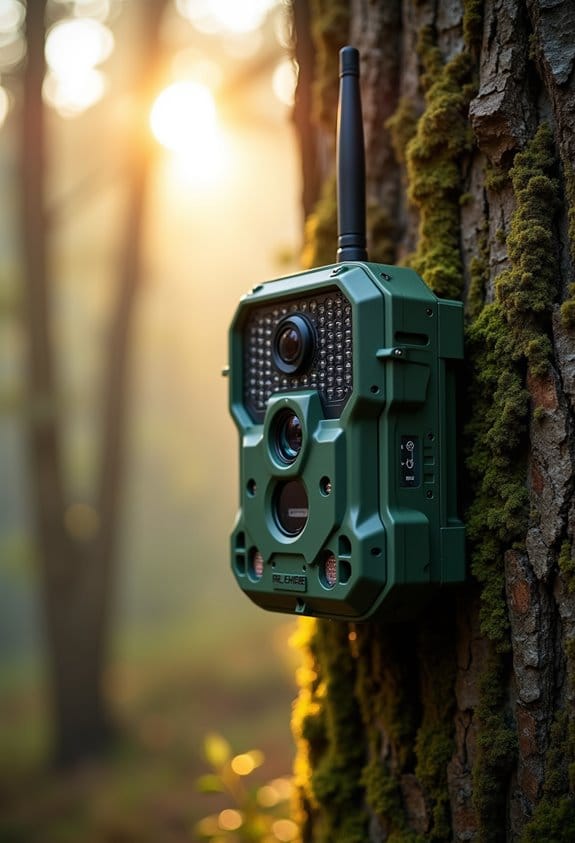
Have you ever been curious about how trail cameras manage to send pictures and videos from those far-off spots in the woods? Understanding LTE bands is key to making sure your camera stays connected. These bands are like specific channels that allow your camera to communicate with the cellular network.
Let’s break it down a bit. Different regions of the world use different LTE bands. For instance, in the US, you’ll often hear about bands 2, 4, and 5. If you’re planning a trip to a remote area, check which band your camera supports and whether it matches with local carrier services.
There are two main types of bands: FDD, which allows for both uploading and downloading at the same time, and TDD, where the camera alternates between sending and receiving data. This can impact how quickly your pictures get sent to your phone or computer.
One more thing to consider is whether you want a global or regional camera. Global models usually support a wider range of bands but can be pricier. A regional camera might be more budget-friendly and just as effective if you’re sticking to a specific area.
Before you pick out your trail camera, just make sure it’s compatible with the LTE bands used by your local carrier. This ensures you’ll capture all those amazing moments without a hitch!
Additionally, many trail cameras come with network compatibility for major carriers like AT&T, Verizon, and T-Mobile, which is vital for reliable connectivity in remote locations.
Connecting Trail Cameras to LTE Networks
If you’re in the market for a trail camera, knowing how to connect it to LTE networks can really enhance your experience. Connecting a trail camera to an LTE network involves inserting an IoT SIM card, which helps the camera send images and updates directly to your phone or computer. Each camera works best with certain frequency bands depending on your local cell service providers. For instance, if you’re in the US, a lot of these cameras operate on bands 2, 4, 5, 12, 13, and 71.
First, you’ll want to check if the camera you’re eyeing is compatible with the bands in your area. Also, it’s important to look for a camera that has a slot for that IoT SIM card. Keep in mind, though, that using these cellular features can use up your camera’s battery faster than when it’s just taking pictures. I once had a camera that I forgot to recharge after using it with LTE, and I missed out on some great wildlife shots!
With everything set up correctly, you’ll be able to monitor what’s happening in your area without having to physically visit the camera location all the time. Many models also support flexible data plans to help you manage costs while staying connected in remote locations. Now, let’s talk about some of the other features that might come in handy when you’re out in the field!
What Are the Key Differences Between FDD and TDD?
Hey there! Let’s chat about the key differences between Frequency Division Duplex (FDD) and Time Division Duplex (TDD) and how they relate to trail cameras connecting to LTE networks. It’s actually pretty interesting!
So, with FDD, you have two different frequency bands being used: one for sending data (that’s the uplink) and another for receiving data (the downlink). This setup means that communication is happening all the time without interruptions, which is perfect for stable tasks. Think about making a voice call—FDD keeps that connection solid.
Now, TDD works a bit differently. It uses just one frequency band, but it switches between sending and receiving by dividing time into slots. This is really handy because it lets you adjust based on how much data you need to send or receive at any given moment. A great example of this would be streaming a video on your trail camera one minute and then uploading images the next.
In general, FDD can provide higher speeds, which is a big plus, while TDD helps save on spectrum costs, making it quite versatile. Picking the right trail camera largely depends on how you intend to use it, so knowing these differences can help you make a smart choice! Many cellular trail cameras rely on 4G LTE connectivity to provide fast and reliable image transmissions. Want to explore more about how these technologies affect your gear?
How Common LTE Bands Affect Trail Cameras by Region
Have you ever wondered how LTE bands affect your trail camera’s performance in various regions? It’s a pretty important detail! The LTE frequency bands that your camera uses can really impact how well it connects and communicates. For instance, in the U.S., bands 2, 4, and 12 are pretty common and work well with major carriers like Verizon and AT&T. Over in Europe, you’ll find bands like 1, 3, and 20 which ensure your device stays in touch without any hiccups.
So, why does this even matter? First off, let’s talk about range. Lower frequency bands tend to provide better coverage, especially in those hard-to-reach rural areas where cell service can be spotty. Also, if you’re someone who likes to roam around different markets, having a global trail camera that supports various bands can be a game-changer for versatility. Just think about it: heading out to a remote camping site should be about enjoying nature, not worrying if your camera will send that crucial picture.
Before you set out with your trail camera, it’s a good idea to check which local LTE bands are in use. This way, you can ensure seamless connectivity and keep your camera functioning at its best. Using cameras with carrier compatibility ensures your device operates smoothly within local networks, enhancing overall performance. All in all, making sure your trail camera matches up with the local network bands will go a long way in enhancing its reliability. Now, let’s explore how to choose the right camera based on your specific needs!
How Certifications Help Your Trail Camera Work Anywhere
Hey there! You might not have thought about it, but certifications are super important for making sure your trail camera runs smoothly, no matter where your adventures take you. Think of these certifications as a guarantee that your camera meets safety and quality standards across different regions.
For instance, in the U.S., the FCC certification ensures that your camera won’t interfere with other devices and complies with local regulations. In Canada, the ISED/IC certification lets you know your camera is tuned to the right frequencies so you can enjoy uninterrupted connectivity, whether you’re out in the wilderness or checking in from home.
When you go international, it gets even more interesting. In India, certifications like BIS or WPC prove that your camera is safe to use, while RCM in Australia and New Zealand ensures that it meets local safety regulations. So, if you ever plan a trip around the world with your trail camera, you won’t have to worry about it not working because it doesn’t meet local standards.
That said, having these certifications not only provides peace of mind for you as a user but also helps in ensuring that wildlife monitoring or nature photography is done responsibly and legally. It’s neat how something as simple as a sticker or mark can open up so many opportunities for exploring! Additionally, using reliable accessories like durable nylon fiber straps can complement your certified camera’s performance by ensuring secure and weather-resistant setup in diverse environments.
Choosing Trail Cameras: Evaluating LTE Band Compatibility
Choosing the right trail camera can definitely feel a bit daunting, especially when you start diving into LTE band compatibility. But don’t worry, I’ve got your back! Essentially, you want to make sure that your camera can connect with the LTE bands that your cellular provider uses. In the U.S., some of the most common bands you’ll come across include bands 2, 4, 5, and 12.
Over in Europe, it’s a bit different, with bands like 1, 3, and 20 being popular. Think of these bands as the languages your camera and your phone need to speak to communicate effectively. For instance, if you grab a camera that only works with band 12, but your provider relies on band 4, you’ll end up with a very quiet camera!
Another tip: always keep an eye out for certification marks. In the U.S., you’ll want to look for the FCC mark, while in Europe, the CE mark is essential. These tell you that the device meets local standards. While global models might seem appealing because of their range of bands, regional options often work better and can save you some money too. So when you pick out your camera, consider what’s best for your area!
To get the most out of your cellular trail camera, also consider the data plan options that accompany it, as these can significantly affect your ongoing costs and connectivity experience.
Troubleshooting Your Trail Camera Connections
If you’re having trouble connecting your trail camera, the first thing to check is your SIM card. Make sure it’s compatible with the camera’s LTE bands. For instance, if your camera uses certain bands and your SIM card doesn’t support those, you could run into issues right away.
Next, let’s talk about the Access Point Name, or APN settings. These are like the addresses your camera needs to send and receive data. Each cellular provider has specific APN requirements, so double-check that yours matches up. It’s like making sure you’re sending mail to the right address—if it’s wrong, it just won’t get there!
If your uploads aren’t going through, take a look at your cellular data limits. Large images or videos can quickly use up that data, which might be why things aren’t working. On top of that, if your signal isn’t strong, consider using an external antenna to give it a boost.
Many modern trail cameras also offer mobile app integration, allowing you to monitor status and troubleshoot connectivity directly from your smartphone.
Lastly, think about scheduling your uploads for when the signal is better—maybe during the early morning or late afternoon when it typically improves. This helps save on battery life too. With these tweaks, your trail camera should operate more smoothly. Now, if you’re still having issues or want to maximize your camera’s performance, let’s explore optimizing settings together!
Enhancing Performance With Multi-Band Antennas
If you’ve ever tried using a trail camera in a remote spot, you know how tough it can be to keep a solid connection. That’s where multi-band antennas come into play—they really help boost performance! Let me explain how they work in simple terms.
First off, multi-band antennas are designed to connect with various cellular frequencies like 2G, 3G, and 4G/LTE. This means that whether you’re deep in the woods or up on a mountain, your camera has a better shot at maintaining a steady connection. For instance, if you’re down in a valley where signals are weaker, these antennas can pick up the best available frequency, so you don’t miss any of those great wildlife moments.
Another cool thing is that they enhance reliability. These antennas cover multiple networking technologies, helping you overcome issues caused by obstacles like trees or uneven terrain. Imagine you’re trying to capture footage of a deer, but the tree cover is blocking the signal. A multi-band antenna can help you get around that problem, making sure you capture that stunning shot.
Plus, they really ramp up your data transfers. When you have high-speed capabilities, your photos and videos upload faster, so you can easily share your adventures with friends. For example, if you spot a rare bird, having that quick upload feature means you can show it off right away.
There are a few types of multi-band antennas, like Yagi and collinear ones. These offer great signal strength because they come with high gain and can capture signals from all directions—sort of like having an extra set of ears that can listen for the best connection.
Additionally, using cameras with dual-SIM technology can further improve connectivity by allowing seamless switching between networks in different locations.
Frequently Asked Questions
What Are the Different LTE Bands?
There are numerous LTE band frequencies, with over 40 in use globally! To guarantee compatibility, we must consider band compatibility issues, especially with different carriers using varying global LTE standards. It’s essential for peak performance!
What Is the Difference Between LTE Band 3 and Band 7?
Band 3’s characteristics offer wider coverage areas and better signal strength, ideal for rural settings, while Band 7 excels in urban environments, providing enhanced data capacity. We must choose based on our specific connectivity needs.
What Is the Difference Between LTE Band 3 and Band 20?
Band 3, with its higher frequency range of 1800 MHz, offers faster data speeds in dense areas, while Band 20’s lower 800 MHz frequency provides broader rural coverage. Both bands enhance network compatibility for diverse environments.
Is LTE+ 4G or 5G?
LTE+ is 4G technology, not 5G. While it boosts performance through network compatibility and optimization, it remains under the 4G umbrella. We’re excited for the 5G rollout, but LTE+ won’t reach those speeds.