As an Amazon Associate, we earn from qualifying purchases. Some links on this site are affiliate links at no extra cost to you. Our recommendations are based on thorough research and editorial judgment.

Why Night Photos Turn White: Overexposure and IR Reflection
Night photos often turn white because of overexposure, mainly caused by reflected infrared (IR) light. When you shoot in low light, that IR light can bounce off shiny surfaces and create bright spots that wash out your images. Here are some common reasons for overexposure:
- Reflective surfaces near your camera.
- Environmental light from streetlamps.
- Dust on your lens.
You may be interested

By understanding these issues and adjusting your technique, you can improve your night photography skills and capture clearer images.
Key Takeaways
- Overexposure in night photography often occurs due to reflected infrared light from shiny surfaces washing out images.
- Camera angle is crucial; tilting downward can catch glare and increase overexposure.
- Nearby bright environmental lights can disrupt infrared light capture and lead to washed-out photos.
- Reflections from glossy materials can create ghosting effects, causing loss of image clarity.
- Keeping the lens clean and adjusting IR light intensity are essential for reducing overexposure issues.
Understanding Causes of Overexposure in Night Photography
Hey! If you’re getting into night photography, you’ve probably noticed that overexposure can be a real pain. Understanding the causes of overexposure can help you get better shots, so let’s break it down together.
One big reason for overexposure is the reflection of infrared (IR) lights. When those lights bounce off shiny surfaces, they can create bright spots that wash out your images. For example, if you’re shooting near a metal fence or a wet street, those reflections can really mess with your photo.
Another common issue is the angle at which you hold your camera. If you tilt it downward, you might catch reflections from the camera body or nearby objects that you didn’t even notice before. I’ve had times when I thought I had a perfect shot, only to find out the glare made it unusable.
And let’s not forget about excessive illumination. If your camera’s IR light is too strong, it can create glare, especially on lighter surfaces like concrete or glass. One simple trick to fix this is to dial down the IR light intensity in your settings. Or, try changing your shooting angle to see if that helps.
Lastly, don’t overlook the importance of a clean lens. A dirty lens can enhance reflections and contribute to overexposure. So, give it a quick wipe before you start shooting.
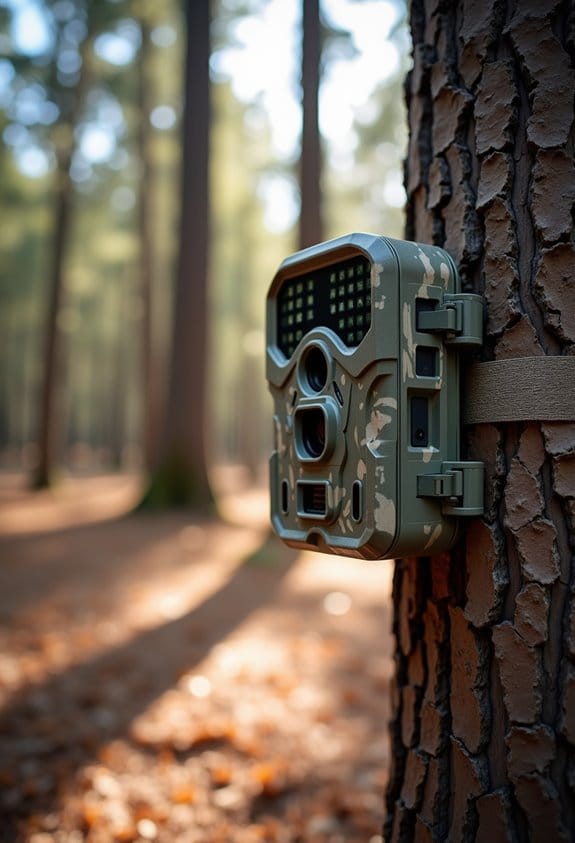
Also, using trail cameras with infrared optimization can significantly reduce unwanted reflections and improve image quality in low light.
With these tips in mind, you can tackle overexposure more effectively. Want to know about other common pitfalls in night photography? Let’s keep going!
Common IR Reflection Causes in Night Photography
Hey there! When you’re out trying to capture those stunning night photographs, you might run into a pesky problem: infrared (IR) reflections. Trust me, it can be pretty frustrating, but understanding the common causes makes it a lot easier to tackle.
One key reason for IR reflections is being too close to reflective surfaces. For example, if you set your camera up right next to a shiny wall or a bright object, that glare from IR light can really wash out your photos. A good tip is to keep some distance from these surfaces to avoid that overexposed look.
Another culprit is dust or dirt on your camera’s lens or dome. Even a tiny speck can mess with the clarity of your shots, so it’s smart to give your gear a quick clean before heading out. You’d be surprised how much of a difference that makes!
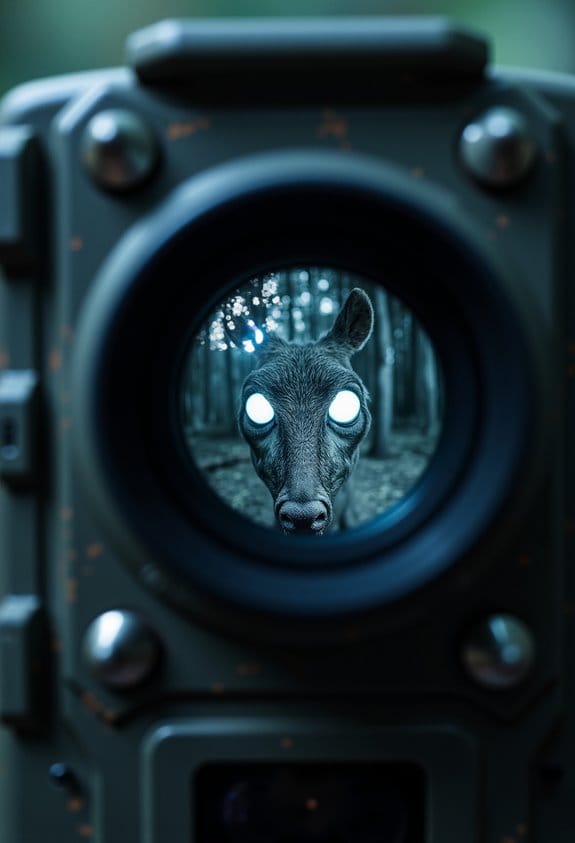
Now, if you happen to switch to black and white mode while shooting at night, be careful. The IR light can create ghosting effects that might leave you with some lackluster images. A suggestion here is to stick with color or check your settings to see how they interact with the IR light.
Lastly, consider the environmental factors around you. Bright lights from buildings or streetlamps can spill over into your composition, and that often affects your exposure settings. For instance, if you find yourself near a glowing sign, you might want to adjust your settings to keep your images balanced and not overly bright.
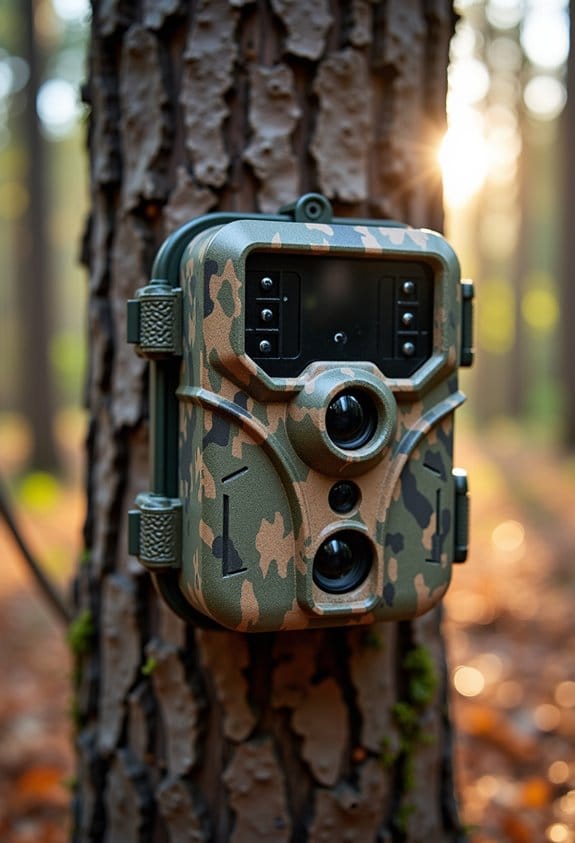
Additionally, choosing cameras with advanced infrared technology can help reduce such issues by providing clearer night vision with less IR reflection.
Effective Solutions for Reducing Overexposure

If you’re looking to cut down on overexposure in your night photos, there are some straightforward tips that can really make a difference. First off, think about your camera’s positioning. Make sure it’s not facing reflective surfaces, like walls, that can bounce infrared (IR) light right back into your lens—this is a common cause of overexposure.
Also, play around with different angles. Sometimes just tilting your shot a little can keep those pesky reflections at bay, especially when you’re shooting downwards. For example, if you’re taking a photo of a city skyline, try lowering the camera slightly or shifting to the side to capture a different perspective.
Another handy trick is to use black materials. Wrapping the base of your camera in a black cloth or trash bag can absorb that unwanted IR light and lead to clearer images. Plus, consider adding external IR illuminators; these can offer you much better control than relying solely on your camera’s built-in IR options.
And don’t forget about your lens! Keeping it clean goes a long way in ensuring your photos come out sharp and bright without that washed-out look. Just a quick wipe with a microfiber cloth can clear away any dust or smudges.
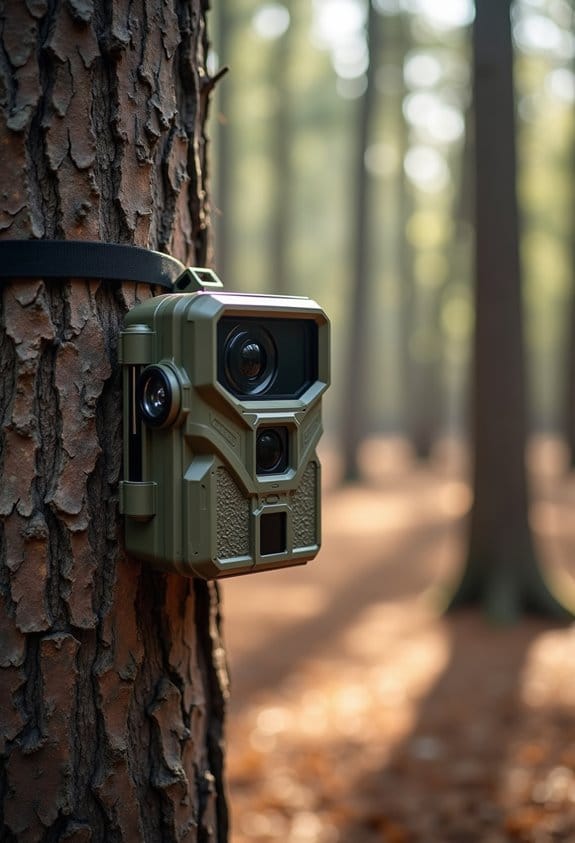
You might also want to explore cameras with an IP65/IP66 rating to ensure durability and consistent performance in various outdoor conditions.
How Environment Affects Night Photography Clarity
The environment really influences how clear our night photos turn out, and it’s fascinating how small changes can make a big difference. For instance, if you tilt your camera downward, you might find that infrared (IR) light bounces off surfaces, causing those gorgeous night shots to become overexposed. Think of it like aiming a flashlight at a shiny surface—the glare can wash out your details.
Another thing to consider is reflective surfaces. If you happen to be snapping photos near shiny walls or objects, those reflections can create unwanted ghosting effects and rob your images of clarity. A tip here is to try positioning yourself away from those reflective areas or using surfaces that absorb light instead.
Environmental factors also come into play. Outdoor lighting, like street lamps, can disrupt the IR light you’re trying to capture, which can distort your photos. And if you’re in a leafy area, nearby trees can block or scatter the light, creating further challenges.
Don’t forget about maintenance, either! Keeping your camera lenses clean makes a huge difference. A quick wipe can prevent dirt or smudges from making your pictures look even worse when you’re trying to capture the beauty of the night sky.
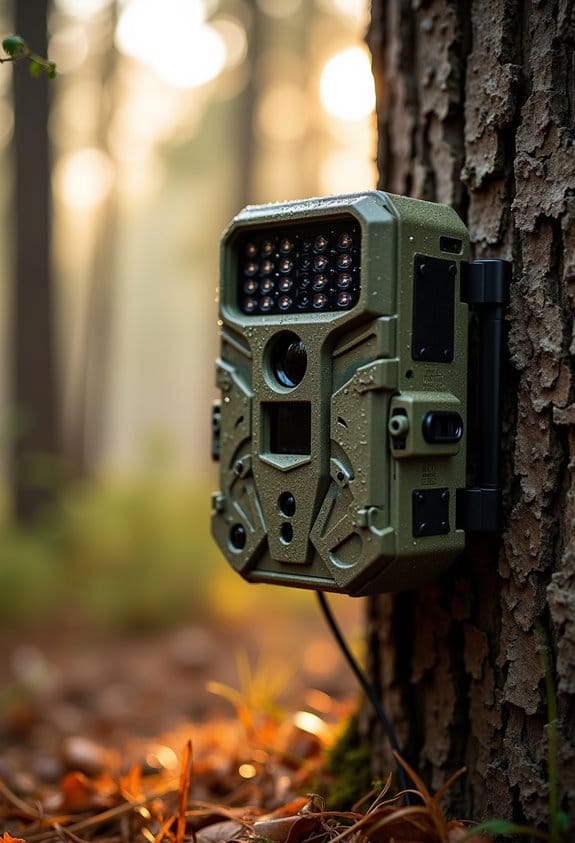
Using a camera equipped with 940nm no-glow infrared LEDs can help reduce glare and overexposure in your night photos.
Best Practices for Night Photography
If you’re keen on night photography, understanding some best practices can really help you capture those breathtaking shots without the hassle of overexposure. One key issue you might run into is IR reflections, but don’t worry—I’ve got some tips for you to sidestep that.
First up, let’s talk about light reflections. Sometimes, simply changing your camera angle can do wonders. For example, if you notice a bright light spot ruining your shot, try shifting your position a few degrees. You’d be surprised how just a small change can help minimize those distracting ghost effects.
Another handy trick is to use dark materials around your setup. Think about draping a black cloth behind your camera; this helps absorb IR light and cuts down on unwanted reflections. You might even want to invest in external IR illuminators. They boost your camera’s capability without spilling too much light and causing overexposure.
And don’t forget about keeping your gear clean! Regularly check that your lens and dome cover are clear of dirt and smudges. Even a tiny speck can amplify light reflection, affecting your photos.
As you implement these techniques, you’ll find that capturing stunning night images becomes a lot easier and enjoyable. Next, let’s explore some creative shooting settings that can make your night photography even more exciting!
Using cameras equipped with no glow infrared LEDs is a great way to capture clear and undisturbed nighttime images.
Community Insights and Best Practices for Night Photography
Hey there! If you’re getting into night photography, there’s a lot we can learn from each other to really nail those shots. One of the biggest challenges we face is avoiding overexposure, especially when dealing with tricky light conditions.
For instance, be mindful of how reflected infrared (IR) light can play tricks on your camera. If your camera is too close to walls or other reflective surfaces, the IR light can bounce back and mess with your exposure. A simple fix is to create a bit of distance between your camera and those surfaces.
Another great tip is to use external IR illuminators instead of relying solely on the built-in light from your camera. These external lights give you more control over the brightness and direction of your lighting, leading to more balanced shots. Also, consider experimenting with dark materials, like black trash bags or tape, which can soak up unwanted IR light and help minimize reflections in your photos.
Lastly, changing your camera angles often can make a huge difference. Even a small shift can help reduce those pesky light reflections and enhance your image quality. Additionally, utilizing IR illuminators with automatic activation sensors can improve your night photography experience by providing hands-free, optimized lighting. With these tips in mind, you’re on your way to capturing stunning night scenes with clarity! Next up, let’s talk about composition techniques that really shine in the dark.
How to Care for Your Camera for Best Performance
Taking care of your camera is super important if you want it to perform at its best, especially when you’re out there capturing stunning night shots. Trust me; a little care goes a long way! For starters, make it a habit to clean your camera regularly. Wipe down the dome and front covers to keep dust at bay. Even a tiny speck of dust can mess up your images and cause distortion.
Also, pay attention to your surroundings. Avoid putting your camera near shiny walls or reflective objects. You know how bright lights can bounce off surfaces and create glare? That can lead to overexposed photos. If you happen to find yourself in a reflective area, try using dark materials, like an old black trash bag or some electrical tape, to cover those shiny parts. This simple trick can help minimize those pesky reflections.
Don’t forget to adjust your camera angle! Sometimes, just changing the angle can help you capture the perfect shot without those annoying reflections getting in the way. And one last tip: make sure your camera is mounted securely. A stable setup is key for clear images, especially in low-light conditions. So, check that tripod or mount!
Taking these small steps can really enhance your photography experience, particularly during night shoots. Many modern models also incorporate enhanced night vision technology to improve image clarity in low light environments. Now that we’ve covered the basics of camera care, let’s dive into some tips for capturing those breathtaking night scenes.
Frequently Asked Questions
How to Stop IR Light Reflection?
To stop IR light reflection, we can use infrared filters on our cameras, angle them away from reflective surfaces, and distance ourselves from those surfaces. Let’s also clean our lenses regularly to improve image quality together.
How to Fix Overexposure on Photos?
We might think overexposure’s just a bright idea, but adjusting exposure control helps create balance. Let’s experiment with angles and light sources, ensuring our night photos capture the beauty, not the blinding glare.
How to Block Out Infrared Light?
To block out infrared light, we can use infrared filters on our cameras. Additionally, employing black materials like blackout cloth or electrical tape can effectively absorb IR light, enhancing our photography results during night sessions.
Can You Do Infrared Photography at Night?
Like a painter under a starry canvas, we can indeed capture night photography through infrared. With the right tools and techniques, we navigate darkness, revealing unseen hues that dance just beyond our sight.