As an Amazon Associate, we earn from qualifying purchases. Some links on this site are affiliate links at no extra cost to you. Our recommendations are based on thorough research and editorial judgment.
Setting Multiple Cameras on One Trail Without Overlap Confusion
When setting multiple cameras on a trail, it’s important to avoid overlap confusion. Here are some tips to help you:
- Use bright ground markers to clearly indicate camera positions.
- Set all cameras to the same resolution and frame rate for consistency.
- Create a shot list that outlines each camera’s specific role.
- Communicate effectively with your crew about placements and angles.
You may be interested

Following these strategies keeps your shots organized, and you’ll discover even more useful insights ahead.
Key Takeaways
- Mark camera locations with bright cones or flags and document GPS coordinates for easy identification and precise placements along the trail.
- Set all cameras to the same resolution and frame rates, ensuring consistency in footage for smoother editing later.
- Assign specific roles to each camera and conduct test shoots to identify potential framing issues and reduce overlap confusion.
- Use intercoms to facilitate seamless communication among crew members regarding camera placements and adjustments on the trail.
- Implement timecode generators to synchronize footage, simplifying the editing process and minimizing confusion from overlapping camera views.
Essential Factors for Effective Camera Placement on Trails
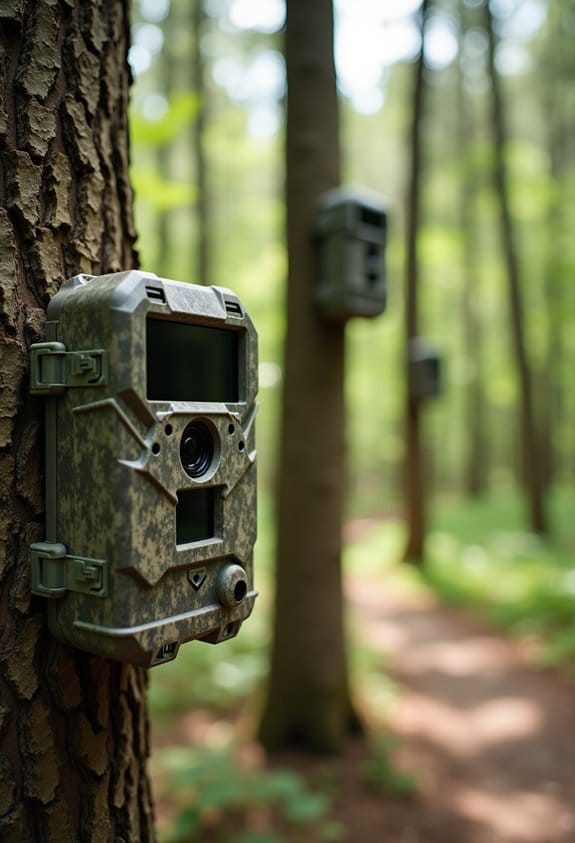
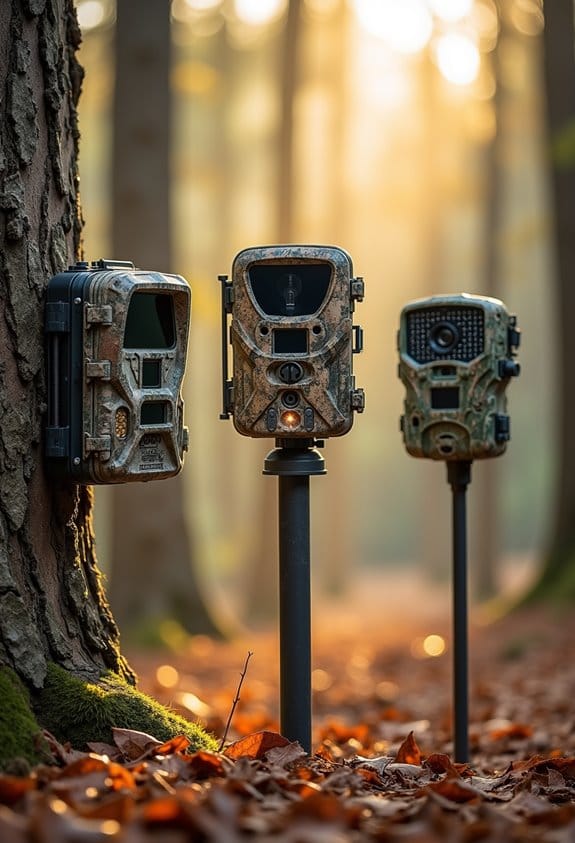
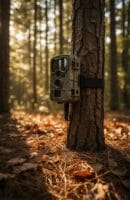
When you’re setting up multiple cameras on a trail, effective camera placement is key to capturing those perfect shots. Think about what each camera will do—maybe one can take wide-angle shots to capture the scenery, while another focuses on close-ups of wildlife or interesting details along the path.
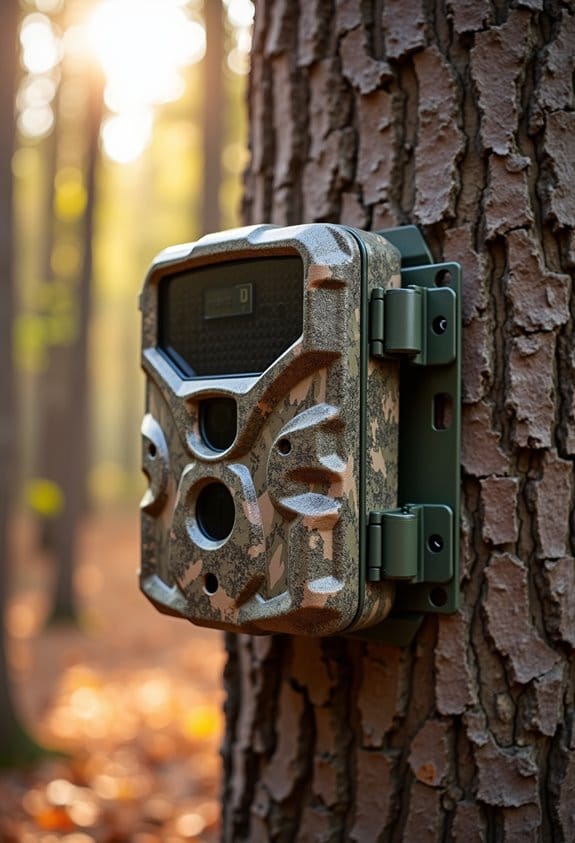
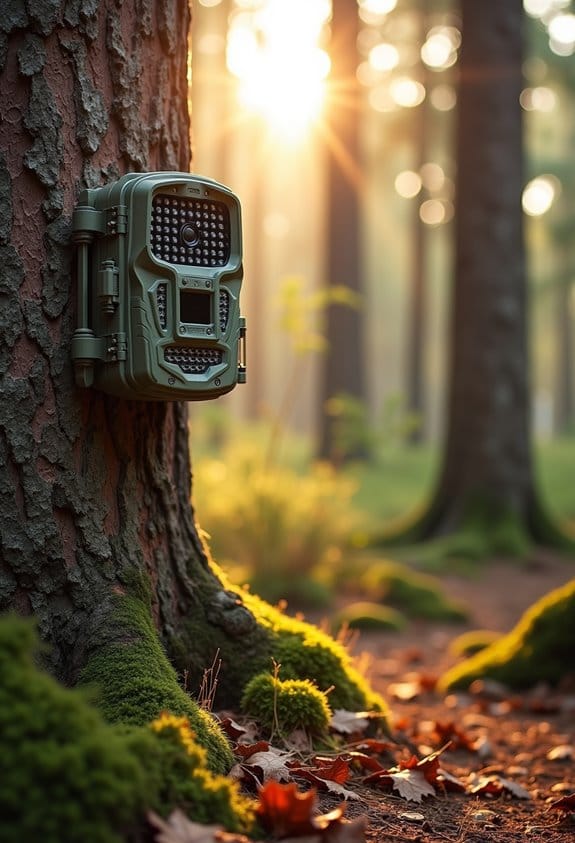
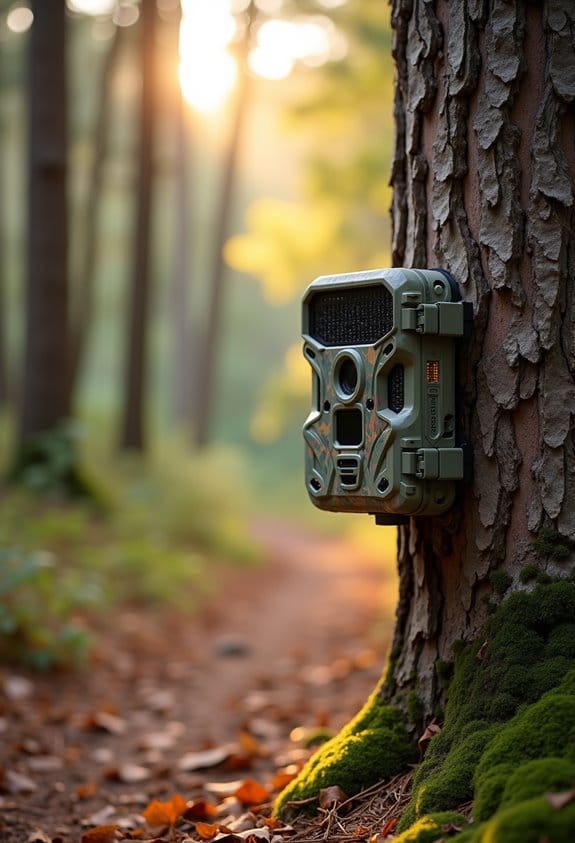
It’s really important to keep the height and spacing consistent between cameras. This way, you won’t end up with confusing perspectives later. A great tip is to use tripods for stability; they help prevent any accidental shifts in positioning, which can mess with your shots.
Make sure to mark the areas each camera will cover. You might want to take a chalk line or some tape along the trail to help visualize where each field of view will be. Also, sit down before you start shooting to plan out the unique aspects you want to capture, so you can avoid overlap. By paying attention to these details, you set yourself up for an engaging filming experience. Plus, it makes the whole process a lot smoother and more enjoyable! For optimal wildlife capture, position cameras 3 to 5 feet off the ground to balance visibility and target animal eye level for each setup, which reduces vegetation interference.
Recommended Products

IN THE BOX: 1 x SiOnyx Aurora Pro Explorer Edition (SiОnух Aurora Pro Night Vision Camera, 940nm IR Illuminator, rechargeable batteries for both the camera and the IR Illuminator, 32GB microSD card + Reader and SD Card Box, USB charger and it's all packed neatly in a watertight hardshell case); 1 x Hat

FX format compatible. Mount Type Nikon F Bayonet
Universal DJI RS Compatibility & Car Mount Stabilizer: Transform your DJI RS4 Pro, RS4, RS3 Pro, RS3, RS2 Pro, or RS2 gimbal into a powerful car camera mount! The MOVMAX Razor Arm handles 14.5 lb cameras, utilizing 0-140 PSI air shock absorption to ensure remarkably stable footage during dynamic vehicle shots.
Using Ground Markers for Accurate Camera Positioning
Hey there! If you’ve ever thought about how to set up cameras along a trail accurately, let me tell you, ground markers can make a world of difference. Imagine using bright, colored cones or flags to mark the exact spots where you want those cameras. It’s such a simple idea, but having that visual cue makes it way easier to position everything just right.
You’ll want to take it a step further by attaching GPS coordinates to each of those markers. This way, if you’re working with multiple cameras, everyone knows exactly where to set them up. Plus, it saves you from second-guessing those placements later on. It’s like having a built-in map that keeps you on track.
Make sure to check that those markers are easy to see from various angles. This ensures that your camera operators won’t accidentally walk past them or get confused about where to go. You can also use tape or chalk to mark horizontal and vertical angles right on the ground. This way, setup becomes a breeze—just line up your camera with the guides, and you’re good to go.
Having a solid shooting plan is key, too. Take a moment to document where you’ve placed each marker for quick reference later. It keeps everything organized and saves you time. Plus, the clearer you are about your setups, the better your footage will end up looking! Now, if you’re ready to dive into how to choose the right equipment for your shoot, let’s keep going!
To ensure your cameras remain perfectly positioned throughout the shoot, consider using quick and easy installation mounts that facilitate fast and stable setups without the need for tools.
Recommended Products

HIGH VISIBILITY FOR FAST IDENTIFICATION: Bright 6-inch whisker markers stand out in grass, dirt, gravel, and wooded terrain. Designed for easy spotting during surveying, grading, landscaping, or construction layout work.

Stake Chaser® Professional Marking Flags (Whiskers), 6" Yellow, 1000 Pack for Utility & Construction
HIGH VISIBILITY FOR FAST IDENTIFICATION: Bright 6-inch whisker markers stand out in grass, dirt, gravel, and wooded terrain. Designed for easy spotting during surveying, grading, landscaping, or construction layout work.

Steady Material: The reflective driveway markers are made from non-alkali fiberglass, light weight, strong and with good flexibility and toughness, can withstand all kinds of bad weather, not easy to break, can be used for a long time
Creating a Clear Shot List to Prevent Overlap
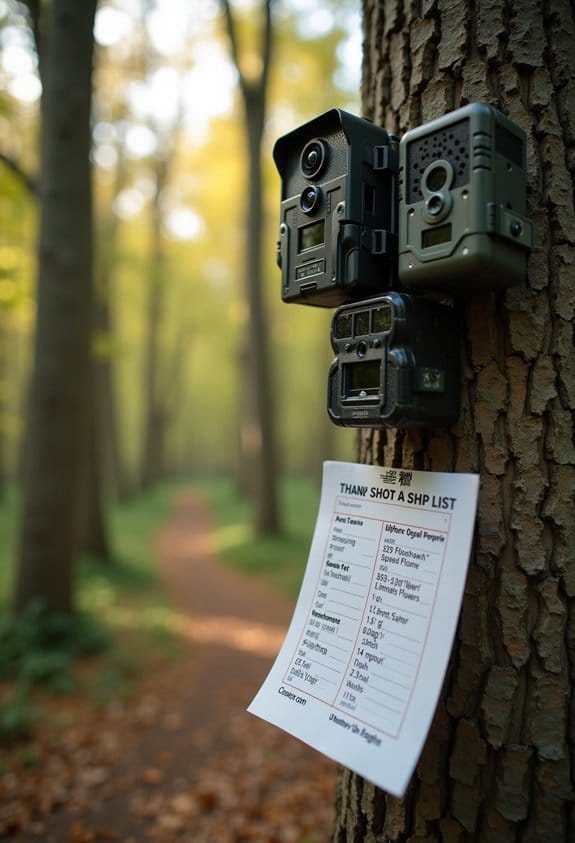
Creating a clear shot list is super important for keeping our filming organized. It really helps us capture everything we need without doubling up on shots, which can be a real time-waster! Think of it like a roadmap for our shoot, laying out exactly what we need.
First off, categorizing shots makes a big difference. For instance, if we break them down into master shots, close-ups, and reaction shots, it becomes easier to see what role each shot plays in the story. That way, we avoid unnecessary overlaps and make sure every angle counts. Then, including camera positions and timing in our list helps everyone on set stay coordinated. If we know exactly where the camera should be at each moment, we can minimize confusion.
Another handy tip is notating focal lengths and lens types. This ensures that all our shots have a consistent look and feel. For example, if we decide to use a 50mm lens for close-ups to capture that intimate vibe, keeping it noted means we don’t accidentally switch to a wide lens later and change the whole feel of the scene.
Lastly, regularly going over the shot list during pre-production and rehearsals is key. It allows us to tweak things as we go and ensure we have everything covered before we hit record. By staying organized and clear about our shots, we set ourselves up for a smoother filming experience. So, let’s keep this spirit of planning as we jump into scouting locations and figuring out our filming days!
In addition, incorporating cameras with no-glow technology can help ensure discreet filming without disturbing wildlife, which is especially important for capturing natural behavior during nighttime shoots.
Recommended Products

Plus Chromebooks offer fast performance, smooth video calls and ample storage

LIGHTWEIGHT 2-in-1 DESIGN At just under 3 pounds, the Chromebook Plus is incredibly lightweight. You can easily fold it into tablet mode for comfortable viewing and browsing

Fostering Effective Communication Among Crew Members
You know, effective communication is really key when we’re managing multiple cameras along the trail. It’s not just about shouting orders; it’s about making sure everyone knows what they’re doing. For instance, we usually start by giving each crew member a specific role, so there’s no confusion about who’s handling what. This way, everyone feels confident in their tasks.
One way we keep things running smoothly is by using intercoms for instant messages between team members. Imagine someone standing by a camera and using hand signals to let the rest of us know if adjustments are needed—that saves us a lot of time! Before we actually start filming, we have a huddle where we go over the shooting plan and camera placements together. This alignment helps keep everyone on the same page and ready to move forward.
We also create a visual communication board. Think of this as a quick reference for camera angles and positions, so everyone knows where they need to be throughout the shoot. Plus, we encourage an open feedback loop among crew members. This way, if something doesn’t seem right, anyone can voice their thoughts, which boosts our teamwork and ultimately improves the quality of our production. Utilizing cameras with real-time alerts can further enhance communication and efficient monitoring when managing multiple devices.
Tips for Managing Footage Consistency
Once all your crew members are synced up, it’s time to manage footage consistency, which is crucial for a polished final product. Think of it as ensuring every shot blends seamlessly together. First off, make sure all cameras are set to the same resolution and frame rates. If one camera is shooting at 24fps while another is at 30fps, it can create a jarring disparity when editing. For example, try shooting everything at 1080p and 30fps to keep things uniform—that way, your footage maintains a consistent quality.
Next, let’s talk about white balance. Keeping the same white balance setting across all cameras ensures the colors in your shots match perfectly during the editing stage. You might want to use a gray card or a white piece of paper to balance the colors before filming; that way, you don’t end up with one shot looking too cool and another too warm.
Also, implementing synchronized timecode generators can be a game changer for your editing workflow. When each camera shoots with a shared timestamp, it simplifies finding and aligning clips in post-production. Consider designating roles for your cameras too—like assigning one camera for wide shots and another for close-ups. This prevents overlapping coverage and keeps everything tidy.
Lastly, don’t forget to regularly monitor audio levels and visuals during the shoot. Consistently checking these can help avoid any surprises later on. Keeping an eye on both audio and visual consistency sets the stage for an impressive final cut. Utilizing cameras with fast trigger speeds can also ensure you capture every important moment without delay. Now that you’ve got a handle on managing consistency, let’s explore how to make the editing process just as smooth!
Recommended Products

Eight ultra-low-noise Kashmir microphone preamps with adjustable limiters capture high quality audio in the field, on set, or with a computer. Choose bit depths from 16 to 32-bit float, and sampling rates from 44.1 kHz to 192 kHz.

Four ultra-low-noise Kashmir microphone preamps with adjustable limiters capture high quality audio in the field, on set, or with a computer. Choose bit depths from 16 to 32-bit float, and sampling rates from 44.1 kHz to 192 kHz.

Three ultra-low-noise Kashmir microphone preamps with adjustable limiters capture high quality audio in the field, on set, or with a computer.
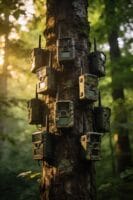
Fixing Overlap Issues in Multi-Camera Setups
When you’re dealing with overlap issues in multi-camera setups, it’s all about smart camera placements and understanding what each camera is meant to do. Think of it like setting up a group photo—if everyone stands too close together, you’ll end up with some awkward shots!
First, consider strategic positioning. Place your cameras at different angles and heights. For example, you might have one camera on a tripod capturing the entire scene from the front, while another one is low to the ground for some interesting close-up shots. This way, they won’t block each other and you’ll get unique angles.
Next, designating roles for each camera can really help clear up any confusion. You could assign one camera to handle wide shots of the action, while another focuses solely on capturing close-ups of people’s reactions. To make it even easier, you can use visual markers on the floor to remind everyone where each camera should be pointed.
Don’t forget about the technical side! Using timecode generators can keep all your cameras in sync, helping you avoid those annoying overlaps in your footage. And before your final shoot, run some test shoots to check the framing and identify any potential issues. If something looks off, you can always adjust your camera placements before the real deal.
Additionally, using adjustable mounts allows for flexible camera angles that can be easily repositioned to further optimize coverage and reduce overlaps.
Recommended Products

**360 Photo Booth Machine with Ring Light** Immerse People in a magical 360-degree rotating kiosk experience that capture slow-motion video from every angle, slow-motion arms to automatically circle them. With 3 colors lighting mode and 10 adjustable brightness, you can make 360-degree panoramic videos and fantastic photos, and share to social media instantly such as Facebook, YouTube,Twitter, Instagram, and TikTok. NOTE: Please arrange a power-bank (not included) to power the ring light.

Point-and-Shoot Digital Camera Case: Water-resistant with sturdy construction and a fully padded interior. Features a secure belt loop, Velcro closure, and removable adjustable shoulder strap. Outer dimensions: 3.5" (W) x 2.25" (D) x 5.25" (H). Designed to fit all digital point-and-shoot cameras.

27” 5K (5120 x 2880) IPS Display
Frequently Asked Questions
What Are the Disadvantages of Multi-Camera Production?
In multi-camera production, we face camera synchronization challenges, editing complexity issues, angle inconsistency problems, lighting variation difficulties, audio management struggles, data storage requirements, and operator coordination problems, leading to footage management headaches and post-production time constraints.
How Do I Put Multiple Cameras on One Screen?
To put multiple cameras on one screen, we can utilize software tools for camera setup that enhance screen layout. By ensuring frame alignment and visual harmony, we’ll improve viewer experience across various shooting angles.
When Photographing for a Panoramic, by How Much Should the Photos Overlap?
When we explore panoramic photography, we should aim for a 30% to 50% overlap for ideal results. This guarantees effective stitching, aligns our exposure strategies, and reduces lens distortion effects, helping produce a seamless image.
Can You Use Multiple Webcams at Once?
Yes, we can use multiple webcams at once. We’ll need to manage compatibility issues, adjust streaming software settings, check USB port limits, and troubleshoot for resolution differences while employing effective camera switching techniques and overlays for clarity.