As an Amazon Associate, we earn from qualifying purchases. Some links on this site are affiliate links at no extra cost to you. Our recommendations are based on thorough research and editorial judgment.
Reducing “Empty Frame” Noise: A Workflow for Filtering False Triggers
Reducing empty frame noise is important for effective wildlife monitoring. Here’s a simple workflow to filter false triggers:
- Adjust sensitivity settings on your cameras.
- Use sheltered placements to reduce false activations.
- Activate features like Auto Hide to filter out empty frames.
- Incorporate machine learning for better detection results.
- Regularly review and adapt your settings based on your environment.
You may be interested


Following these steps can greatly enhance data quality. There’s more to explore on optimizing your wildlife monitoring efforts.
Key Takeaways
- Adjust camera trap sensitivity and use sheltered placements to minimize triggers from environmental factors and reduce empty frame noise.
- Utilize advanced filtering techniques like machine learning algorithms and image classification tools to enhance detection accuracy and eliminate false triggers.
- Regularly monitor and document historical data on empty frames to refine detection patterns and improve future camera placements.
- Implement the Auto Hide function and customize settings to define empty frames based on specific environmental conditions for clearer data collection.
- Train staff on new techniques and tools to ensure efficient workflow and adaptability in addressing empty frame challenges in wildlife monitoring.
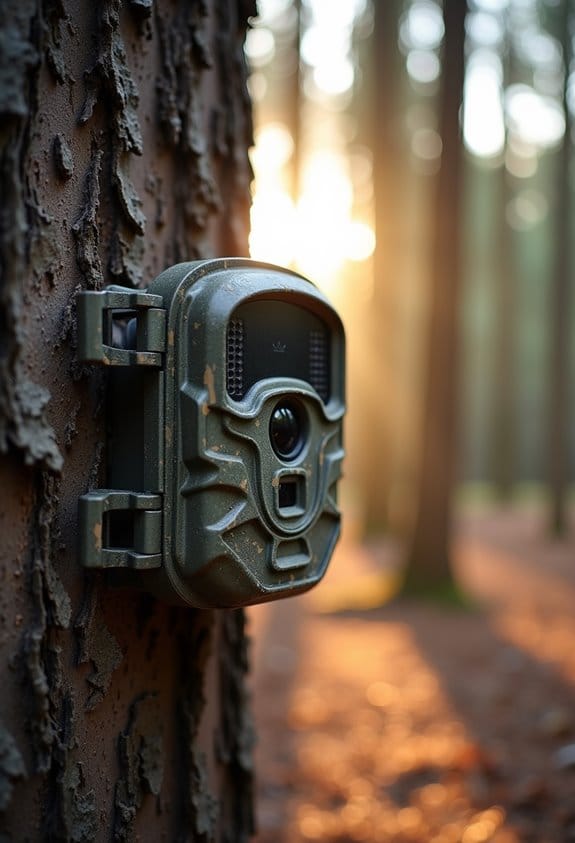
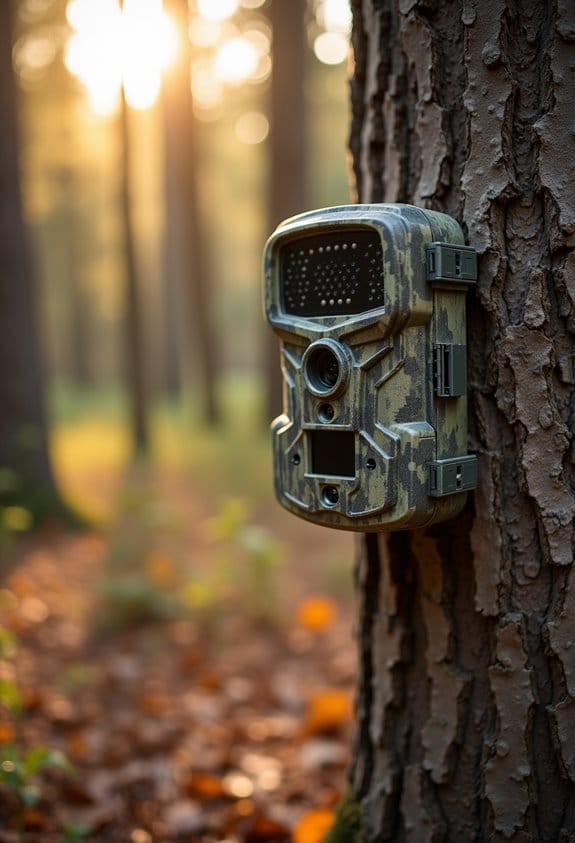
What Is ‘Empty Frame’ Noise and Why Does It Matter?
You know how frustrating it can be when you set up a camera trap for wildlife monitoring, and you end up with a ton of ’empty frame’ noise? This is a pretty common issue, and it happens when these cameras snap away even when no animals are around. Imagine scrolling through hundreds of photos only to find that most of them show nothing but leaves or the ground. It’s a real headache!
So why should we care about this empty frame noise? For starters, it wastes a lot of valuable resources. Think about the hours spent reviewing countless images that don’t show anything useful. Additionally, those empty frames can really inflate your data—so instead of getting clear insights, you’re left sifting through a mountain of irrelevant photos, which complicates everything. And then there are those pesky environmental triggers. Sometimes, just a breeze rustling the leaves or a passing squirrel can set off the camera unnecessarily.
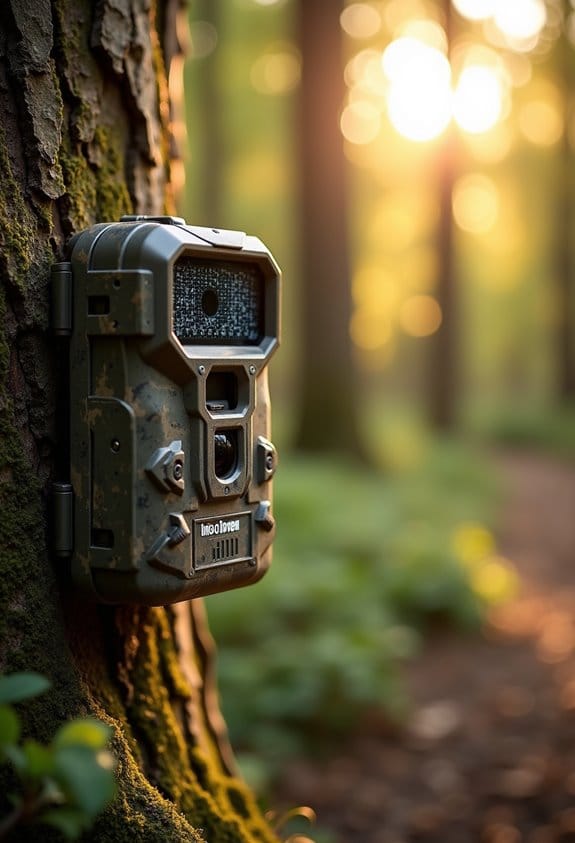
To tackle this issue, some folks have found that adjusting the sensitivity settings on their camera traps can help filter out those unwanted triggers. Others recommend placing the cameras in more sheltered spots to reduce false activations from wind or small movements. Addressing empty frame noise not only streamlines the monitoring process but also helps us focus on the wildlife we’re really excited to document. Speaking of that, let’s explore how to better set up your camera traps to maximize your chances of capturing those elusive animals!
How Does Auto Hide Help Reduce Empty Frame Noise?
Hey there! Let me tell you about how Auto Hide can really help cut down on that pesky empty frame noise in camera traps. Basically, it’s a smart feature that helps you manage the images your camera captures by showing you only the good stuff—like actual wildlife activity.
Here’s how it works: when you turn on the “Hide on Target Empty” option, your camera automatically hides any frames that don’t have any movement or action. So, instead of scrolling through a bunch of boring shots with no animals, you can zoom in on the interesting moments. For instance, if you’re waiting to catch a glimpse of a rare bird, you won’t waste time sifting through hundreds of empty stills where nothing’s happening.
You also have the ability to tweak the settings, letting you decide what counts as an empty frame. Maybe you want to include frames with just a rustling bush or maybe only those with large animals. This customization makes sure you’re getting the most relevant data possible and can even help improve the accuracy of any species detection algorithms you’re using. It’s a straightforward way to tidy up your dataset and make your wildlife monitoring efforts much more effective.
In addition, leveraging adjustable PIR sensors can further optimize false trigger filtering by fine-tuning motion detection sensitivity according to the environment.
Creating Effective Conditions for Noise Reduction
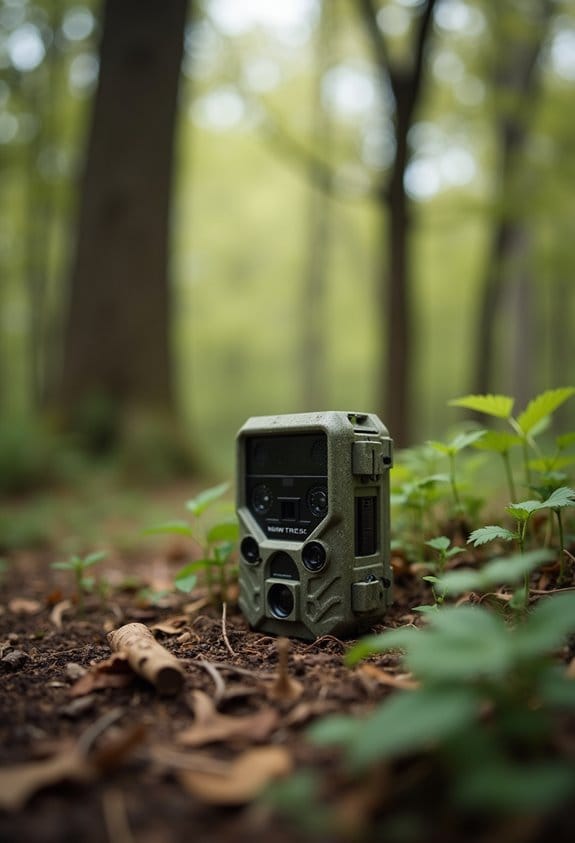
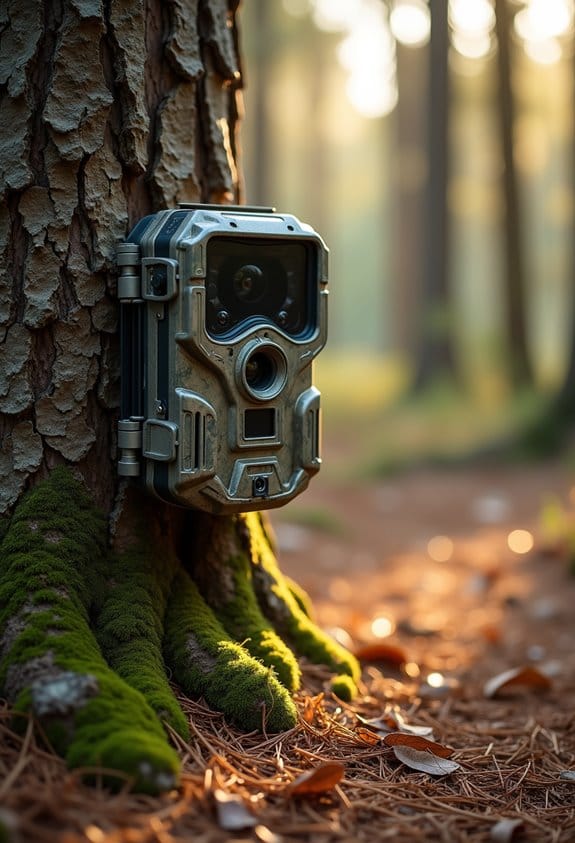
If you want to create effective conditions for noise reduction in your camera traps, let’s chat about how to pick the right spot and set them up. First off, take a good look at the vegetation in the area. If there’s a lot of plants swaying or animals darting around, those might cause your camera to go off more than you want, leading to unnecessary noise in your data.
Next, think about where you place your traps. Spatial analysis tools can help you identify spots that might trigger the camera too often. For instance, setting up a camera near a heavily trafficked animal trail can yield a lot of false alarms if there’s too much movement from non-target species.
You’ll also want to fine-tune your camera settings. Adjusting the motion-detection sensitivity can really help keep unimportant captures, like passing leaves or small birds, to a minimum. And don’t forget to define what an “empty frame” looks like in your study—being clear on this will save you a lot of time when you’re reviewing the footage later. Additionally, using cameras with adjustable PIR sensors can improve the reliability of motion detection and reduce false triggers.
Steps for Managing Dynamic Visibility Adjustments
Managing dynamic visibility adjustments can feel a bit overwhelming at first, but once you get the hang of it, it becomes much easier. Think of it like tuning a radio—you’re just looking for the right frequency to make everything clear. Here’s how you can break it down simply.
First off, you can use an *Auto Hide* function. This feature lets you automatically hide or show certain objects based on specific conditions—basically, if something is true or false. For example, if you’re creating a list, maybe you only want to show a “No items found” message if the list is empty. Simple changes like this can make your interfaces much cleaner.
Next, let’s talk about the modes you can choose from when using Auto Hide. You have three options: you can hide elements when the target area is empty, when it contains items, or you can set up your own unique conditions. So, if you’re working on an app, and want to only display a prompt when there are notifications available, you set it according to that specific need.
Keeping an eye on your conditions is also super helpful. The Condition property helps you evaluate and see results in real-time, so you can tweak things as needed. This can save you a lot of guessing work, letting you see immediately if your setup works or if you need to adjust it.
Lastly, don’t hesitate to combine different techniques. Pairing dynamic content management with Auto Follow can really boost how effectively your elements appear in relation to one another. For instance, if you’re displaying related products in an online store, having them show up together when a specific category is selected can create a better shopping experience for your customers.
Leveraging technology with features similar to those found in cellular deer cameras can enhance real-time monitoring and responsiveness in your workflow.
Best Practices for Implementing Your Workflow
Implementing an effective workflow can really make a difference in how smoothly things run, right? So, let’s talk about some best practices that can help you streamline your processes. For example, using image classification techniques like MegaDetector can really help by filtering out those pesky empty frames. It’s like having a smart assistant that only shows you the important stuff.
Next, think about the environment where you’re operating. It’s a good idea to analyze different factors that might lead to false triggers. For instance, if your camera is picking up shadows cast by trees, it could misinterpret them as motion. By adjusting the threshold sensitivity thoughtfully, you can reduce those false positives while still keeping an eye on real activity.
Don’t forget to regularly review your filtering workflow too! This is essential as conditions change—like if you move a camera to a different spot or if the vegetation around it shifts. Keeping track of what works and what doesn’t is crucial. And speaking of keeping track, documenting your parameters and results can be a great way to share what you’ve learned with others. It’s all about building knowledge together.
Additionally, considering the trigger speed of your trail camera can help optimize motion detection settings to further minimize false triggers and improve capture accuracy.
Frequently Asked Questions
What Tools Can I Use to Implement These Noise Reduction Techniques?
To implement noise reduction techniques, we can use noise filtering algorithms, apply frame analysis techniques, and make trigger sensitivity adjustments. Together, these tools can enhance our results and minimize unwanted interference in our projects.
How Does Lighting Affect the Presence of Empty Frame Noise?
When the lighting’s not right, we can see that ambient lighting effects dramatically influence empty frame noise. Color temperature and shadow dynamics play vital roles in creating those unwanted false triggers.
Can I Automate the Visibility Adjustments Further?
Yes, we can automate the visibility adjustments by integrating automated adjustments into our visibility settings. This way, we’ll enhance noise filtering and improve our overall workflow, ensuring more accurate results without manual intervention.
What Are the Impacts of Empty Frame Noise on Viewer Experience?
Empty frame noise can shatter our viewers’ immersion, making them disengage and lowering retention. Conversely, a smooth experience boosts content engagement and user satisfaction, turning fleeting interest into lasting loyalty. We’ve all felt that difference.
Are There Any Software Limitations to Be Aware Of?
Yes, we should acknowledge software constraints such as user interface limitations and algorithm efficiency challenges. These factors can hinder our ability to effectively filter noise, impacting overall performance and user satisfaction in our projects.