As an Amazon Associate, we earn from qualifying purchases. Some links on this site are affiliate links at no extra cost to you. Our recommendations are based on thorough research and editorial judgment.
How to Organize Trail Cam Photos for Research (Folder and Naming Systems)
To organize your trail cam photos effectively, start by setting up a consistent folder structure for the year. Create master folders labeled by year, and subfolders for each camera location with dates. Use clear file names that include the location, date, and camera ID. For example, “Location_Date_CameraID.” You can also tag images by species and conditions for easier filtering. This system helps you find images quickly and analyze wildlife patterns accurately. Let’s explore more best practices together.
Key Takeaways
- Create a master folder for each year, organizing subfolders by camera location and date for easy access to images.
- Use a consistent naming format, including location, date, and camera ID, to facilitate efficient searching of photos.
- Implement a tagging system for quick filtering by species and weather conditions, improving image retrieval during analysis.
- Maintain a digital spreadsheet to manage metadata, including species and camera setup, for deeper research insights.
- Regularly back up images and check storage solutions to prevent data loss, ensuring consistent access to trail cam photos.
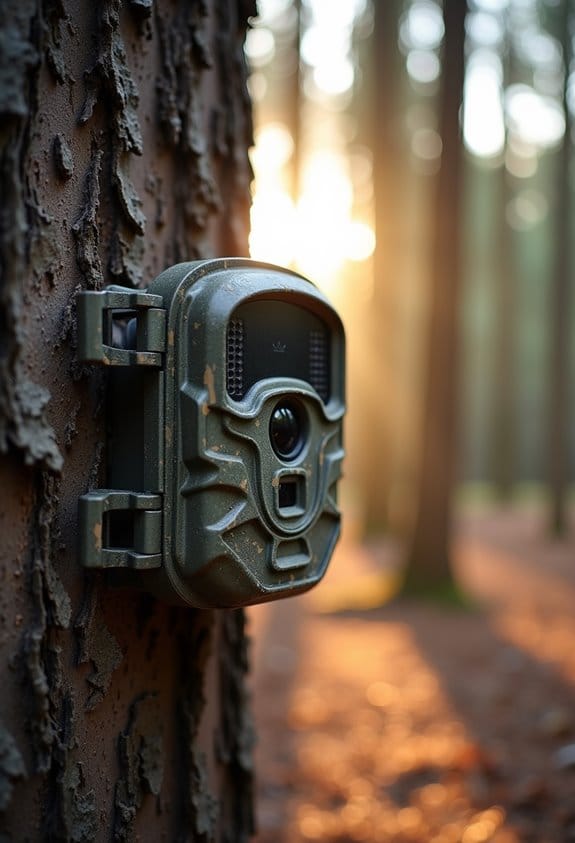
Why You Should Organize Your Trail Cam Photos

You may be interested

Hey! So, have you ever thought about organizing your trail cam photos? You might be wondering why it even matters. Well, let me tell you, it’s super important for a bunch of reasons.
First off, organizing those photos really helps you find what you need quickly, whether it’s by species, location, or date. For example, if you’re particularly interested in tracking deer activity, having all those photos sorted out makes it a breeze to pull up only the ones you need for your analysis. Plus, a solid folder structure can save you from losing critical data. Imagine spending hours setting up your camera and then misplacing those precious photos!
Another big benefit is teamwork. If you’re working with a group, everyone can access the same well-organized images, which makes collaboration so much easier. Think about sharing photos of that rare bird you spotted; having them sorted and labeled means your teammates can quickly jump in and contribute their insights. And don’t forget about naming conventions! Using clear and consistent file names helps everyone understand what’s what without wasting time guessing.
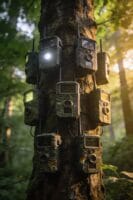
Organizing your trail cam photos also plays a crucial role in wildlife tracking. It helps you notice patterns and behaviors more effectively, which is essential for formal research studies. For instance, when you can easily see when a specific animal visited your camera, you can spot trends in their activity and understand their habits better. Utilizing cameras with high-resolution imaging further enhances this process by providing clearer and more detailed photos for analysis.
Setting Up a Consistent Folder Structure for Trail Cam Images
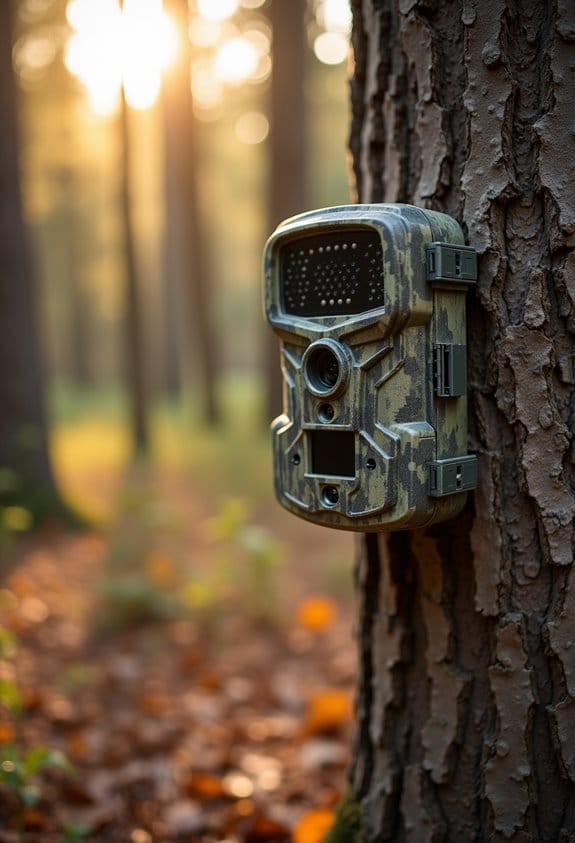
Getting your trail cam photos organized is really just the beginning! The way you set up your folder structure can make a big difference when you’re searching for that elusive shot. Start by creating a master folder for each year’s trail camera cycle. For example, if you’re organizing photos from 2023, that will be your main folder.
Inside this master folder, it’s a good idea to create subfolders for each of your camera locations. You might label them something like “CameraSite1_20230315” if that’s when and where the camera was deployed. This way, you’ll know exactly where to look when you’re trying to find a photo from a specific site or date. If you’ve got several cameras out in the field, keeping each one neatly organized by date will save you tons of time.
Additionally, consider sorting your images further by species type or noteworthy conditions, such as the moon phase or weather on the day the photo was captured. For instance, if you spotted a deer during a full moon, you could create a folder called “Deer_FullMoon_20230315.” This little extra step will help you gather data more easily later on.
And don’t forget to back everything up on an external hard drive! With this setup, retrieving data becomes a breeze, especially when you’re pulling images from a memory card after a long day in the field. Ain’t technology great? Now, how about we talk about the best ways to analyze those photos once they’re organized?
Using cameras with night vision technology can greatly improve your photo quality and data collection, especially for nocturnal wildlife activity.
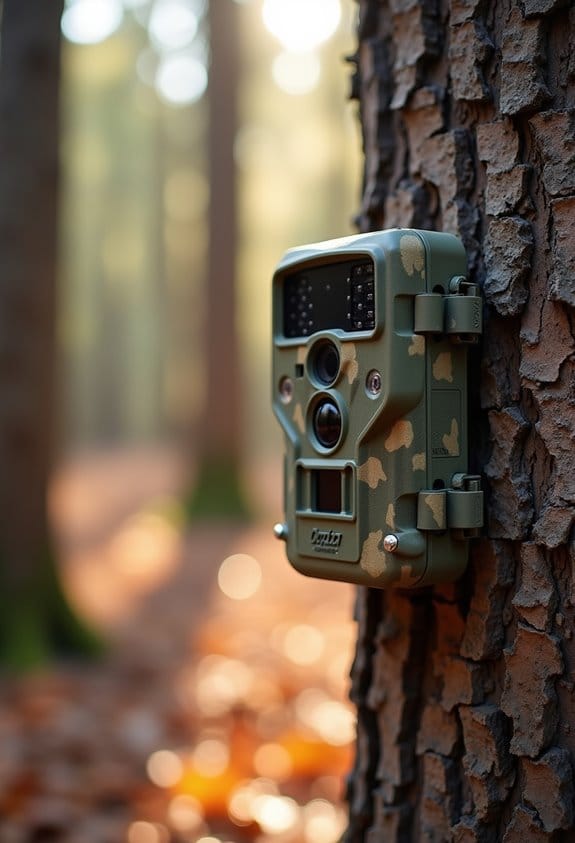
Best Naming Practices for Trail Cam File Organization
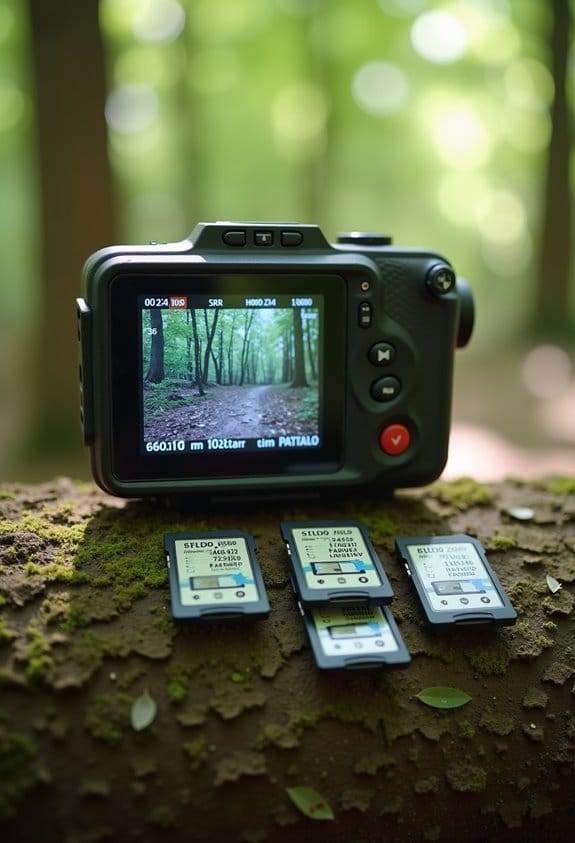
Hey there! Let’s chat about organizing your trail cam files. If you want to keep things tidy and efficient, effective naming practices are key. The first step is to use a consistent format for your file names. Think of it like this: you want to include important details right from the start, like where the camera is located, the date it was taken, and a unique identifier for that camera.
For example, you could name your file like this: “Forest_April2023_Cam01.” This makes it super easy to know exactly where and when the image was captured. If you notice a specific deer or other wildlife, you could expand it to something like “Forest_April2023_Cam01_Deer.” This way, sorting through your images later is a breeze.
You might also want to think about the context. If you captured the image during a specific weather condition or time of day, why not add that to the name? For instance, “Forest_April2023_Cam01_Deer_Night_Rain.” Just remember to avoid spaces or special characters—those can make it tricky to manage your files.
Having a clear naming system is a small change that pays off big when you need to search for specific images down the line. Getting everyone on the same page with this practice will definitely lighten your load during the analysis stage! Now, let’s talk about how to keep track of all those amazing shots once you’ve organized them. Additionally, using cameras that offer unlimited data plans can simplify the continuous transfer and management of your photos remotely.
Tagging and Filtering for Easier Access to Trail Cam Photos
Hey there! So, you might think that just saving your trail cam photos is enough, right? But let me tell you, tagging and filtering those images can really take your organization to the next level. By adding tags with things like species names or where the camera was set up, you can find those specific photos in no time.
For instance, if you’re looking for all the deer photos from this season, tagging them with “deer” makes it super easy to pull them up later. Plus, with platforms like DeerLab, filtering your images by time or weather is a breeze. You can even tag multiple photos at once—it saves you a ton of time!
Having a solid tagging system means you’ll keep everything neat and tidy without drowning in complex folder setups. This allows you to spend more time analyzing your findings and less time hunting for the right photo. And once you get the hang of it, you’ll wonder how you ever managed without it!
The Value of Bycatch in Trail Cam Photos
You know, when we look at trail cam photos, one really cool thing we often overlook is bycatch—those non-target species that sneak into our shots. These little surprises can be super valuable, especially when it comes to studying biodiversity. For instance, spotting a rare bird or a shy mammal can give us critical information for conservation efforts.
Bycatch also helps us see interactions between different species that might not be obvious otherwise. Imagine catching a glimpse of a fox and a rabbit in the same frame; it’s a reminder of the food chain and how different animals influence one another’s lives. Plus, if we track these images over time, we can get a real sense of how wildlife populations are changing, whether they’re increasing, decreasing, or shifting to new areas.
Using trail cameras with high-resolution sensors ensures these unexpected moments are captured with great detail, enhancing the value of bycatch in ecological studies.
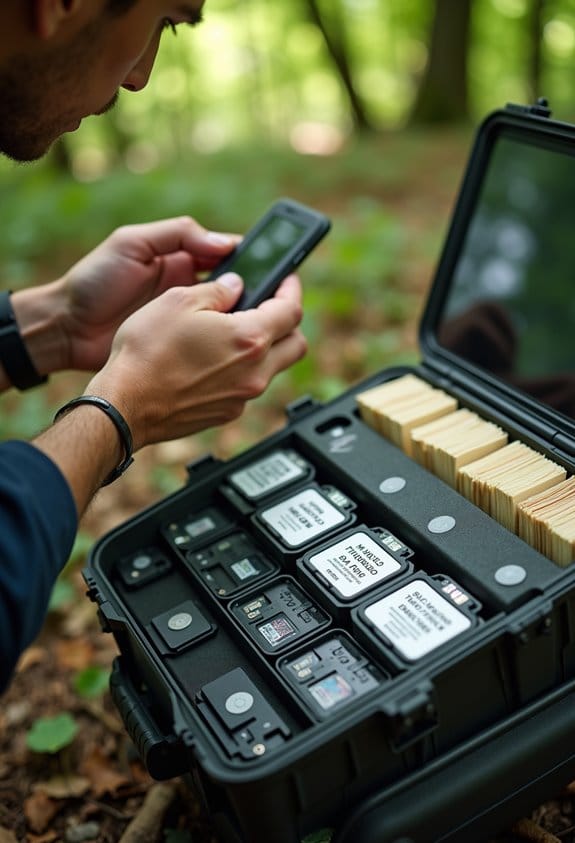
Effective Backup Strategies for Trail Camera Data
Hey there! If you want to keep your trail camera data safe, it’s all about having the right backup strategies in place. Think of it this way: by using two locations for your photos, like an external drive and cloud storage, you basically create a safety net against data loss. It’s like having a backup plan for your backup plan!
When choosing an external drive, aim for one with at least 1TB of storage. Going for a solid-state drive is a smart move too since it gives you quicker access to your files, making it easier to find that perfect shot from your last trip. And here’s a tip: make sure to back up your latest footage right after you take your camera down. This way, even if something happens, you won’t lose those recent captures that you’re dying to share.
It’s also helpful to loop in your team members. Encourage them to grab important photos too; that way, everyone has extra copies, which is always a good safety measure. Don’t forget to keep a little log of when and where you back things up—just jotting down the dates and locations can save you a headache down the road.
For additional security, consider cameras with built-in SIM cards to enable automatic cloud backups without relying on Wi-Fi.
How to Maintain Your Organized Photo System
Keeping your trail camera photos organized is super important if you want to handle all that data efficiently. Imagine just went out to check your camera, and you have a bunch of cool shots all waiting for you. If you categorize them right away, while everything is still fresh in your mind, it makes it a lot easier to remember what you captured.
Start with a consistent naming system for your folders. For example, you might name them like this: “CameraID_Date_SurveyInfo.” This makes it a snap to find what you’re looking for later. If you’re collecting footage from multiple cameras in different locations, this method can save you time when you want to review specific events.
Don’t forget about metadata! Keeping a digital spreadsheet with details like what species you spotted and where the camera was set up adds a whole new layer of insight for your analysis. It’s like creating your own mini research project with valuable data at your fingertips.
Lastly, be sure to check in on your storage solutions regularly. Schedule a routine check-up to keep everything running smoothly and prevent any data loss. And remember to back your stuff up—it’s wise to combine cloud storage with local backups. Trust me, you’ll be glad you did when you need to retrieve that perfect shot! Using cameras that offer secure cloud storage can make managing and safeguarding your photos even easier.
Frequently Asked Questions
How to Organize Trail Camera Photos?
To organize trail camera photos, we should focus on photo tagging and digital archiving. By creating a consistent folder structure and labeling, we can guarantee easy access and efficient retrieval for future analysis and research.
What Is the Best Way to Categorize Photos?
Let’s paint a vivid tapestry of our photos—categorizing by species identification and seasonal variations. This way, we’ll sift through our visuals like autumn leaves, each revealing stories of nature’s hidden wonders.
How Do I Organize My 30 Years of Digital Photos?
To organize our 30 years of digital photos, we should create a master folder structure, consistently name files, and utilize reliable digital storage solutions for efficient photo archival, ensuring we never lose precious memories.
How Is Metadata Used to Categorize Photographic Images?
Metadata helps us categorize photographic images by providing essential details like location and time, adhering to metadata standards. We can employ various categorization methods to streamline our research, ensuring easy access and analysis of our images.