As an Amazon Associate, we earn from qualifying purchases. Some links on this site are affiliate links at no extra cost to you. Our recommendations are based on thorough research and editorial judgment.
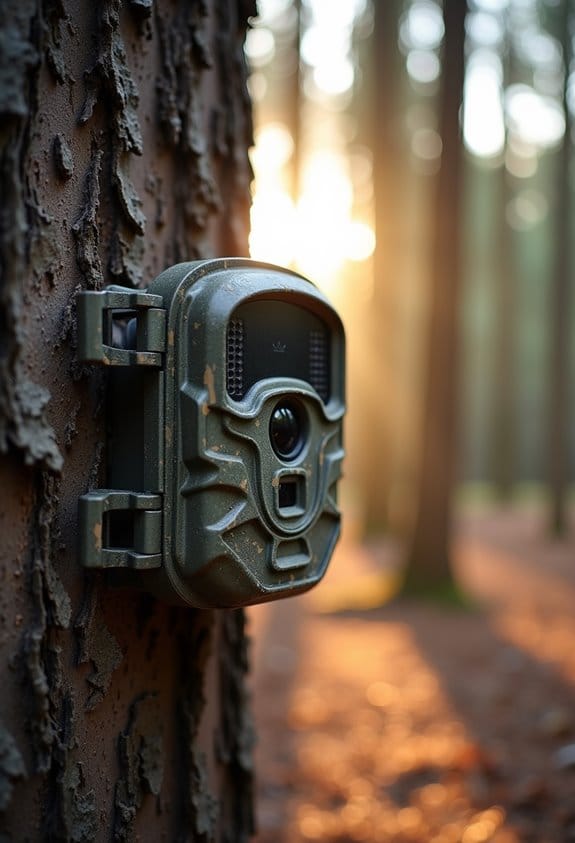
Common Trail Camera File Types and What They’re Used For
Trail cameras produce different file types that you can use to capture wildlife. Here’s a quick overview of common formats:
- JPEG: Great for still images; smaller size, but can lose detail.
- PNG: Keeps quality intact; best for intricate details.
- AVI: High-quality video, but larger file sizes.
- MP4: Balanced video quality and smaller sizes, easier to share.
You may be interested


Each format has its purpose, so understanding them helps you manage your storage better. You’ll discover more about optimizing your camera files soon!
Key Takeaways
- Trail cameras typically generate JPEG, PNG, RAW for images, and AVI, MP4 for videos, catering to different photographic needs and storage constraints.
- JPEG format offers good quality with smaller file sizes, ideal for capturing still images of wildlife while maintaining a balance between clarity and memory use.
- PNG files retain image quality and details without compression loss, making them suitable for intricate wildlife identification.
- AVI provides high-quality video but results in large file sizes, while MP4 balances quality and size, making it user-friendly for recording and sharing videos.
- Choosing the right format is essential for optimizing storage space and ensuring effective management of captured images and videos.
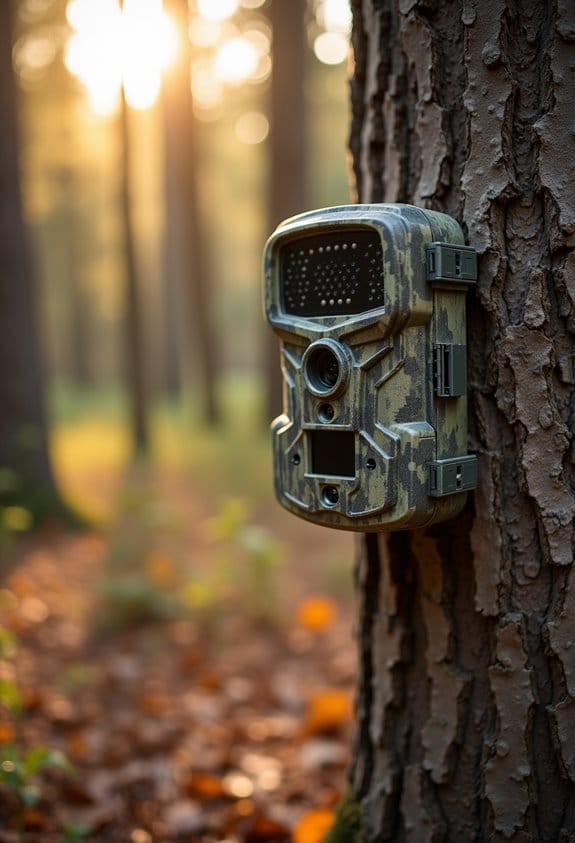
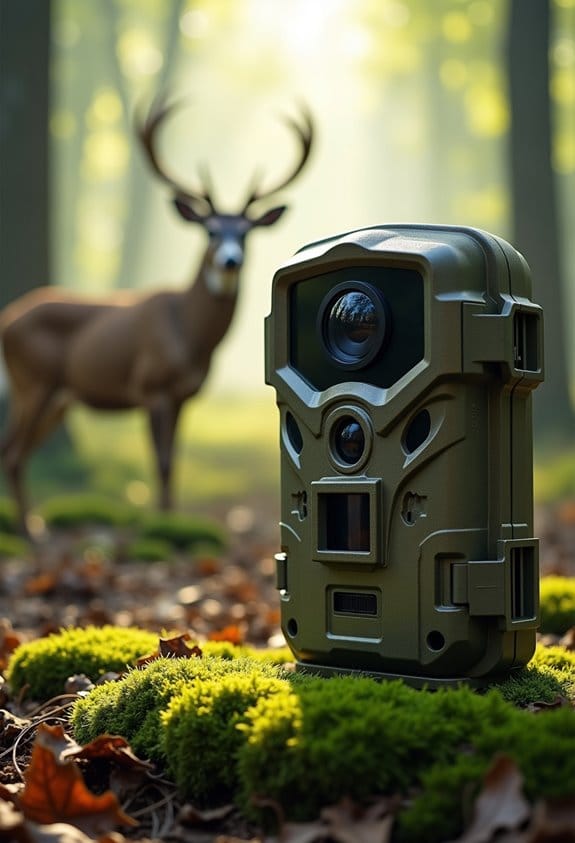
The Importance of Trail Camera File Types
When you think about trail cameras, it’s easy to overlook the importance of file types, but they really do play a crucial role. The choices we make between different file formats can affect everything from photo quality to how much space we have on our memory cards. For instance, if you’re hoping to capture crisp still images of wildlife, you might want to use JPEG files. They tend to be smaller, usually ranging from 1-5MB, which makes it quicker to transfer them to your computer.
On the other hand, if you’re planning to do some serious editing later, you might want to opt for RAW files. These give you high-quality images and plenty of flexibility in editing, though be warned—they take up a lot of space! And don’t forget about videos; MP4 is a popular choice here. It typically uses H.264 compression, so you can keep your video quality high while making sure it doesn’t consume all your storage.
Understanding these file types can help you manage your trail camera storage more efficiently and makes it easier to find the right editing software for your projects. By being smart about your file choices, you can preserve those amazing moments in nature without worrying about running out of storage. It all boils down to balancing your quality needs with your space constraints, which is key for effective trail camera use! Additionally, some cellular cameras also provide real-time image transmission capabilities, which can influence how quickly you need to manage file storage and transfer.
The Benefits of JPEG for Still Images
When it comes to still images, JPEG files are a go-to choice, especially if you’re using trail cameras. They pack a solid punch by keeping your photos looking great while also saving space on your SD cards. For instance, if you’re out in the field for a week and only have a limited number of gigabytes, JPEG is your friend!
One of the coolest things about JPEG is its color range; it supports around 16.8 million colors! This means your images can really pop with vibrant details. Plus, you have the option to adjust the quality. So, if you’re running low on space, you can decide how much compression to apply, keeping a good balance between clarity and file size.
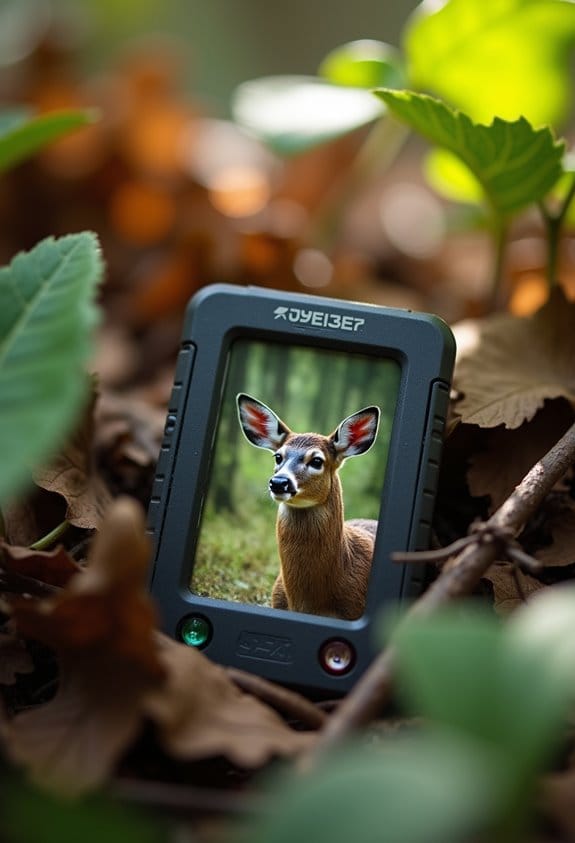
It’s also super convenient since most trail cameras save pictures as JPEGs. That means you can easily pull up your photos on different devices—whether it’s your laptop or a friend’s phone—to show off that impressive wildlife shot you captured. Just remember, while JPEGs are great, using too much compression can introduce artifacts into your images, which might make it harder to identify those elusive animals. So, keeping an eye on the quality settings will really pay off in the end!
Many trail cameras feature high-resolution sensors and infrared LED arrays that enhance image clarity in low-light conditions, making JPEG files from these cameras especially useful for nighttime wildlife identification through their night vision clarity.
As you explore photography further, you might want to consider other formats like RAW for more editing flexibility, but that’s a topic for another time!
Why Might PNG Be the Right Choice for Your Photos?
You know how we often save photos in JPEG format? Well, let me tell you why you might want to consider using PNG for your trail camera images instead. For starters, PNG keeps all your photo details intact without any quality loss, which is pretty important when you’re capturing those stunning moments in nature.
Plus, PNG can showcase up to 16 million colors! That means your wildlife photos will pop with vibrant hues, perfect for all those beautiful landscapes and colorful critters you might encounter. And if you’re thinking about layering images or want a clear background in some of your shots, PNG can handle that too thanks to its transparency feature.
Also, if you’re trying to pinpoint distinguishing marks on an animal for identification, PNG’s ability to capture intricate details can really make a difference. Just think about it: the more detail you have, the easier it is to recognize species or behaviors in your photos. So, the next time you download images from your trail camera, give PNG a shot—it might just elevate your outdoor photography game!
Using PNG format complements the benefits of a stable mount, which ensures your shots are sharp and detailed for capturing those fine wildlife characteristics.
AVI vs. MP4: Which Video Format Suits Your Trail Camera?
When it comes to capturing amazing wildlife moments with your trail camera, the video format you choose—AVI or MP4—plays a huge role in video quality. So, let’s break it down.
AVI, or Audio Video Interleave, gives you high-quality video, which is great, but the trade-off is that it creates larger file sizes. Imagine filling up your SD card after just a few hours of footage—that’s what can happen with AVI. On the other hand, MP4, or MPEG-4 Part 14, strikes a perfect balance by delivering good quality while keeping file sizes smaller. This means you can store a whole day’s worth of footage without worrying about running out of space.
Plus, MP4 is more user-friendly when it comes to compatibility. You can easily play back and share your videos on just about any device without needing additional software. If you’ve ever struggled to get an AVI file to work on your tablet or phone, you’ll appreciate this advantage.
In most situations, choosing MP4 will save you storage space and make sharing your wildlife encounters effortless. So, if you’re planning your next outdoor adventure, now you know what to look for! It’s also important to consider your camera’s storage capacity and whether it supports memory expansion options like SD cards to maximize recording time.
Image Quality vs. File Size: Key Considerations
When you’re out in the field with your trail camera, you’ll quickly realize there’s a big decision at play: image quality versus file size. It’s a balancing act! On one hand, higher megapixels mean crisper, more detailed photos, but you might end up with huge files. For example, a 12MP photo could take up more than 10MB of space, while a 4MP shot might only use around 3MB.
Let’s talk about file types, too. If you go with JPEG, you’ll save some space thanks to compression, but be aware that you could lose a bit of detail in the process. On the other side, RAW files keep all that fine detail intact, but you’ll need a heftier storage capacity to manage them. And don’t forget about video! Formats like MOV or MP4 can take up a lot of room, especially if you’re shooting in higher resolutions like 1080p or 4K. Make sure you have a speedy SD card to handle those larger files smoothly.
Additionally, selecting a trail camera with high-resolution imaging capabilities ranging from 36MP to 48MP can significantly enhance the clarity and detail of your captured images.
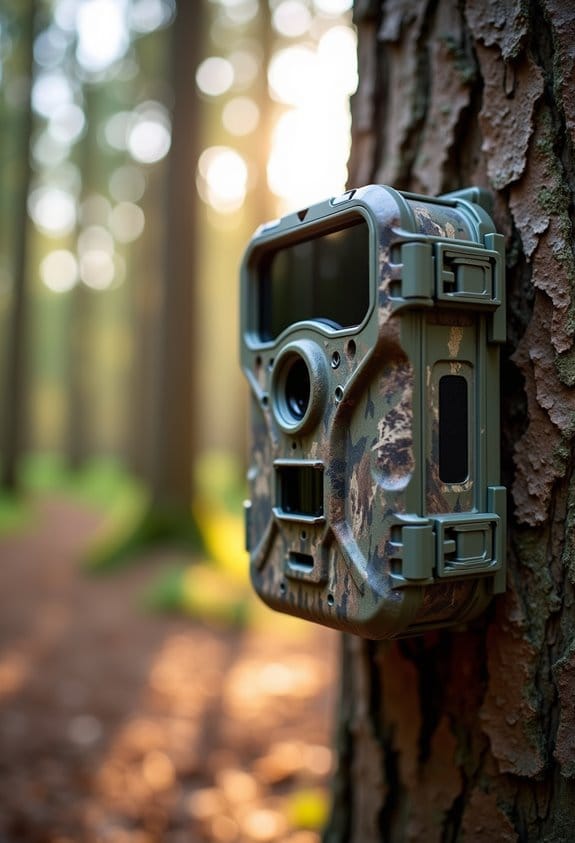
Choosing the Right Trail Camera File Type for Your Camera Settings
Choosing the right file type for your trail camera is super important—not just for capturing those amazing moments in nature, but also for how you manage and enjoy your photos and videos later on. Most cameras give you two main options: JPEG for pictures and MP4 for videos. Let’s break down why you might lean towards one over the other.
First up, JPEG. This format is fantastic for still photos. It compresses images, which means you can save a lot of them without taking up too much space on your memory card. For instance, if you’re out on a weekend hunting trip, you’ll be able to snap hundreds of photos without worrying about running out of storage. Plus, even though JPEGs are compressed, they still hold great quality—perfect for showing off your captured critters!
Now, when it comes to videos, MP4 is the way to go. It’s designed for video recording and manages to keep those file sizes small thanks to a high compression ratio. This means you can record more footage without filling up your memory too quickly. Imagine setting your camera up to capture the sunrise or some wildlife roaming through—the MP4 format will help you keep the quality decent while not overwhelming your storage capacity. Some trail cameras also support high-resolution video formats up to 8K, providing stunning clarity for your wildlife videos.
How File Types Impact Your Trail Camera’s Storage Efficiency
If you’re using a trail camera, understanding how different file types impact your storage efficiency is super important. You want to capture every moment without running out of space, right? Here’s a simple breakdown:
First off, let’s talk about JPEG files. These usually come in at around 1 to 5 MB each. They strike a nice balance between quality and storage needs, which makes them great for a lot of your camera captures. For everyday shots of wildlife or scenery, JPEG is often the go-to choice.
Now, if you’re looking for richer details, you might consider RAW files. But here’s the catch—these can exceed 20 MB each! They’re perfect for those moments when you want to capture intricate details, like a deer’s fur texture up close. However, if your camera is snapping a lot of pictures, RAW can eat up space quickly, making it less ideal for busy areas.
And don’t forget about video files! Formats like MP4 are common, but they average around 100 MB per minute. If you enjoy capturing those action-packed moments, this can quickly consume your storage. Imagine catching a fox darting through the brush; while it’s exciting, you’ll want to keep an eye on your available space.
Also, remember that infrared auto-adjust technology can affect file sizes and image quality, especially in low-light conditions where cameras optimize the exposure automatically.
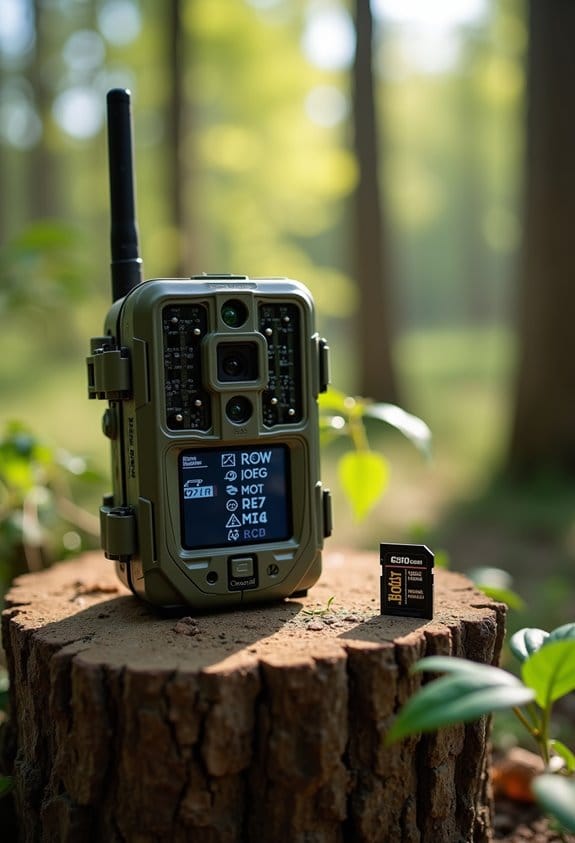
Common Issues Related to Trail Camera File Types
Choosing the right file type for your trail camera is just the beginning of your adventure, my friend. Once you start using it, you might run into a few common hiccups that can be a bit of a headache. For example, if you find yourself recording in a format that your laptop can’t read, accessing those lovely photos and videos can turn into a real challenge.
Another issue to watch out for is file corruption. This can happen if you’re switching between different formats or if your SD card isn’t formatted properly. Imagine capturing that perfect shot of a deer only to find the file is corrupted and you can’t access it at all—frustrating, right?
Speaking of SD cards, it’s crucial to format them correctly before using them in your camera. If the card isn’t set up right, your camera might not recognize it, which could lead to lost data. So, always check your camera’s manual to see the recommended formatting procedure.
Understanding these common pitfalls can save you a lot of trouble down the line. Next, let’s chat about how to ensure your footage is safely stored and easily accessible! Additionally, choosing a trail camera with cloud storage options can help you manage your footage more efficiently and avoid data loss.
Tips to Maximize Your Trail Camera’s File Management
Using a trail camera might seem pretty easy, but managing its files properly can really enhance your experience. Imagine you’ve just captured that rare deer sighting, only to find out later that your data is messed up—bouncing back to a solid file management routine can help prevent those frustrating moments.
First up, regularly formatting your SD cards is a must. It’s like giving your camera a fresh start, which helps keep everything running smoothly and minimizes the chances of running into data errors. Plus, when it comes to storage capacity, aim to fill your SD card to about 80-90%. This range keeps write speeds nice and fast while reducing the risk of losing important footage.
Now, when it’s time to transfer your files, be sure to grab a dedicated card reader. It’s a simple step that protects those precious images during the transfer to your computer. Imagine pulling all those trail shots and having a hiccup mid-transfer—using a card reader can save you from that headache.
Also, don’t forget to keep an eye out for firmware updates for your camera. Updating regularly can enhance its performance and ensure you’re capturing the best images possible. And if you’re changing out cards, always format your new ones before you use them. This little trick helps them play nicely with your camera.
Many modern trail cameras offer cloud storage options to securely back up your footage and free up local memory.
Staying organized can really enhance your trail camera experience. Next, let’s talk about how to sort those photos effectively once you have them on your computer, so you can easily find your favorite captures!
Best Practices for Managing Trail Camera Files and Storage
Once you’ve sorted through your trail camera images and organized them, it’s essential to think about how to manage those files and their storage the right way. Doing this can prevent headaches down the line, and trust me, you’ll be glad you did!
First off, regularly formatting your SD card in the camera is a smart move. It helps keep things running smoothly and minimizes the risk of losing your precious data. Think of it like giving your camera a little spring cleaning. Also, when it comes to organizing your files, creating folders on your computer or an external drive makes life much easier. You could categorize photos by date—like “October 2023”—or by location, such as “Backyard” or “Mountain Trail.” This way, you’ll know exactly where to find that epic buck you captured last fall.
When it’s time to transfer those files, I recommend using a dedicated memory card reader instead of connecting the camera directly to your computer. It’s a safer process and helps you avoid any corruption that might happen with USB connections. And once you’ve got everything on your computer, don’t forget to back it up! Regularly copying your trail camera files to a couple of different devices or a cloud service ensures that you won’t lose any of those amazing shots. Imagine capturing a rare sighting and then accidentally losing it—yikes!
Lastly, keeping your camera’s firmware updated is crucial. This makes sure it’s always compatible with your storage solutions, so you won’t run into any hiccups. Additionally, for those using newer models, taking advantage of instant upload capabilities can streamline your workflow by automatically backing up files to the cloud as they’re captured. By following these tips, you’ll not only keep your files safe; you’ll also ensure that you can easily revisit those magical moments spent in nature. Now, let’s talk about some fun ways to review and share those amazing moments!
Frequently Asked Questions
What Format for SD Card for Trail Camera?
We can’t imagine using anything but FAT32 for SD card compatibility in our trail cameras! Meeting specifications with care guarantees our settings work perfectly—who knew such tech could bring so much joy in capturing nature’s moments?
Why Are Trail Cameras Being Banned?
Trail cameras are being banned due to ethical considerations and concerns over wildlife conservation. We’re seeing regulations implemented to protect animal habitats and prevent privacy invasions, ensuring a fair and respectful approach to nature.
What Are the Two Most Common Digital Camera File Storage Formats?
The two most common digital camera file storage formats are JPEG and RAW. While JPEG offers advantages like smaller file sizes for sharing, RAW has disadvantages, including larger file sizes and limited sharing compatibility.
What Happens if You Don’t Format an SD Card for a Camera?
Imagine missing our perfect wildlife shot because we didn’t format the SD card. Without proper formatting, SD card performance deteriorates, risking lost images and footage. We can’t ignore formatting importance for reliable camera operation!